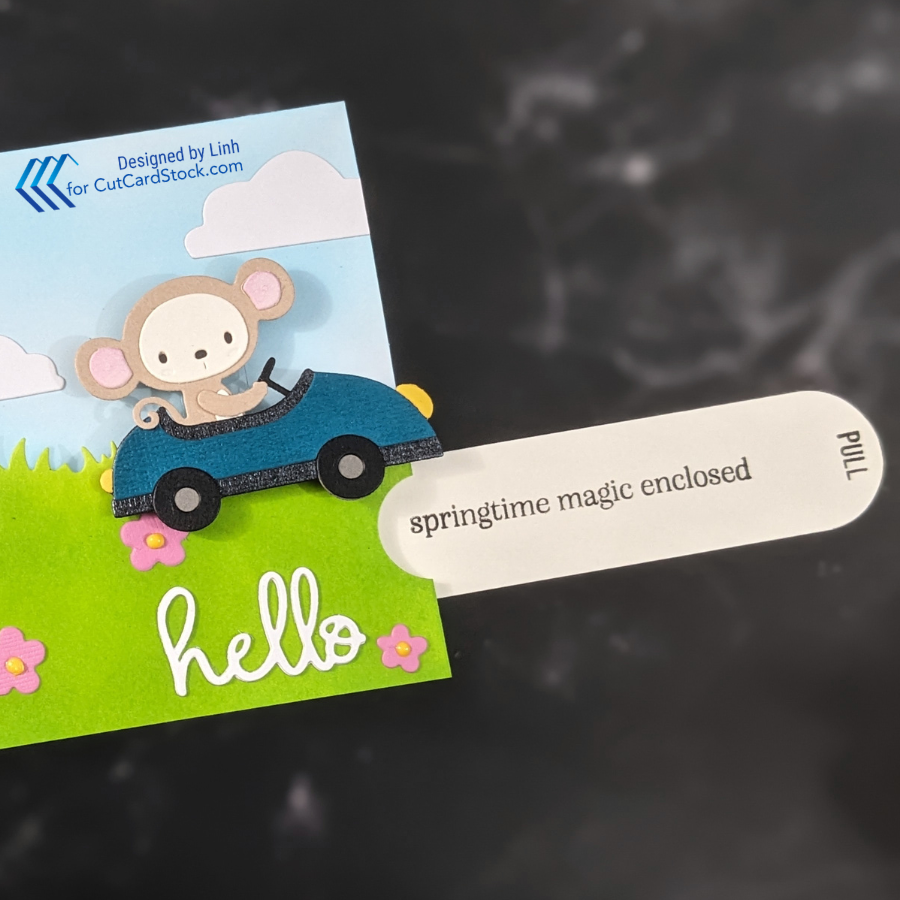
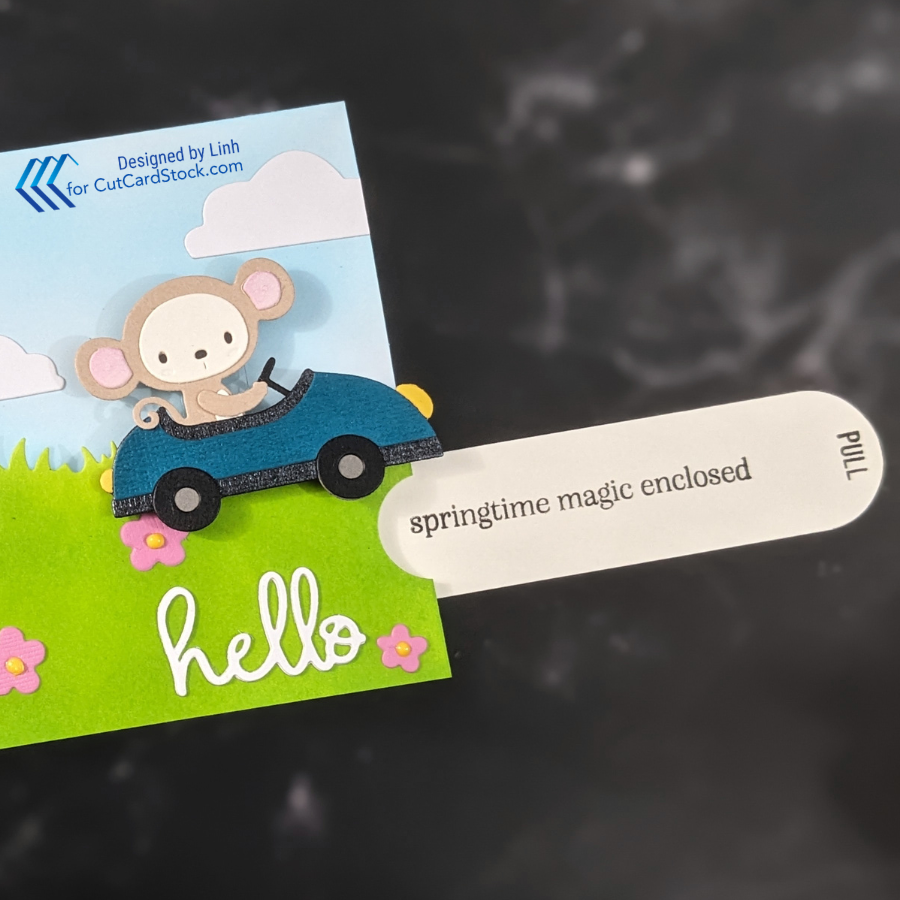
Let’s celebrate Spring with a fun slider card! Whether you’re making a card for a young one or someone who is young at heart, slider cards are always a big hit!
Supply List
| Cardstocks | Other Products |
|---|---|
| DCS – Textured Pearl Hummingbird Teal Stardream Metallic Lagoon DCS – Textured Yellow Jacket DSC – Canvas Textured Pink Tutu DCS – Natural White DSC – Sand Castle DSC – Pewter Grey Cougar White Smooth Cardstock Pop Tone Black Licorice | Spellbinders Go Cart Go Spellbinders Stamp of the Month Feb 2025 Spellbinders Large Die of the Month March 2021 |

For video instruction, you can watch this tutorial.
Let’s Make This Card
Step 1. Ink Blend Your Grass & Sky
I used Cougar White Smooth Cardstock to do my ink blending. It’s super smooth and blends beautifully. I did cut the grass so it’s a separate layer from the sky. Later we’ll use this layer of grass to hide our slider mechanism.
Step 2. Assemble Your Die Cut Elements
For the monkey, I used DSC – Sand Castle, DCS – Natural White, and Pop Tone Black Licorice. For the ears, I blended a smidge of pink onto the DCS – Natural White.
For the bunny, I used DSC – Pewter Grey, DSC – Canvas Textured Pink Tutu and Pop Tone Black Licorice.
For the car, I used DCS – Textured Pearl Hummingbird Teal, Stardream Metallic Lagoon, DCS – Textured Yellow Jacket, DSC – Pewter Grey, and Pop Tone Black Licorice.
Step 3. Create the Slider Track
I cut a piece of DCS – Natural White to 1.5″ H x 4.75″W. Roughly in the center, I cut a slit about 1/8″ H and about 4.25″ W. Your measurements don’t have to be exact, but this will govern how far your object can travel along the track.

Step 4. Create the Slider Mechanism & Pull Tab
For the mechanism, I punched 4 circles that are each 3/4″ in diameter out of Cougar White Smooth Cardstock. I fold two of the circles in half and glue half of each of them to a third circle. Pinch the two halves of the circles so they come together and slide it through the slider track you made. Spread those two halves open and glue the fourth circle down on top.
For the pull tab, I cut 2 strips that are 1″ H and 5″ W out of DCS – Natural White. I glued these two pieces together to form a stronger pull tab. Using my corner chomper, I rounded two corners of the pull tab.


Step 5. Adhere Your Slider to Your Cardbase
I first glued the pull tab to the slider mechanism. Only put glue on the circle and then attach the pull tab to it. Make sure you can pull the slider mechanism back and forth without issue. Then put foam above and below the pull tab. You can put foam anywhere that won’t get in the way of the pull tab’s movement.
To adhere to your card base, just apply glue to your foam and glue to your cardbase.
Next, add some more foam to the slider track. This time, only put adhesive to the left, bottom and right of the slit in the track. There should not be any foam at above the slider track. Instead, attach a strip of strong/thick acetate or plastic packaging material to the slider mechanism. This acetate stand only needs to be 2-3 inches tall. It should be glued to the circular slider mechanism.
💡TIP: If you punch a half circle out of your card base and out of the green grass layer (which will be attached later), it will make it easier for the card recipient to take hold of the pull tab.


Step 6. Glue Your Grass Panel
I lined up my grass panel with my card base and punched a half circle out of the side. This makes it possible to see the pull tab. Applying adhesive only to the foam, I glue the grass panel onto my card.


Step 7. Attach You Car and Sky Elements
I die cut some clouds out of Cougar White Smooth Cardstock and dotted them across the sky. For the monkey driving the car, I attached him to the acetate stand with a couple of foam dots. The foam dots help to give some space for the car to travel smoothly across the card.

Step 7. Stamp Your Pull Tab
This step could be done earlier, but I like to wait until this point, especially since I’m adding a sentiment that reveals itself once you pull the tab. Once you have everything attached, you know exactly how much of the pull tab is showing and you can arrange your stamp as you like.

Step 7. Decorate!
I added another sentiment – “Hello” cut out of Cougar White Smooth Cardstock two times and glued together. To finish the card, I added some flowers cut from DSC – Canvas Textured Pink Tutu.
Picture Gallery


Enjoy!


