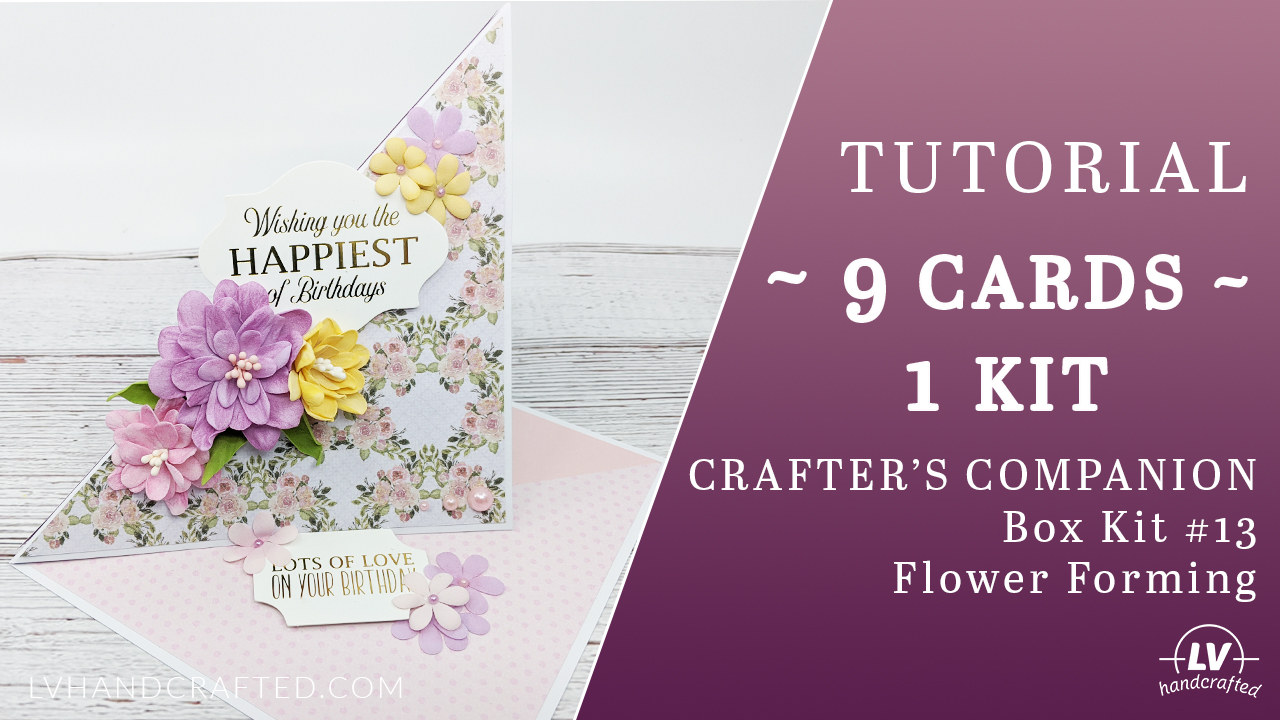
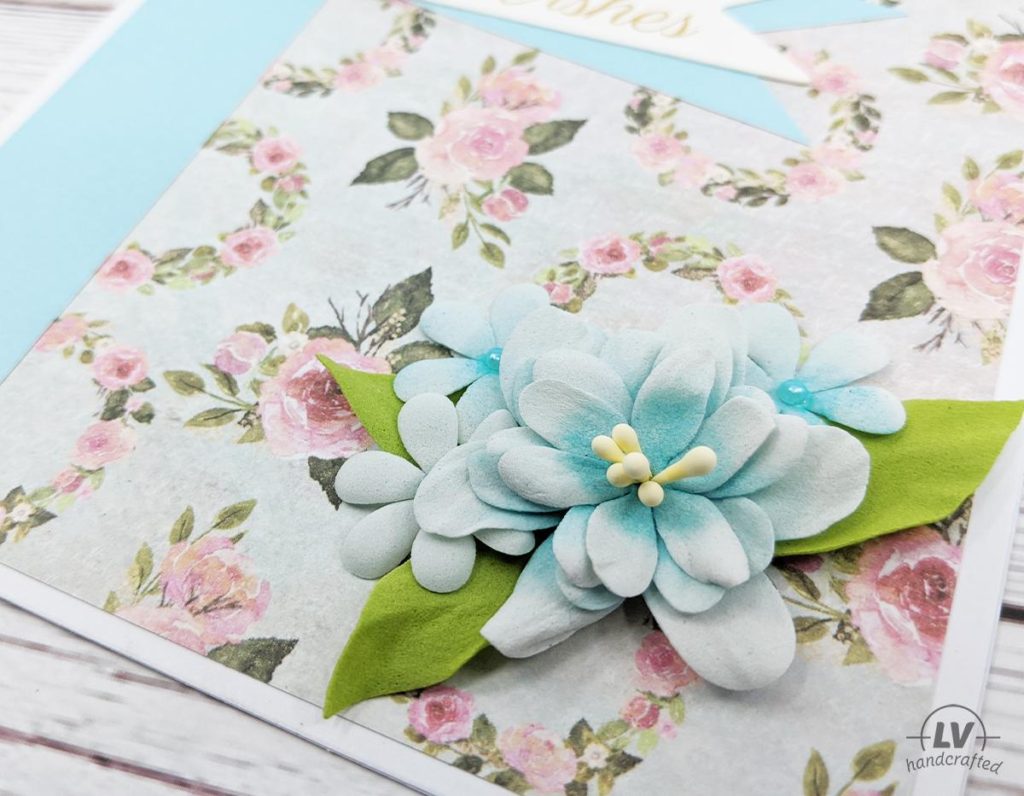
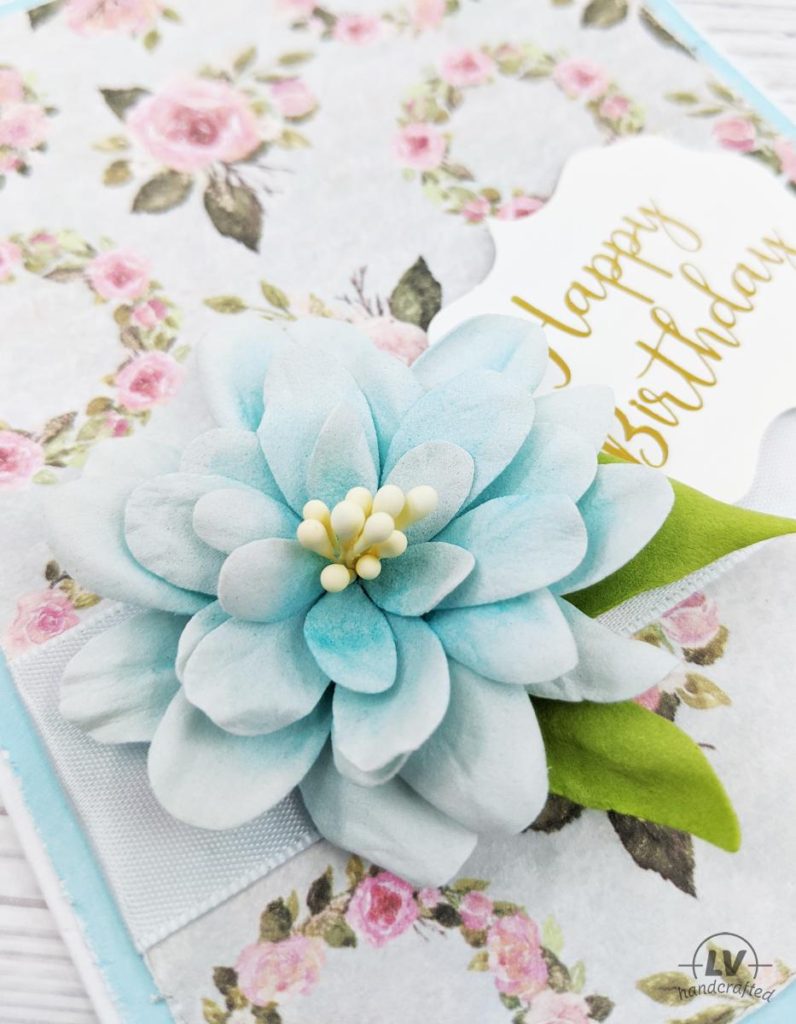
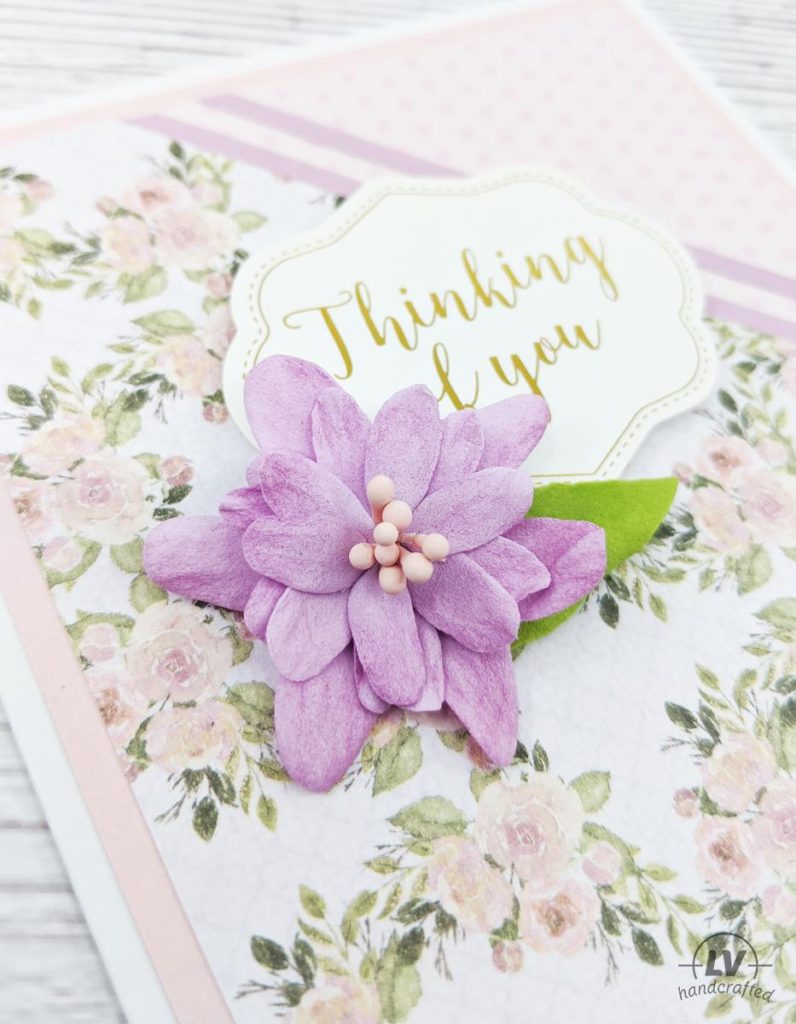
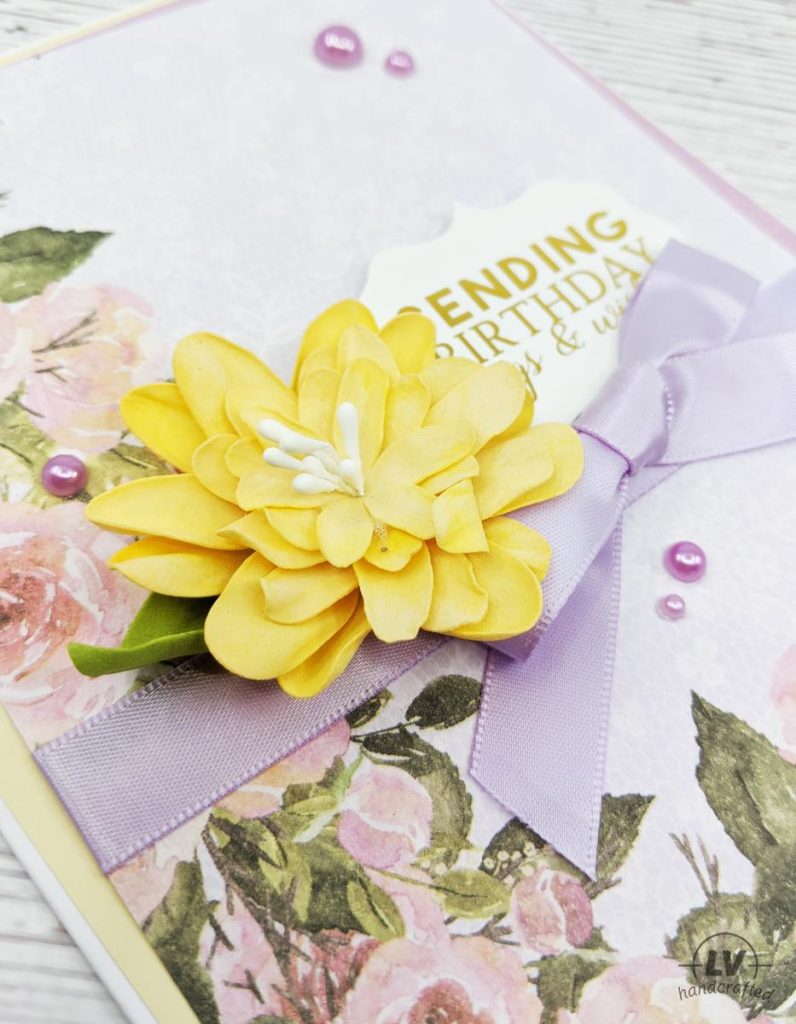
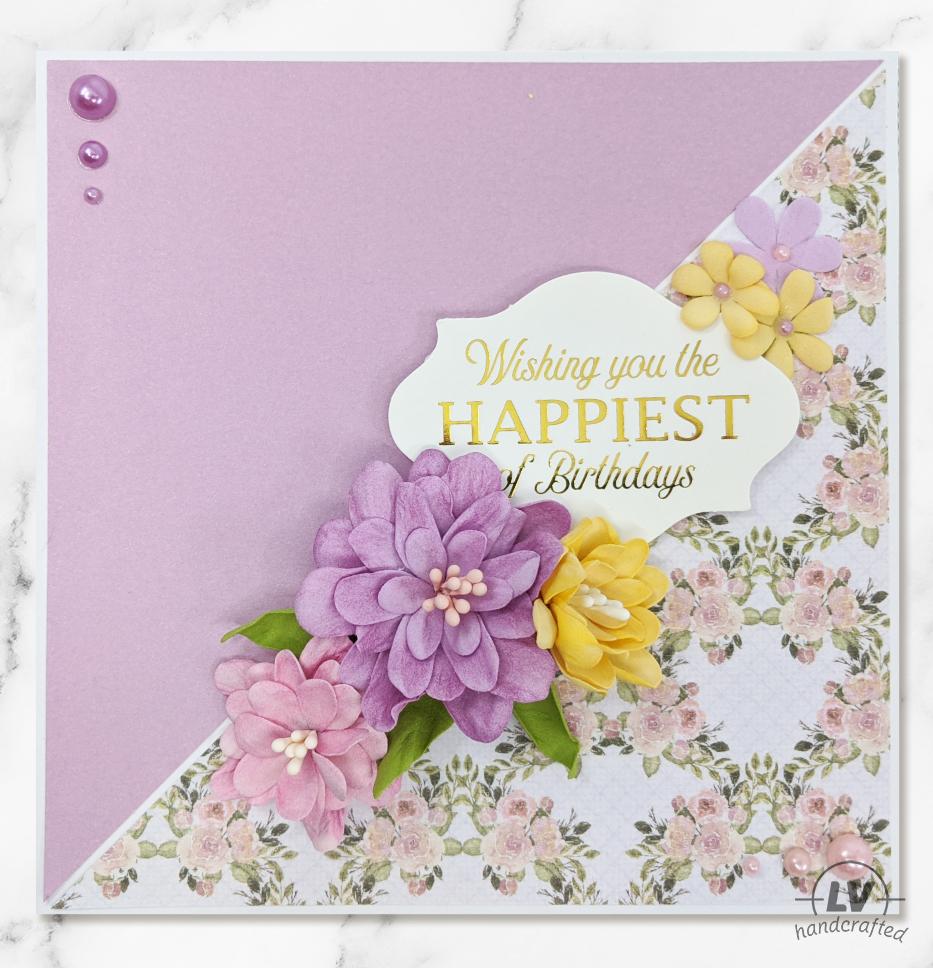
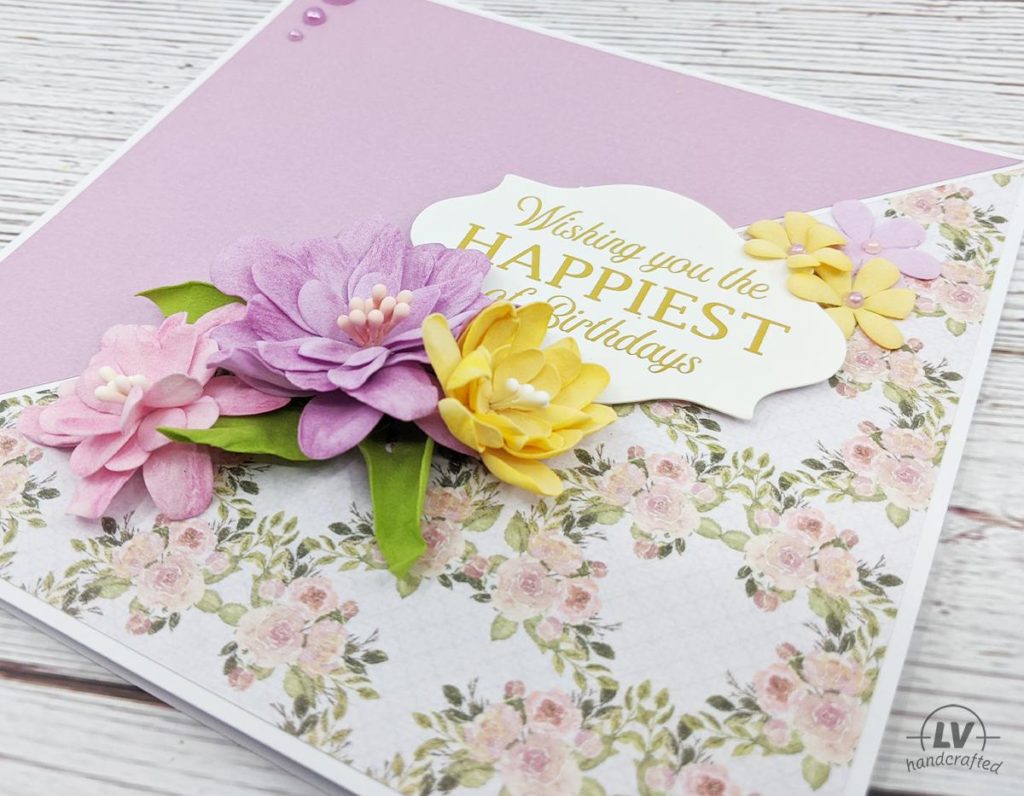
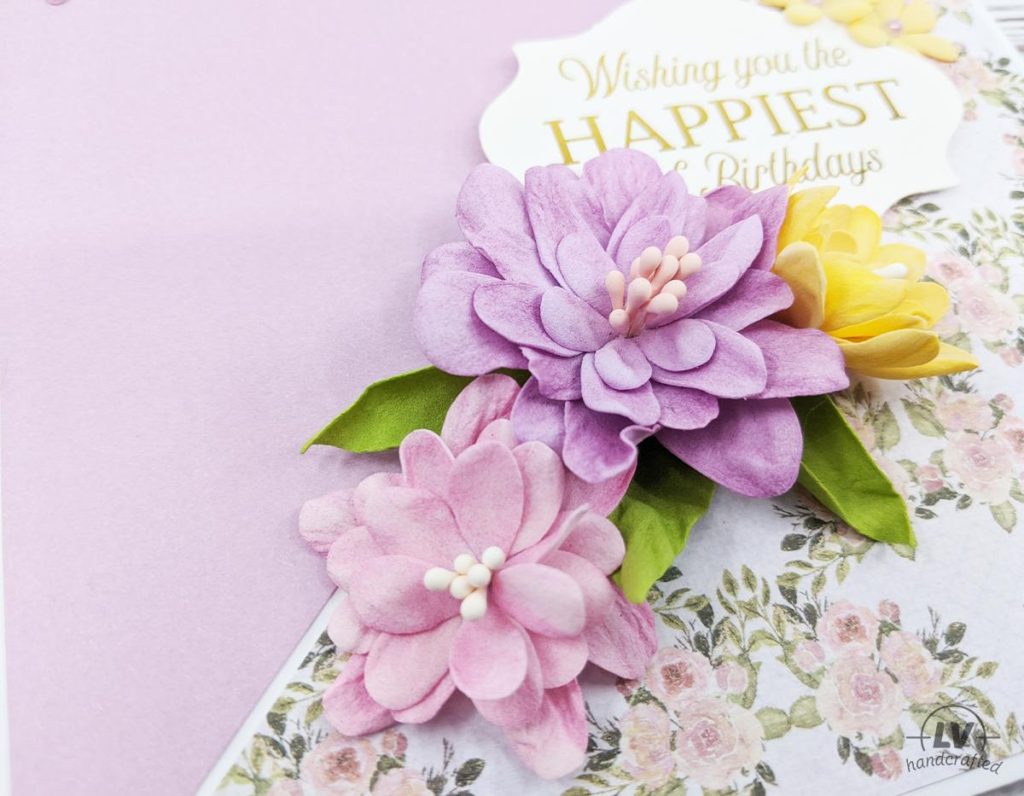
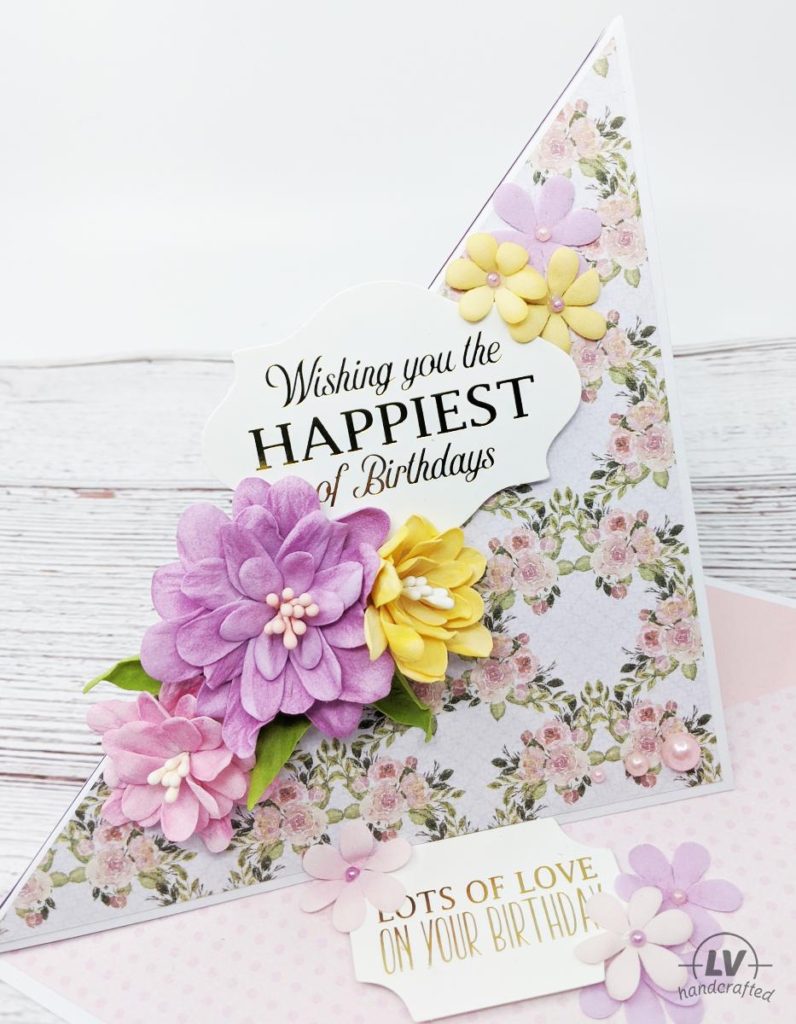
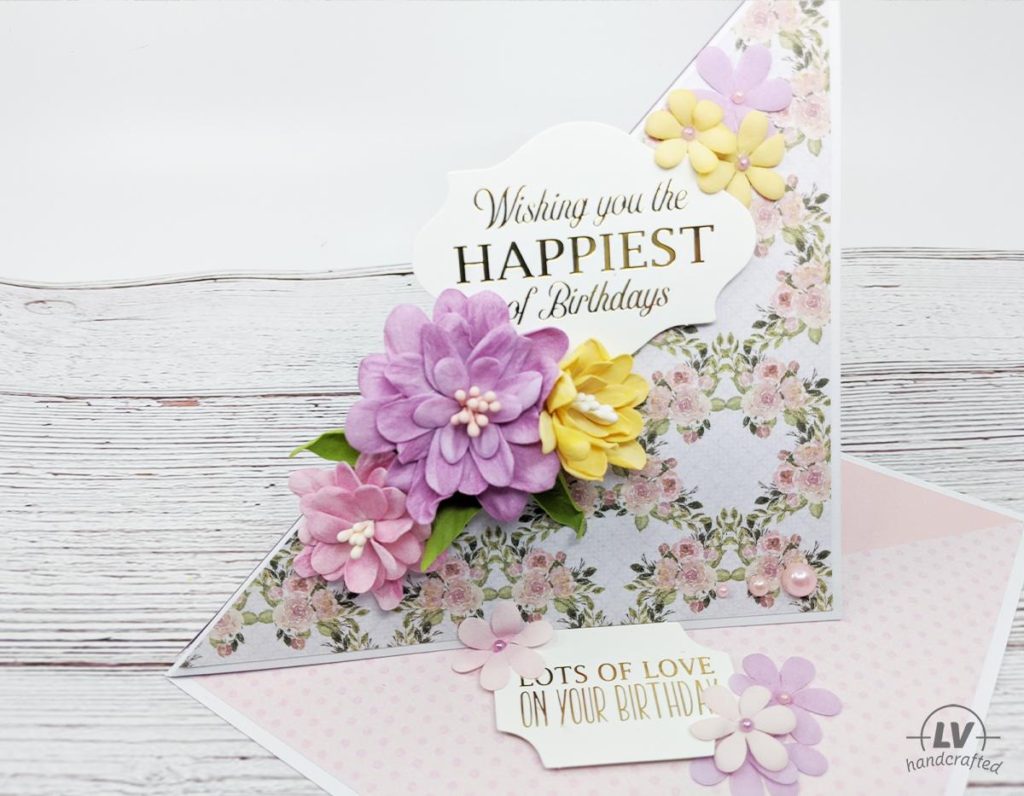
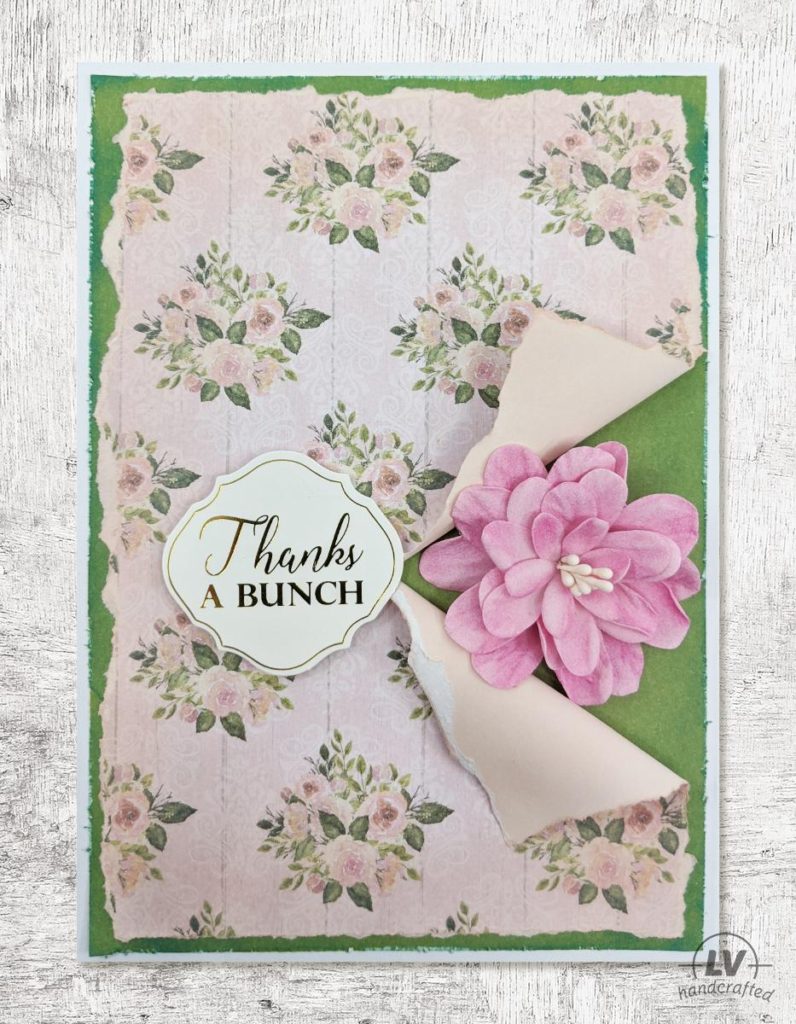
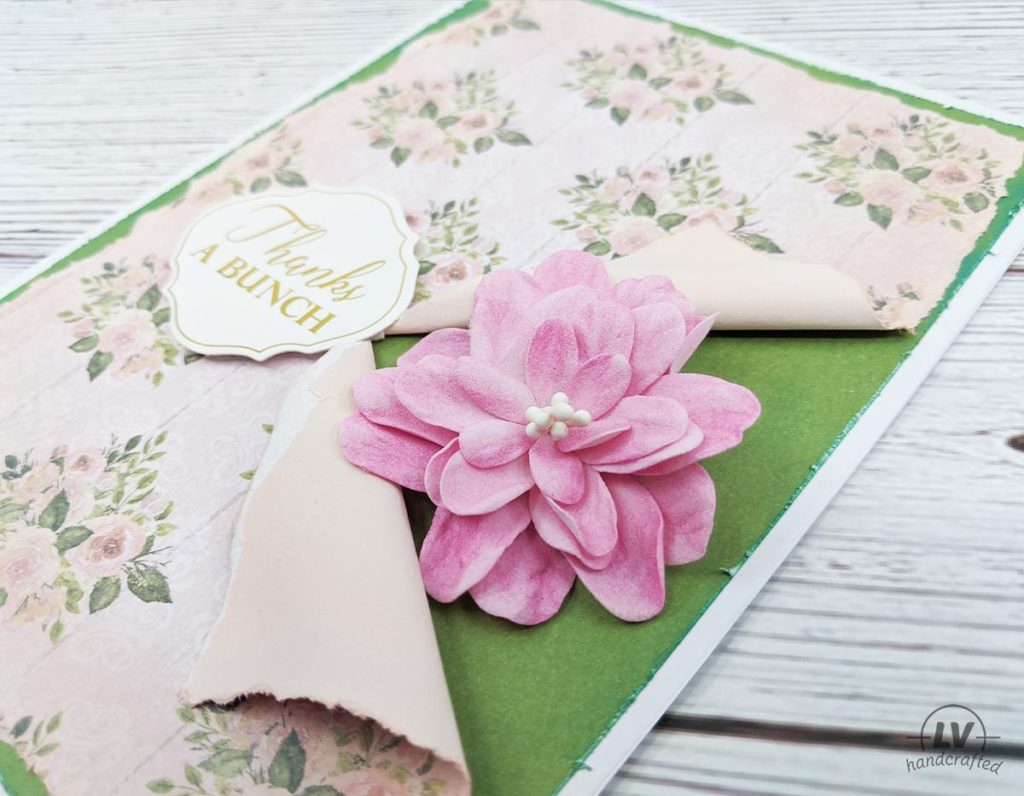
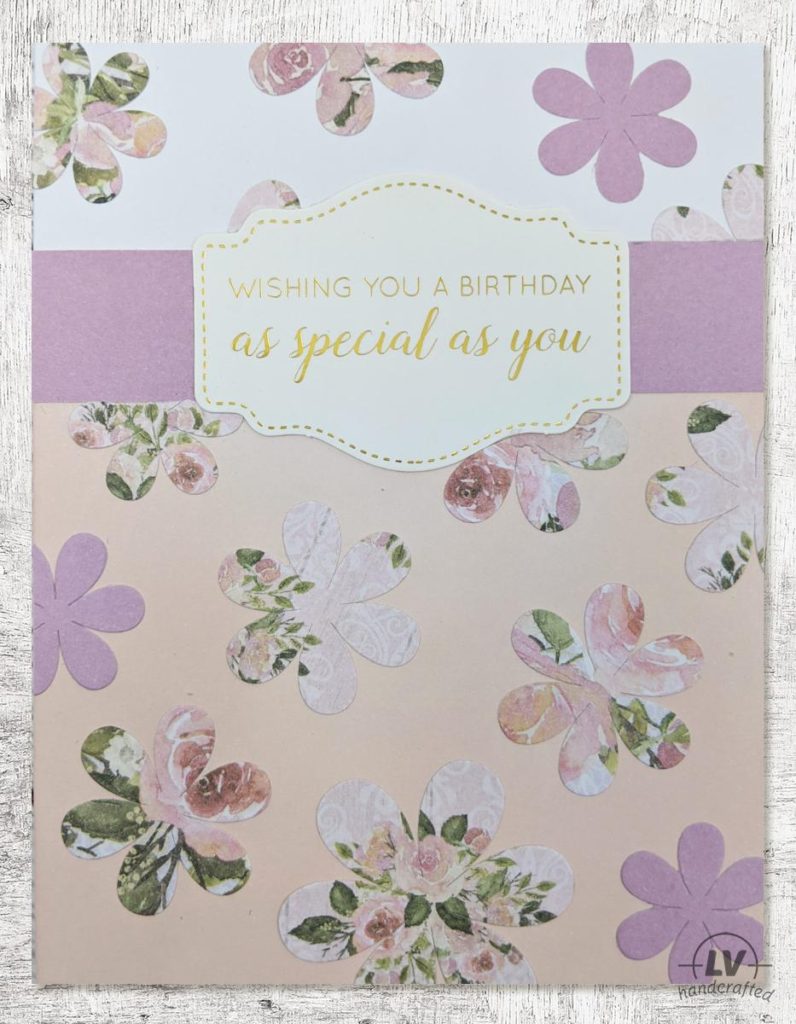
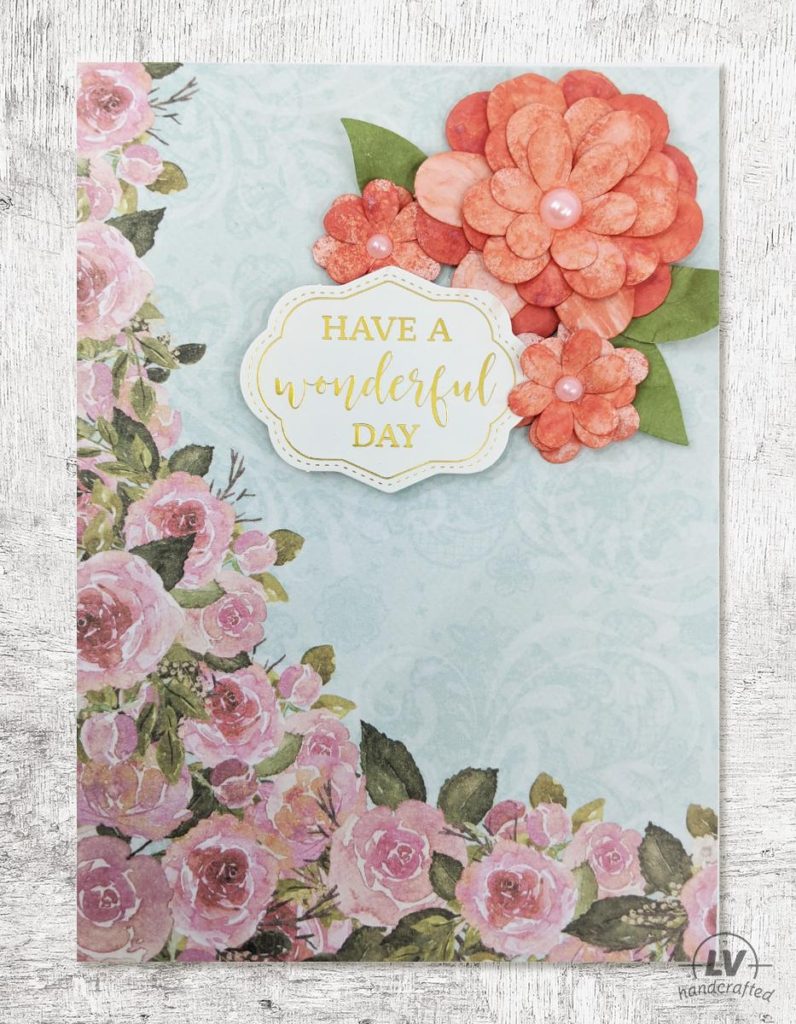
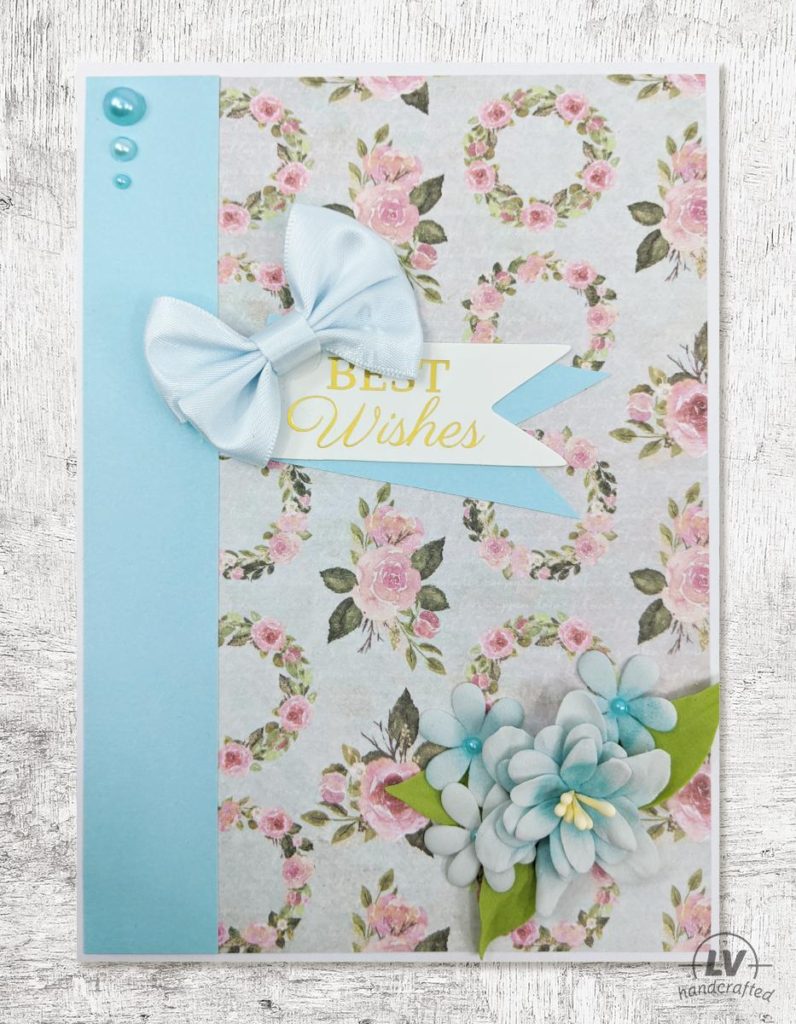
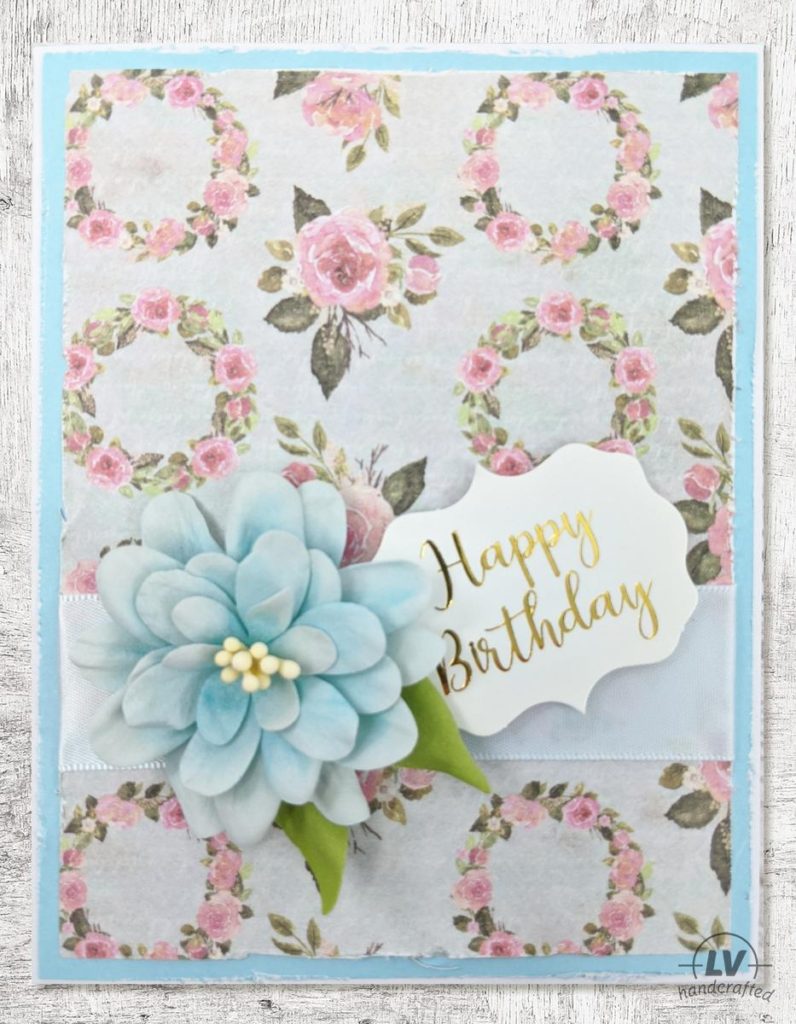
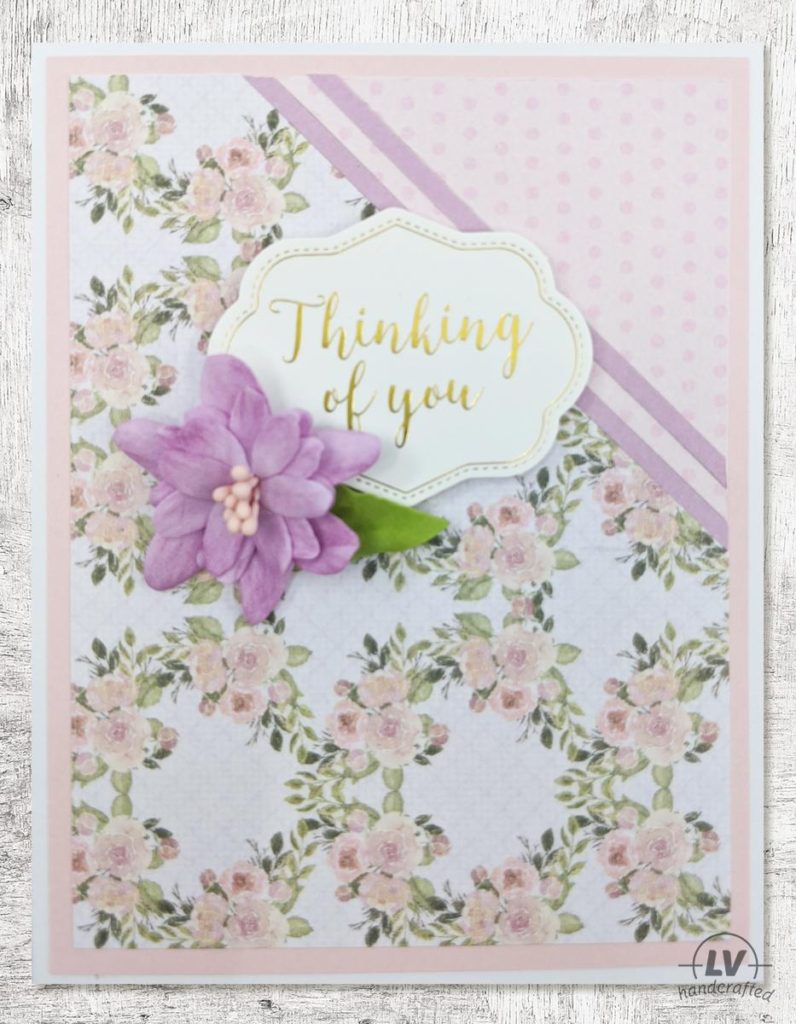
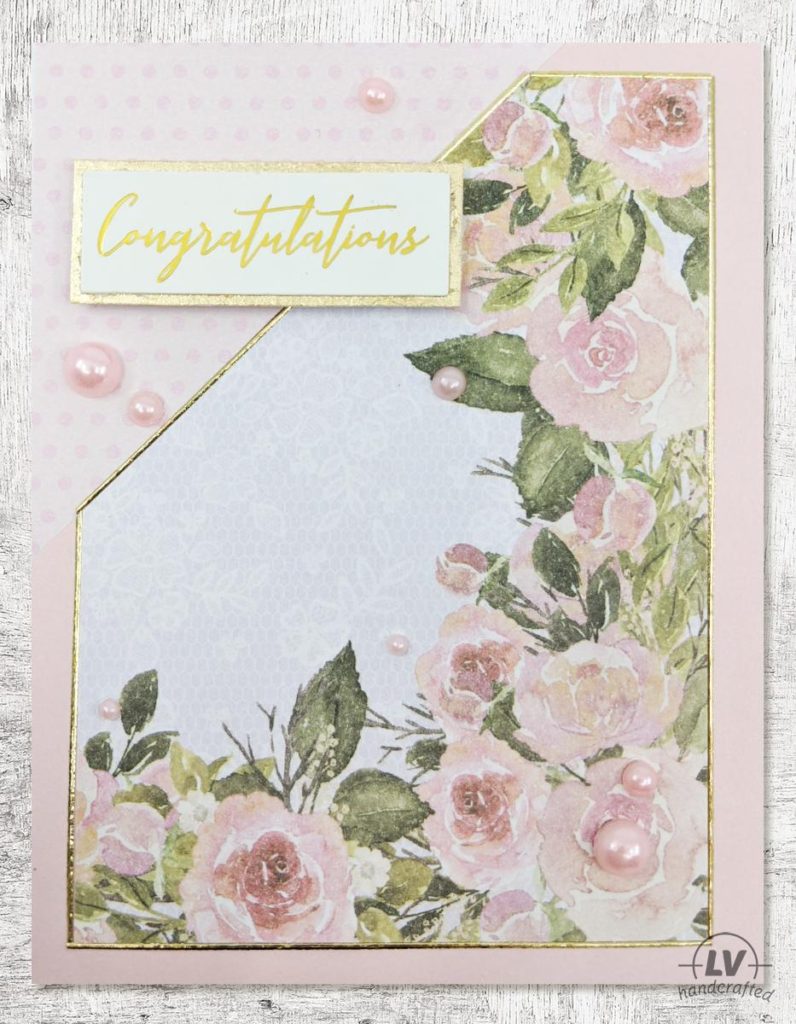
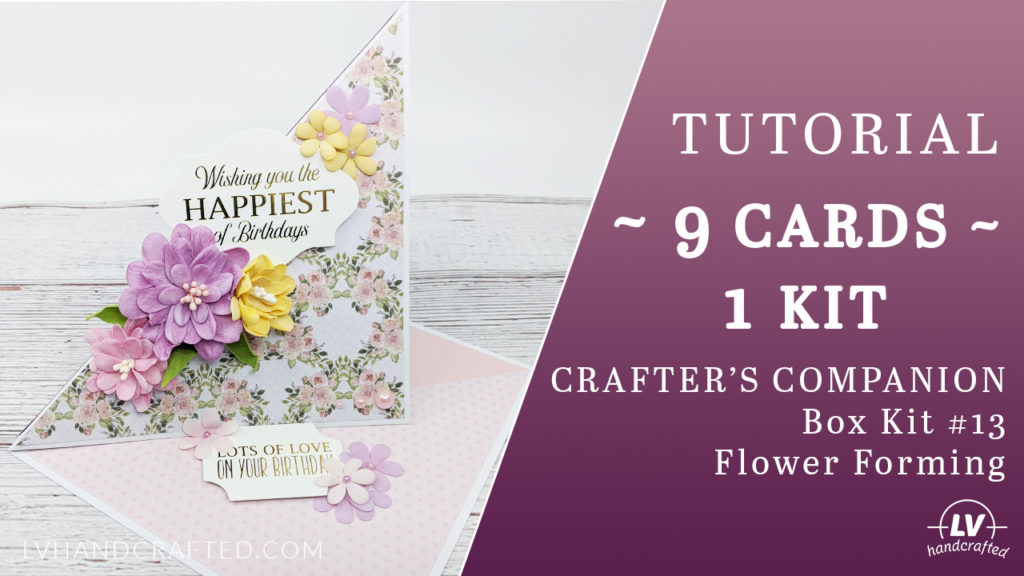
Flower forming with foam (or foamiran) is a first for me. I was excited but also a little nervous to try this new method–especially since it involves a hot iron. After my first flower, I was hooked! I’ve since purchased a couple of different flower foams from different companies so I can compare and contrast before settling on a brand. It really is amazing how realistic your flowers look. I’ve made 3D paper flowers I thought were nice looking, but when you use foam, it takes it up about 10 notches!
Unboxing
Card Making
Flower Forming
Box Creation
Tips & Tricks
- You can use any flower shaping dies you have. There isn’t a specific style of die for foam flowers. I would just suggest using something with a large enough center because your foam will shrink and if you plan to use stamens, you’ll need to poke a hole in the center.
- I suggest 2 different sized flowers for smaller flowers and 3 sizes for larger flowers.
- In terms of number of layers, I find I need fewer layers for foam than when I’m making paper flowers. So, I generally use about 5 for larger flowers and 4 for smaller ones.
- I think it looks better when you color your foam before you apply heat. The heat will even out the ink and intensify it a little (since it shrinks the foam).
- I put a little glue in the center of each layer as I stack them. I know that’s not how the CC tutorials show you, but I prefer that extra bit of security especially if the center is not very large. If it does tear, then the glue will still hold it together
- If you’ve torn a petal, still use it. Once it’s layered up, no one will notice. 🙂
- The leaves can be cut from foam too, but I think it’s just as nice to use paper for the leaves and save on your foam a little. I don’t think the leaves benefit as much from the heat.
- I place my iron so it’s in front of me and facing to the right (I’m right-handed). This way I can clearly see the edge of the iron and I know exactly how close I’m getting to the hot surface.
Gallery
Check out other cards I’ve made in my Card Gallery. Interested in other projects like mini albums, boxes and bags? Check out my Project & Mini Album Gallery.
Shop This Project
Below are the brands, shops and products I use this project and in general!
-
 Accent Opaque – 120lb Cover, 8.5 x 11 Paper, 150 Sheets
 -
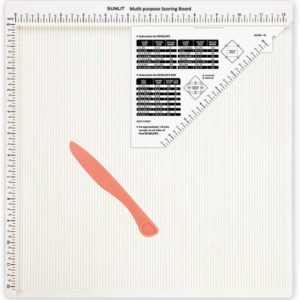 Bira Craft 12×12 inch Scoring Board
 -
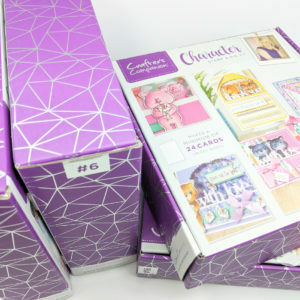 Crafter’s Companion Craft Boxes
 -
 Craftstash
 -
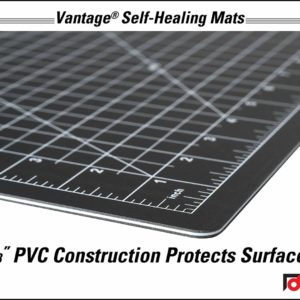 Dahle Vantage Self-Healing 5-Layer Cutting Mat Perfect, 24″ x 18″ Black Mat
 -
 Fiskars – Micro Tip Scissors
 -
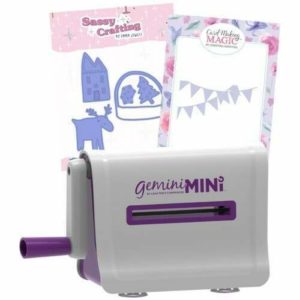 Gemini – Mini Die Cutting Machine Bundle
 -
 Generic Foam Tape
 -
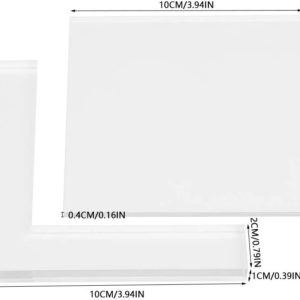 Generic Stamp Positioning Tool
 -
 Scrapbook.com
 -
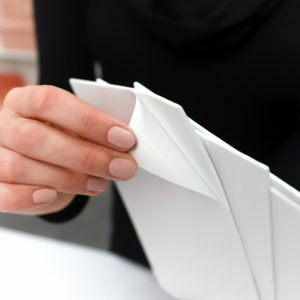 Scrapbook.com Foam Sheets
 -
 Sizzix
 -
 Spellbinders
 -
 Tonic Studios
 -
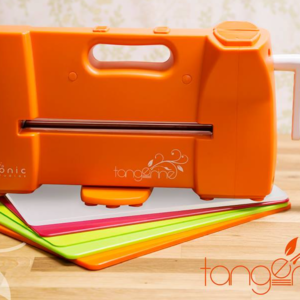 Tonic Studios Tangerine Die Cutting Machine
 -
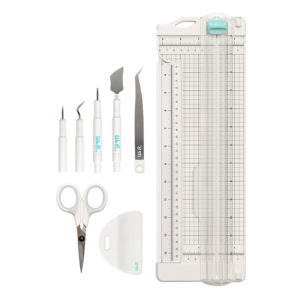 We R Memory Keepers – Hand Tools

