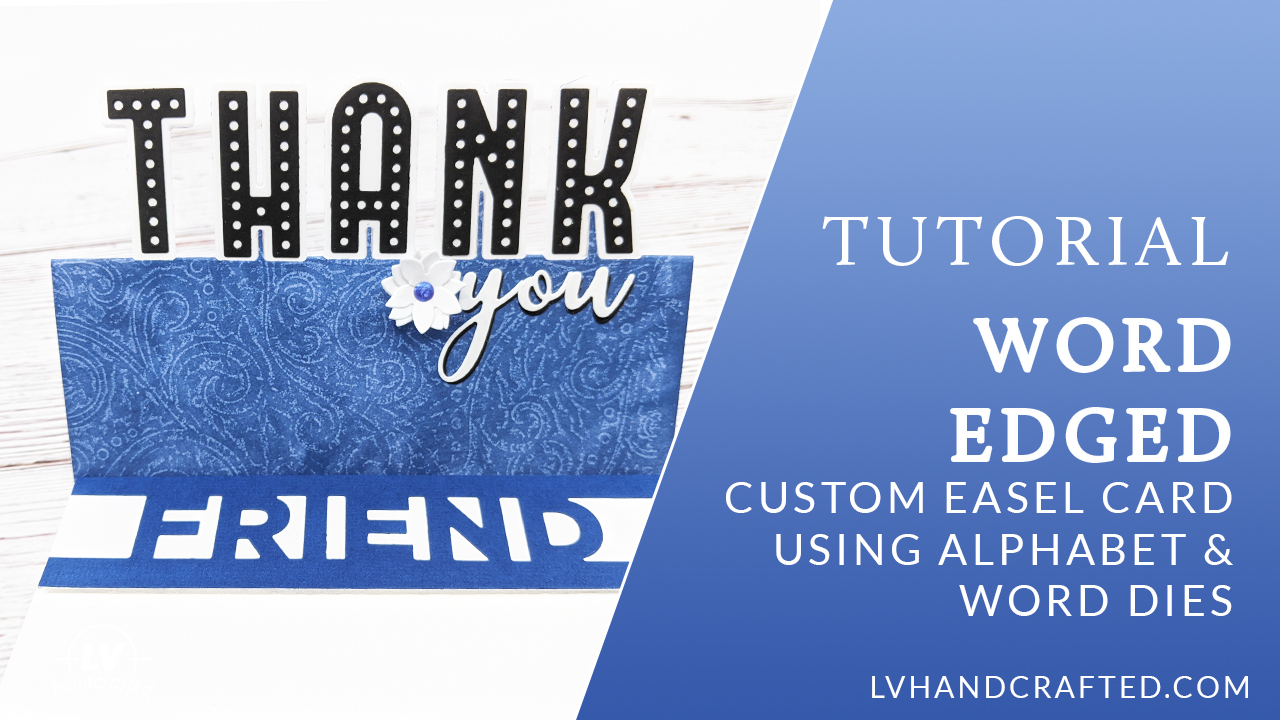
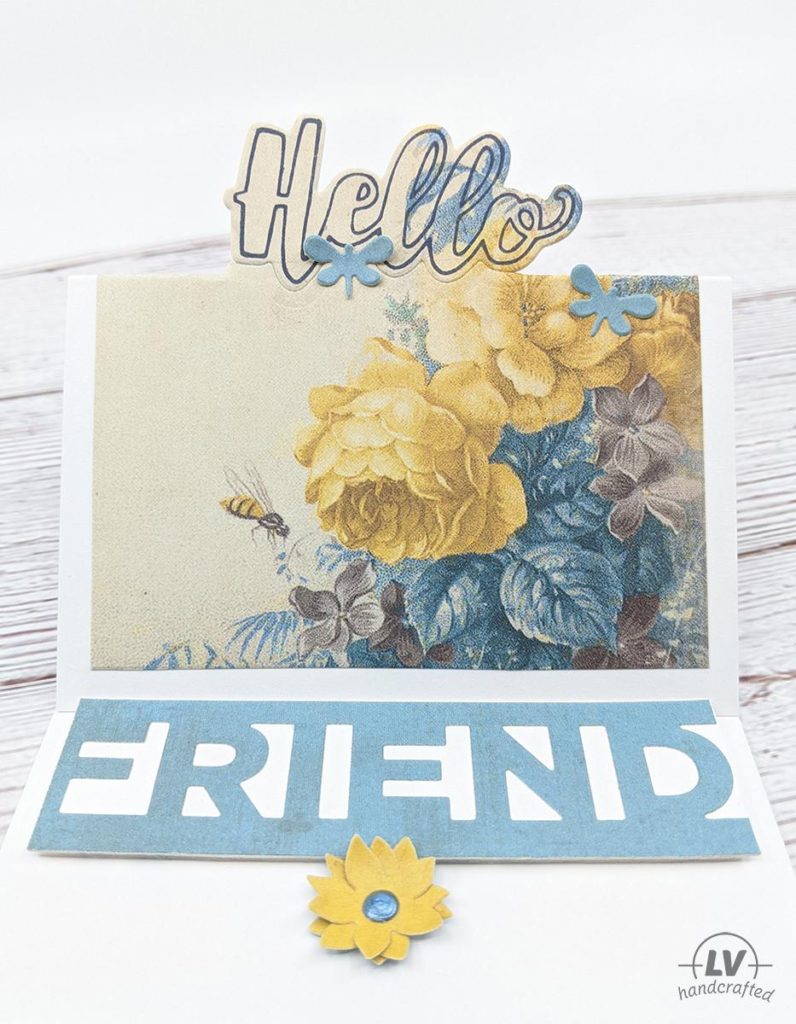
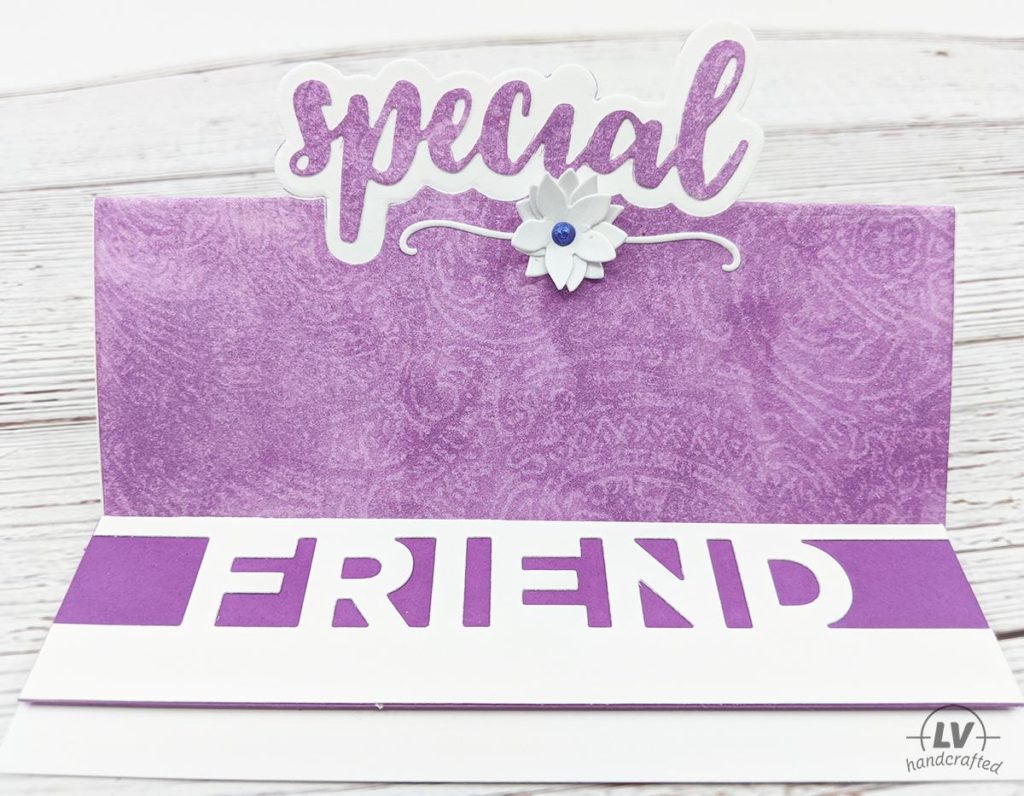
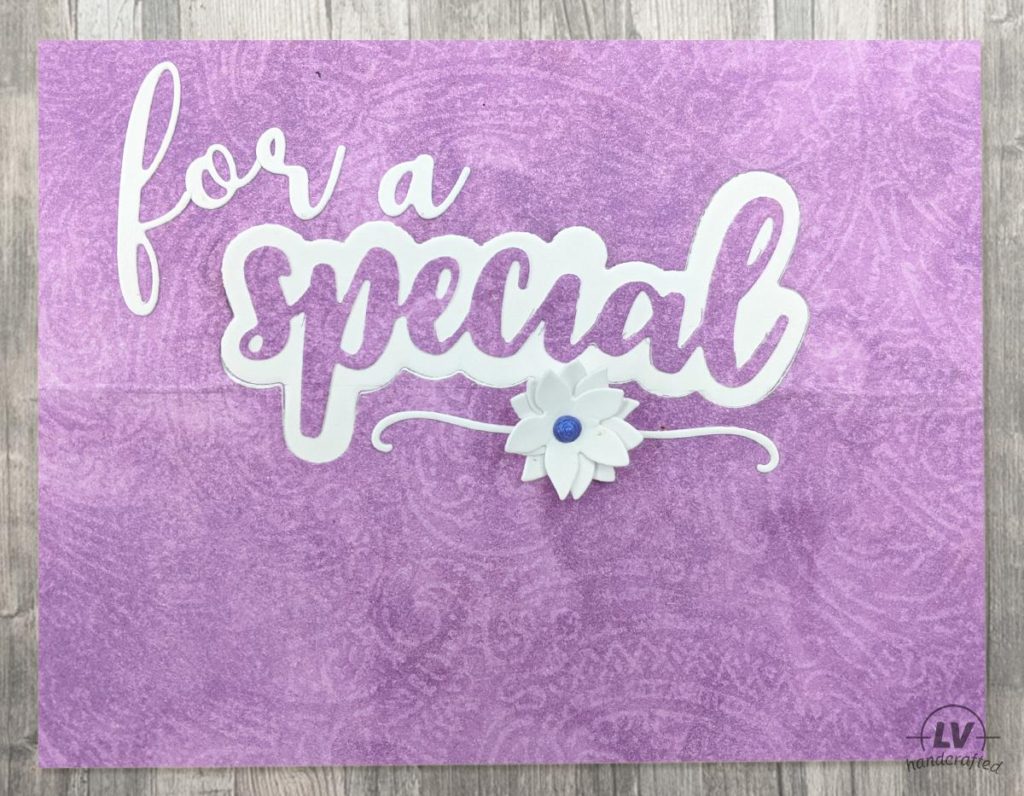
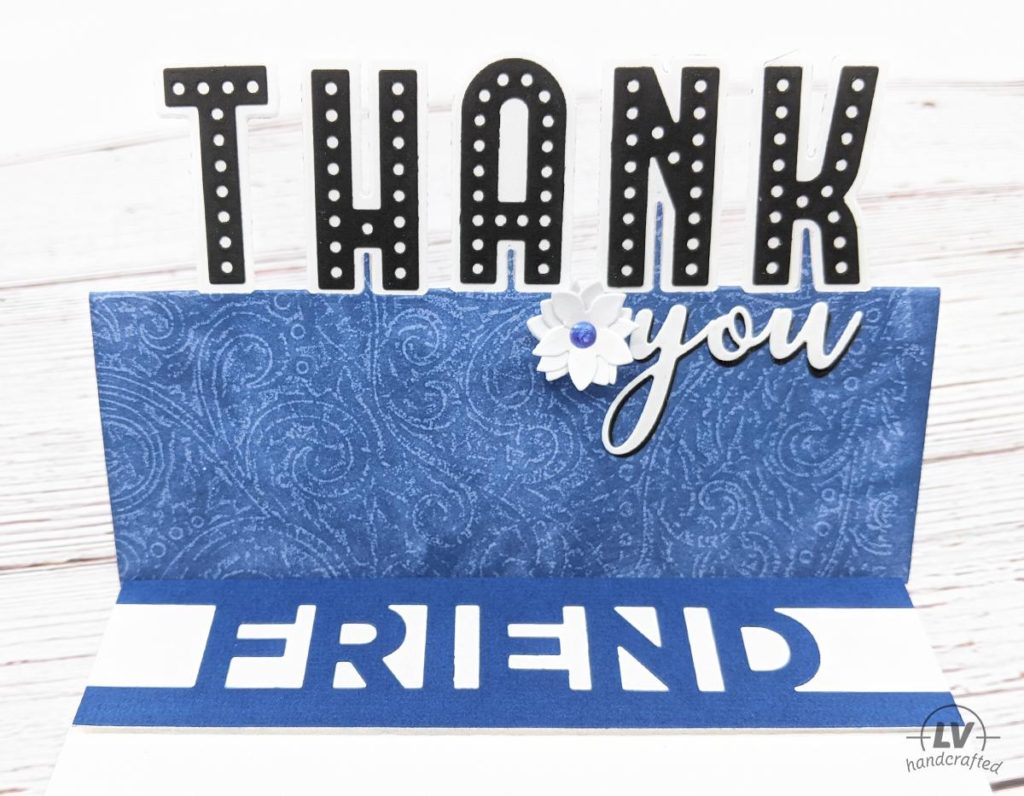
Turn your word or alphabet dies into fun custom-edged easel cards. While you can buy word edge dies, give the alphabet or word dies in your stash some new life by using them as edgers.
Card Making
Tips & Tricks
- When you line up your top cutting plate, be sure to look at where the cutting edge is and make sure you leave some of the bottom edge uncovered (so it doesn’t get cut)
- You can also put your die cutting-edge up on your paper and draw two reference lines — one at the bottom of the die (so you know where to line up your dies) and one where the bottom cutting edge (so you know how to line up your top cutting plate to avoid cutting the bottom edge)
- It’s best if you can leave at least 2-3 spots across your die still attached at the bottom to give it extra stability.
- Shadow dies — either of the word or of the individual letters, are fantastic for this technique because they leave the die cut word complete and legible
- If you are using individual letter dies and you need to use a letter twice, you can do multiple passes through the die cutting machine.
- If you are using individual letter dies, be sure to tape the dies so they are secure and don’t overlap. You could place one line of tape right across the back of all the letters, which will connect them all and make it easier to cut multiple cards if you are batch making.
Check out other cards I’ve made in my Card Gallery. Interested in other projects like mini albums, boxes and bags? Check out my Project & Mini Album Gallery.
Shop This Project
Below are the brands, shops and products I use this project and in general!

