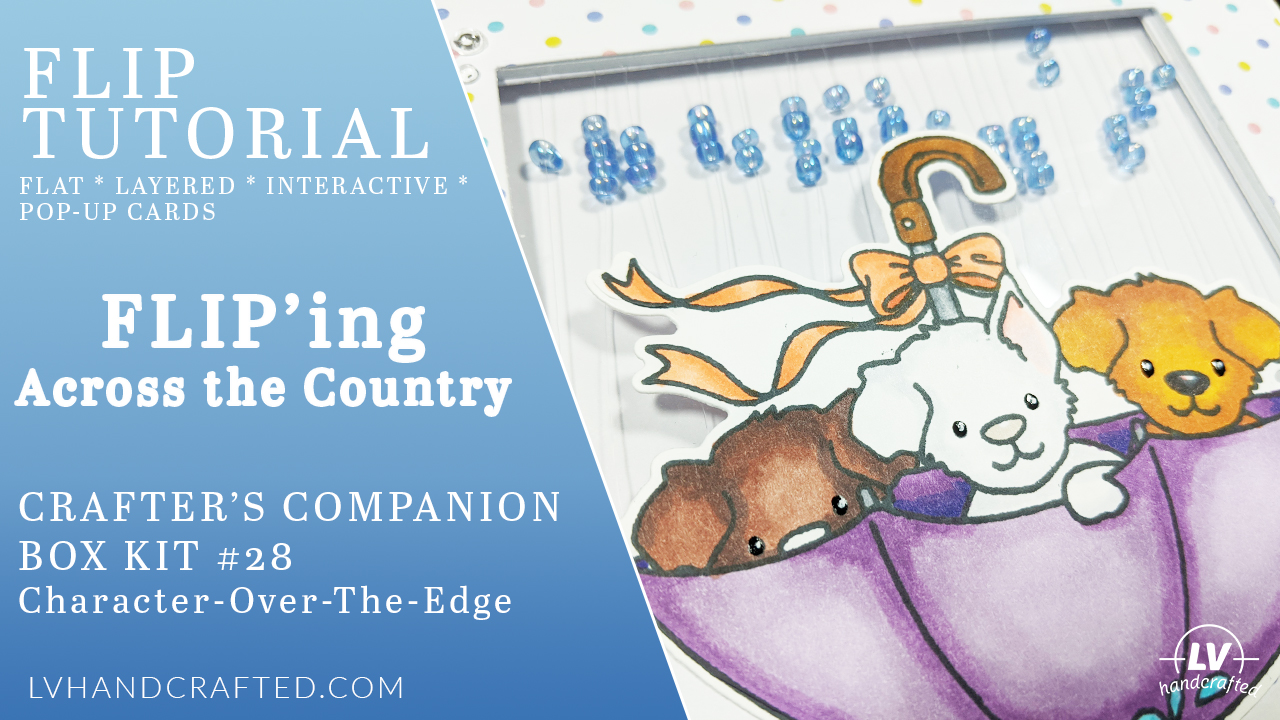
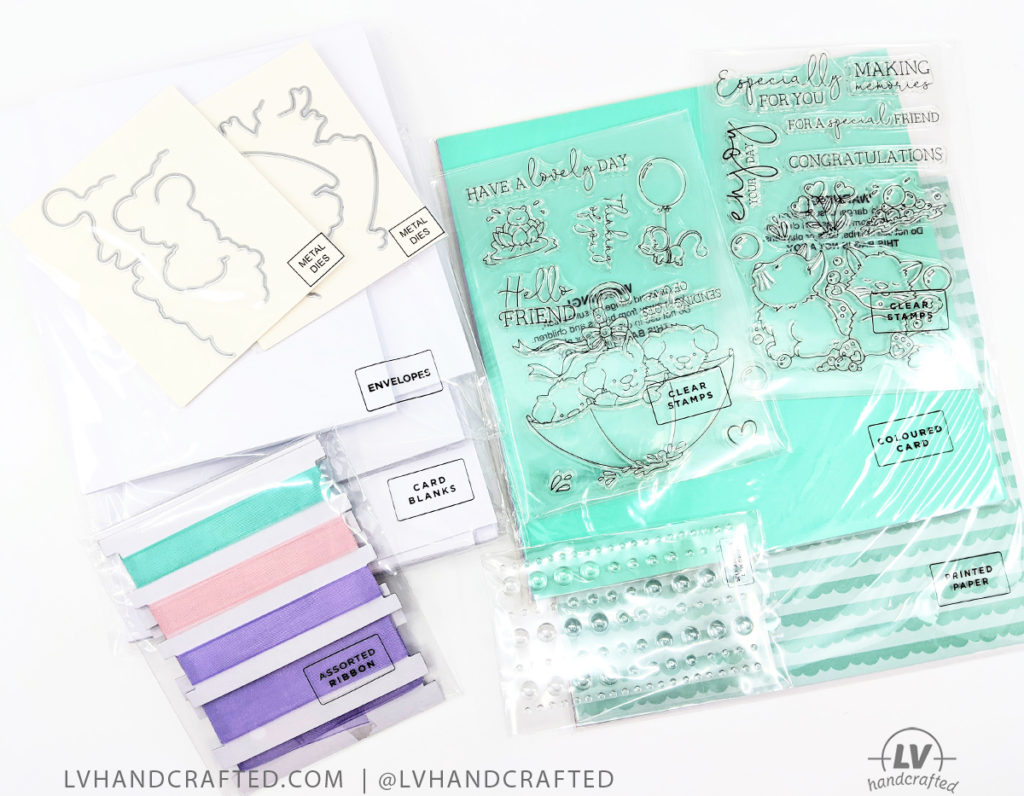
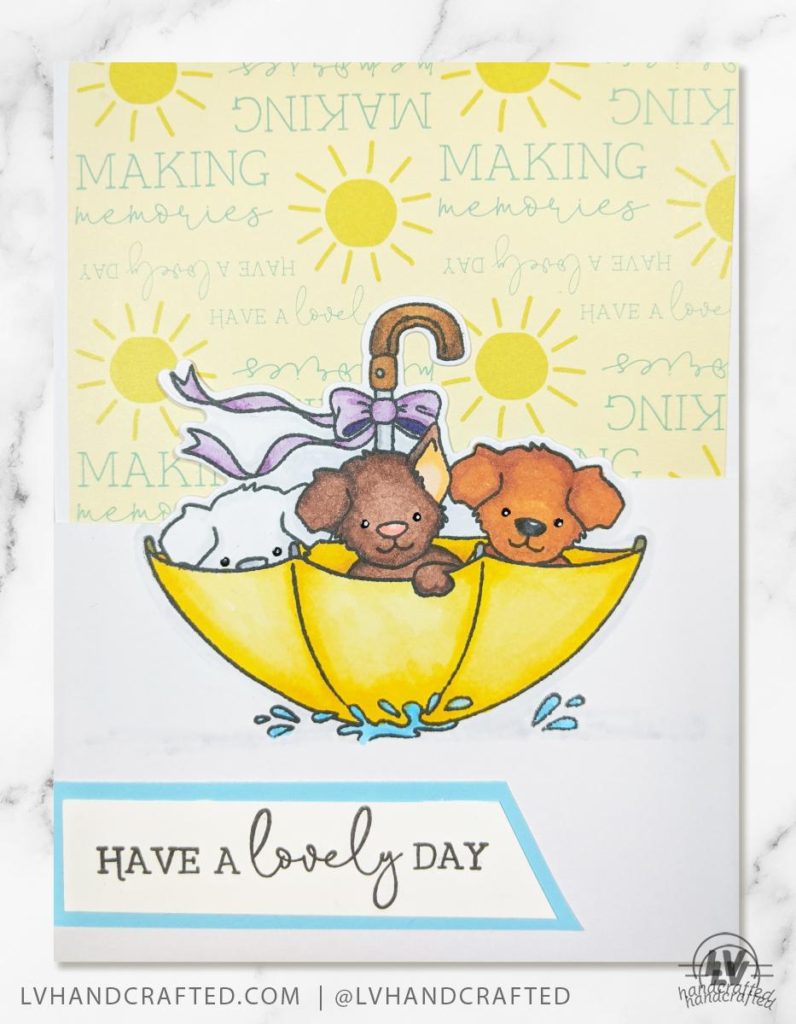
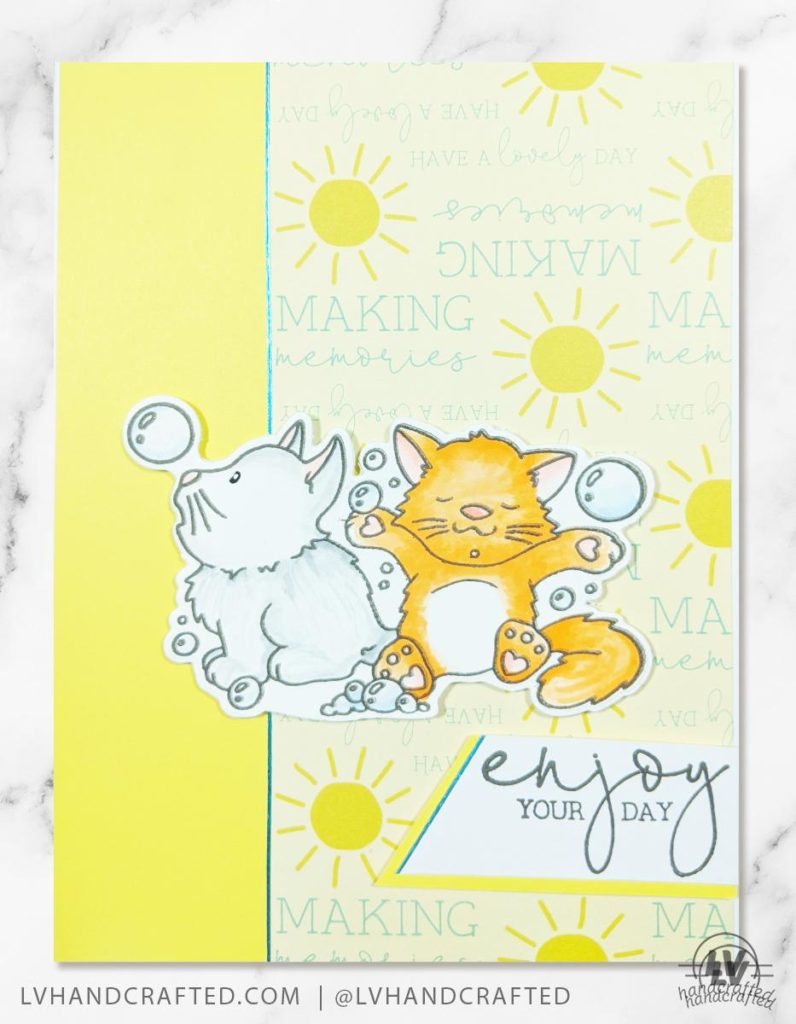
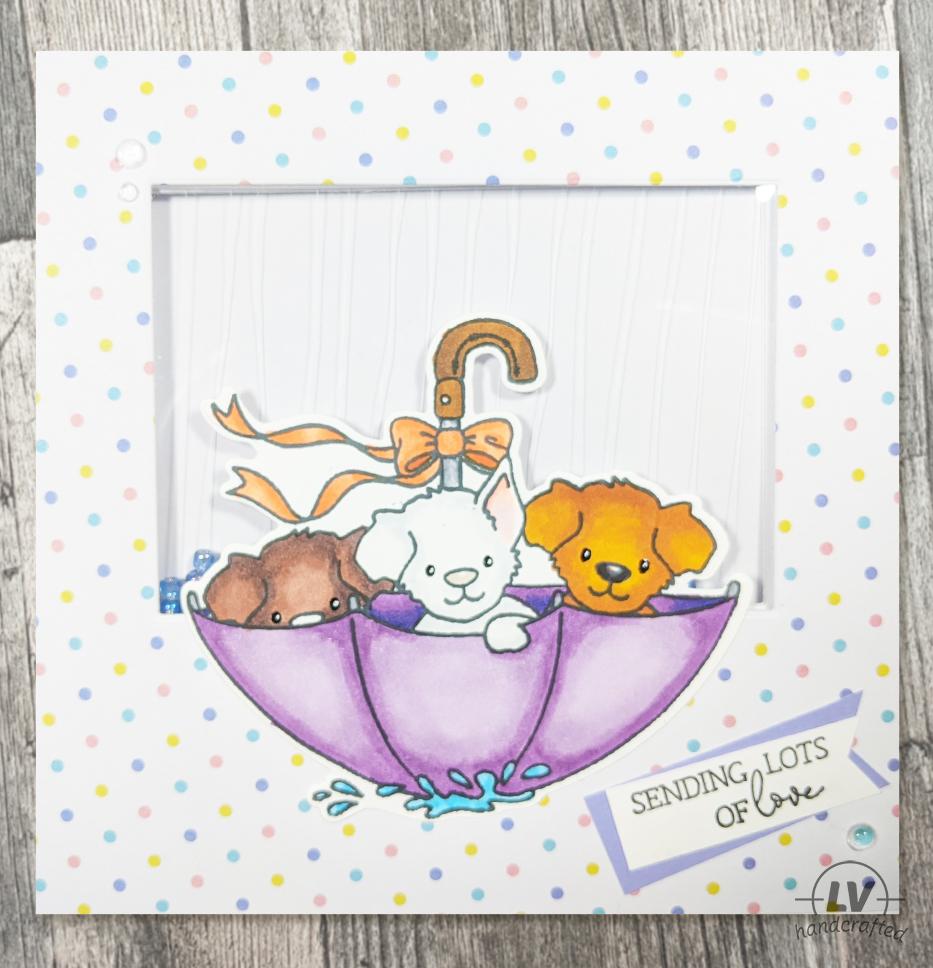
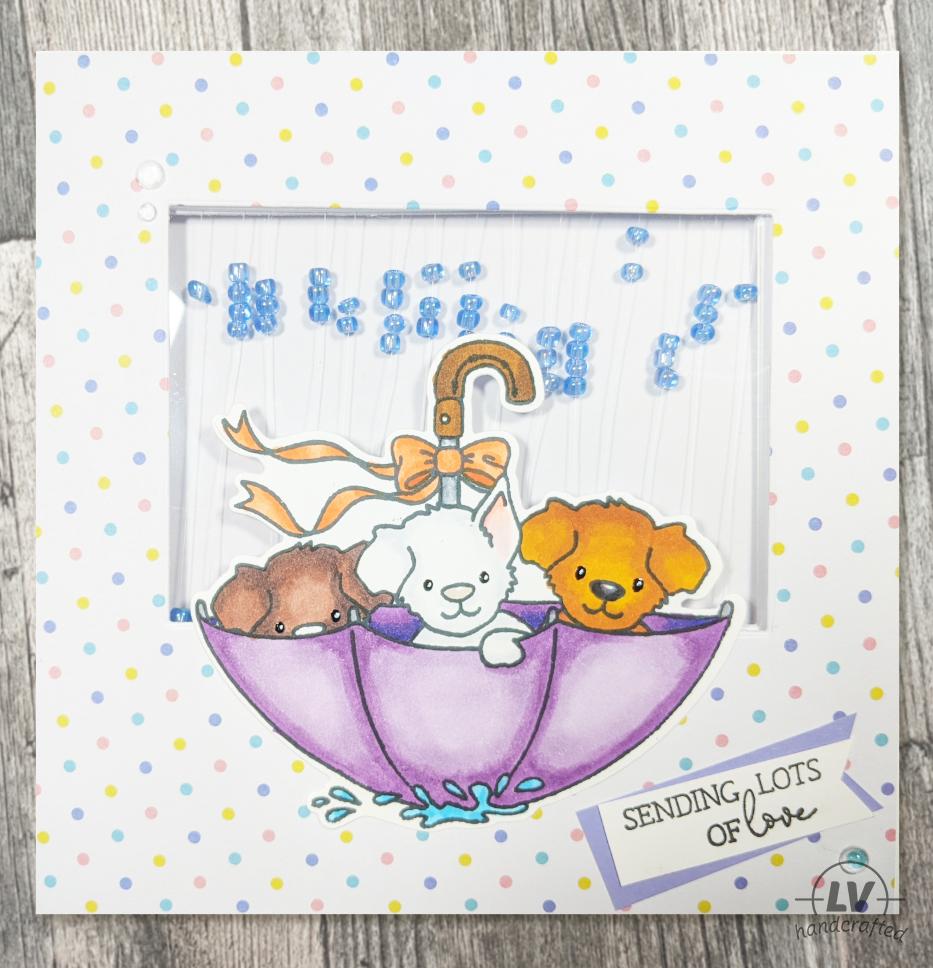
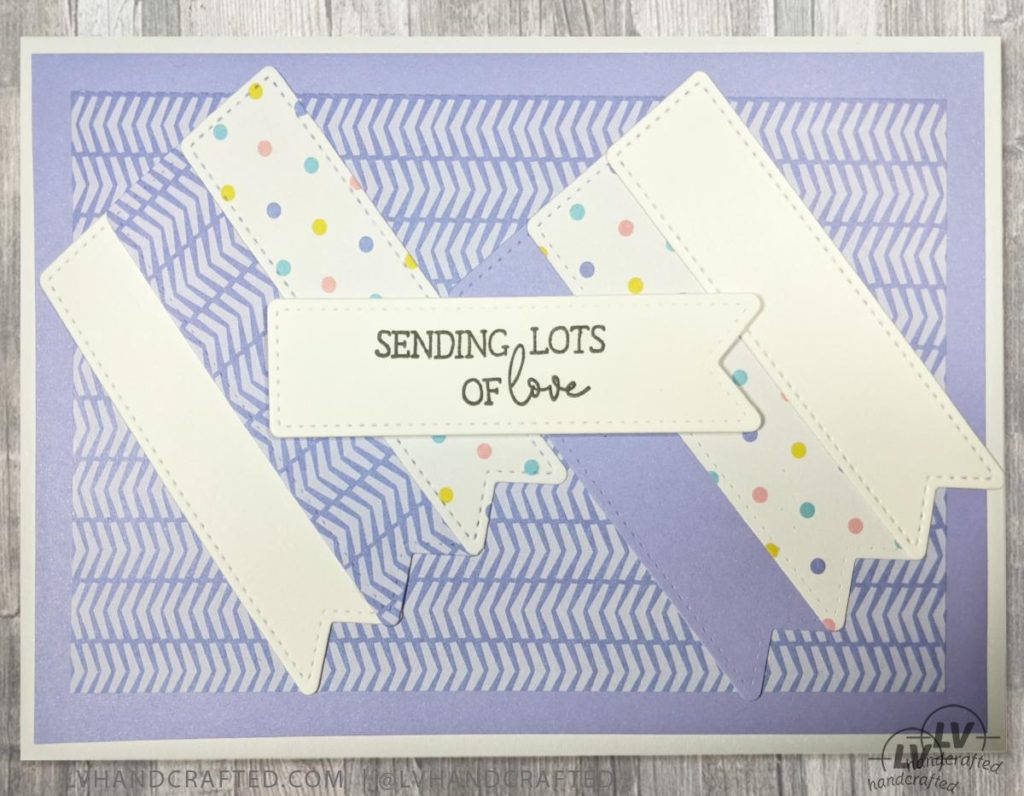
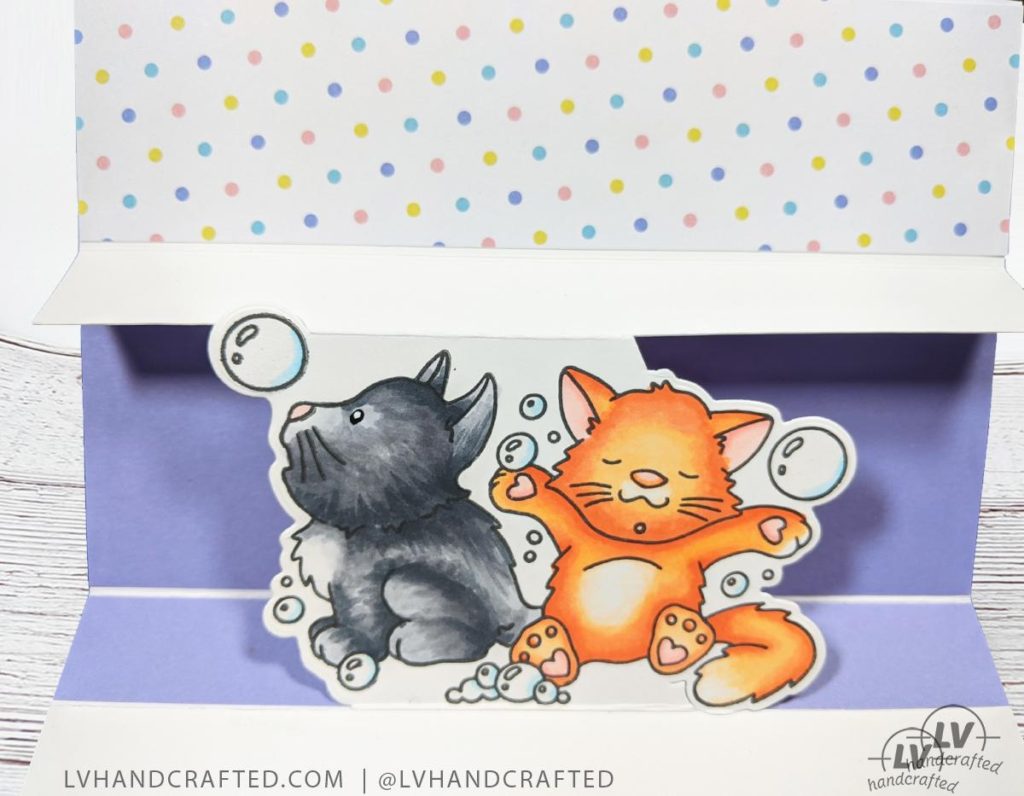
I was so excited to dive into this kit. I have a few other boxes I haven’t even opened, but I wanted to get straight into this box because I had been eyeing the “character-over-the-edge” dies for a while now. And I love them all so it’s so hard to just get one or two — I want them ALL! But without a bundle deal, they are a bit spendy for me, so instead I treated myself to this box to get a little taster. 🙂
These character-over-the-edge dies are super versatile! If you’re like me and you wondered what the point is of having 3 different dies instead of one die that cuts all the way around — well, as it turns out, it’s actually quite handy! Yes, you could always do partial die cutting, but it’s a lot easier with these dies because you don’t have to worry about cutting too far into your image. In particular, the two side dies make it really awesome to do the pop-up card where you can leave the bottom and top uncut. Plus, between the 3 dies, you can get probably +90% of the image cut through, so with just a tad of fussy cutting, you can still get a full die cut.
And the fantastic news is CC had a bundle deal recently with all the character-over-the-edge die sets. I just treated myself to it. Yay!
Unboxing
Tutorial
Tips & Tricks
- Pop-Up – Use the left and right die to cut a pop-up for the inside of your card! Just be careful though because you need to look for a combination that leaves enough of the bottom and top still connected to the card.
- Edge’able – You can use these dies as a sort of “edge’able”, which is a different line of CC dies. With the 3 different dies, you can put that fancy cut edge on any of the 3 sides — left, top or right!
- Rain drops – I didn’t show it in the video because I thought it would be too fiddly to do on the train. I have a rectangle die that just cuts little dots around the border. This gave me the perfect holes for threading my invisible thread through for the “rain” (seed beads). I did thread it so my rain was coming down at an angle. It did take a bit of time to do, but totally worth it! I love the rain effect! Be sure to pull tightly because it will loosen a bit overtime.
- Eyes – I went over all the eyes with a black glaze pen. Once that was dry, I added a bit of a specular highlight with a white gel pen. The combination of the two really makes the characters come alive. I considered adding black glaze to the noses too, but I really wanted the eyes to pop, so left the noses alone.
Check out other cards I’ve made in my Card Gallery. Interested in other projects like mini albums, boxes and bags? Check out my Project & Mini Album Gallery.
Shop This Project
Below are the brands, shops and products I use this project and in general!
-
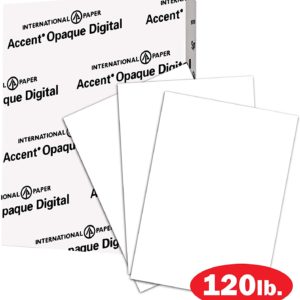 Accent Opaque – 120lb Cover, 8.5 x 11 Paper, 150 Sheets
 -
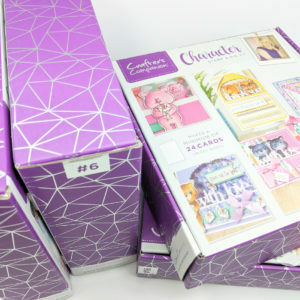 Crafter’s Companion Craft Boxes
 -
 Craftstash
 -
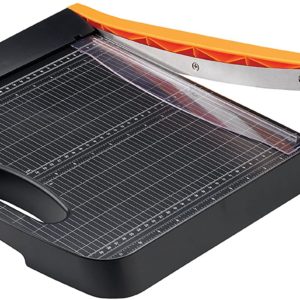 Fiskars – Bypass Trimmer (12″)
 -
 Fiskars – Micro Tip Scissors
 -
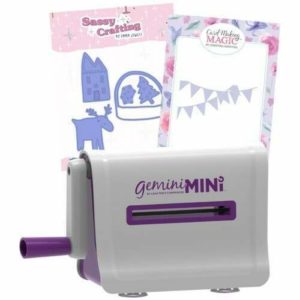 Gemini – Mini Die Cutting Machine Bundle
 -
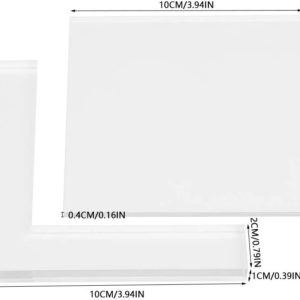 Generic Stamp Positioning Tool
 -
 Scrapbook.com
 -
 Scrapbook.com Foam Sheets
 -
 Sizzix
 -
 Spellbinders
 -
 Tonic Studios
 -
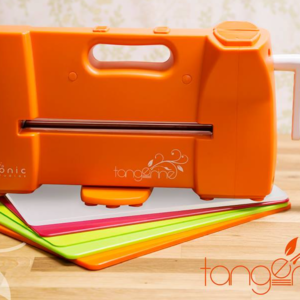 Tonic Studios Tangerine Die Cutting Machine

