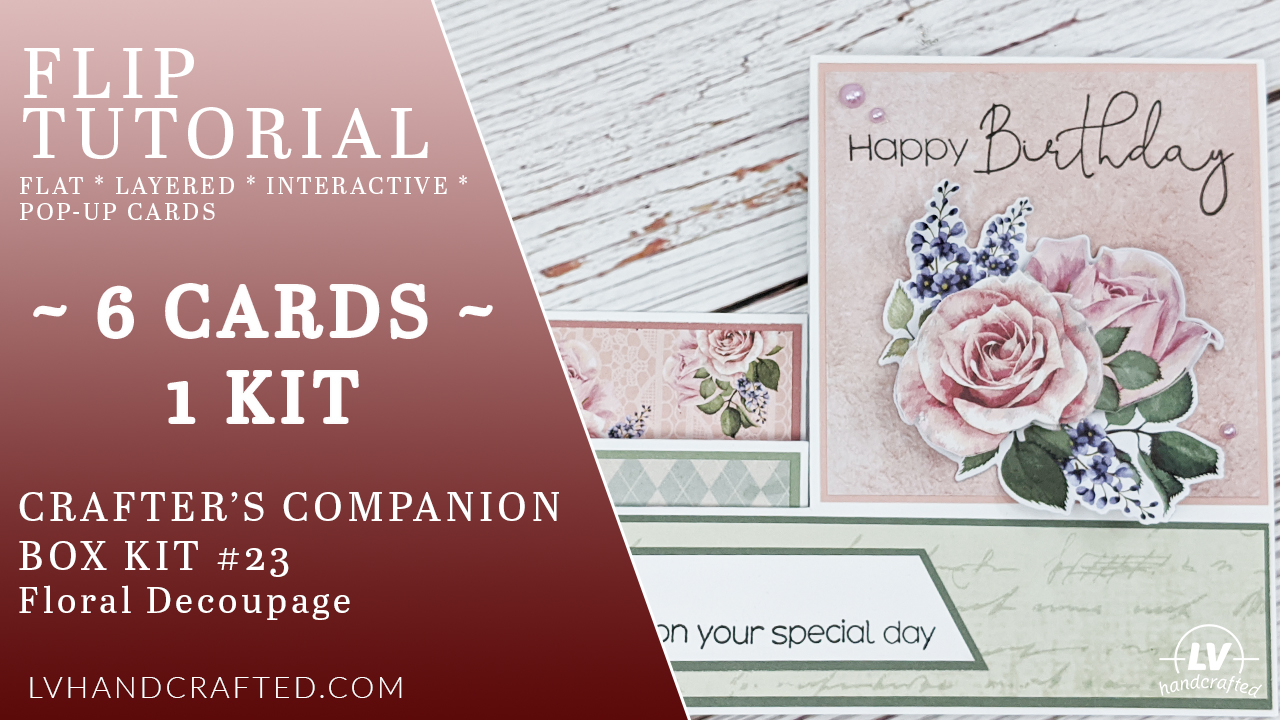
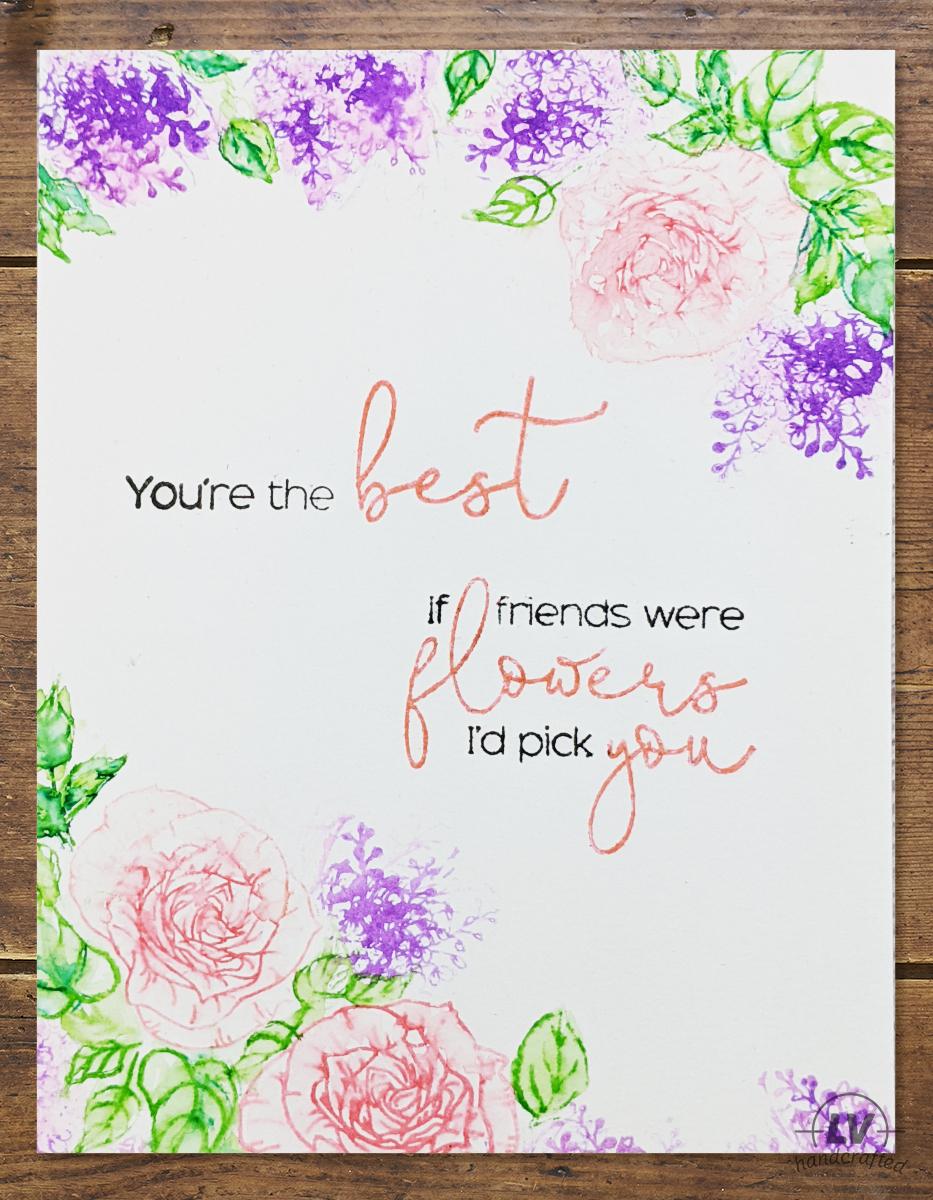
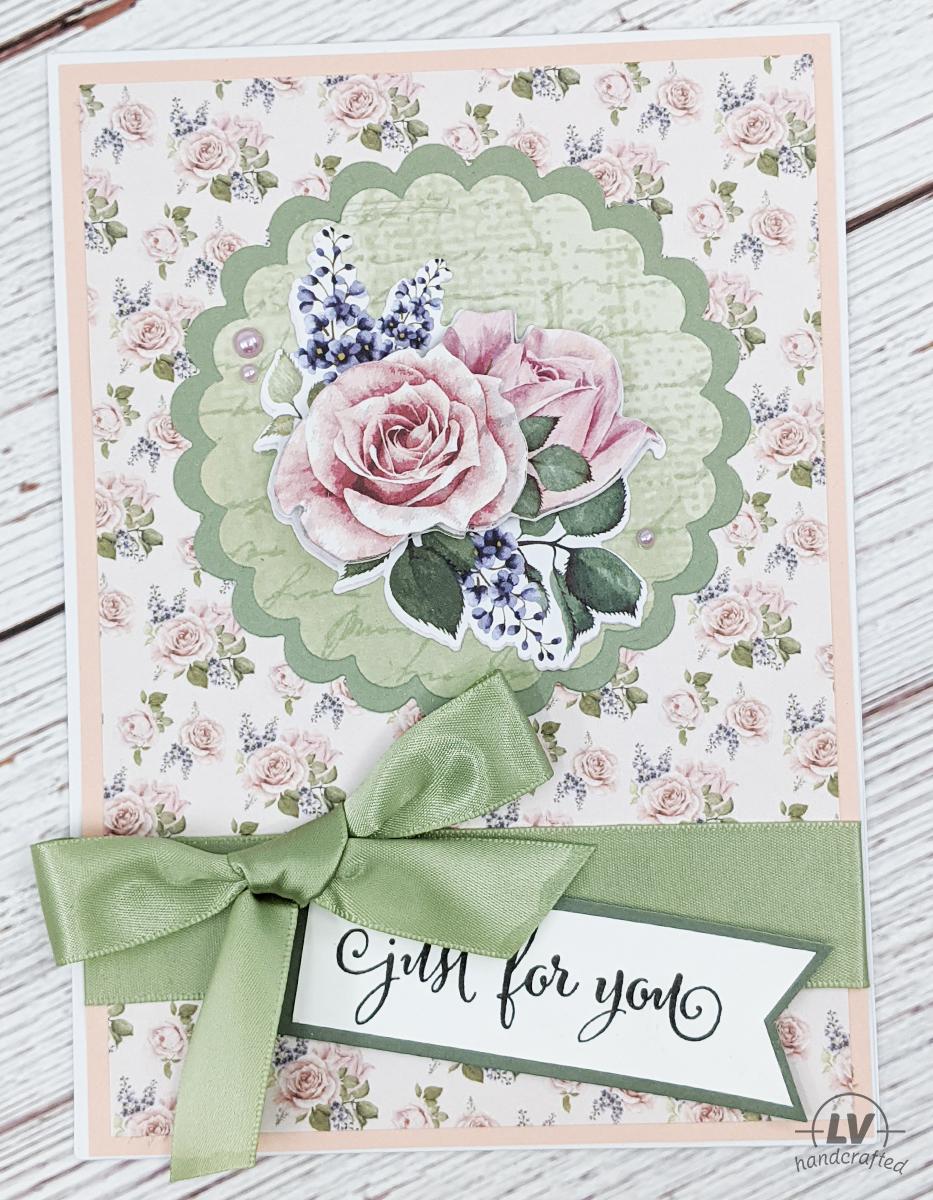
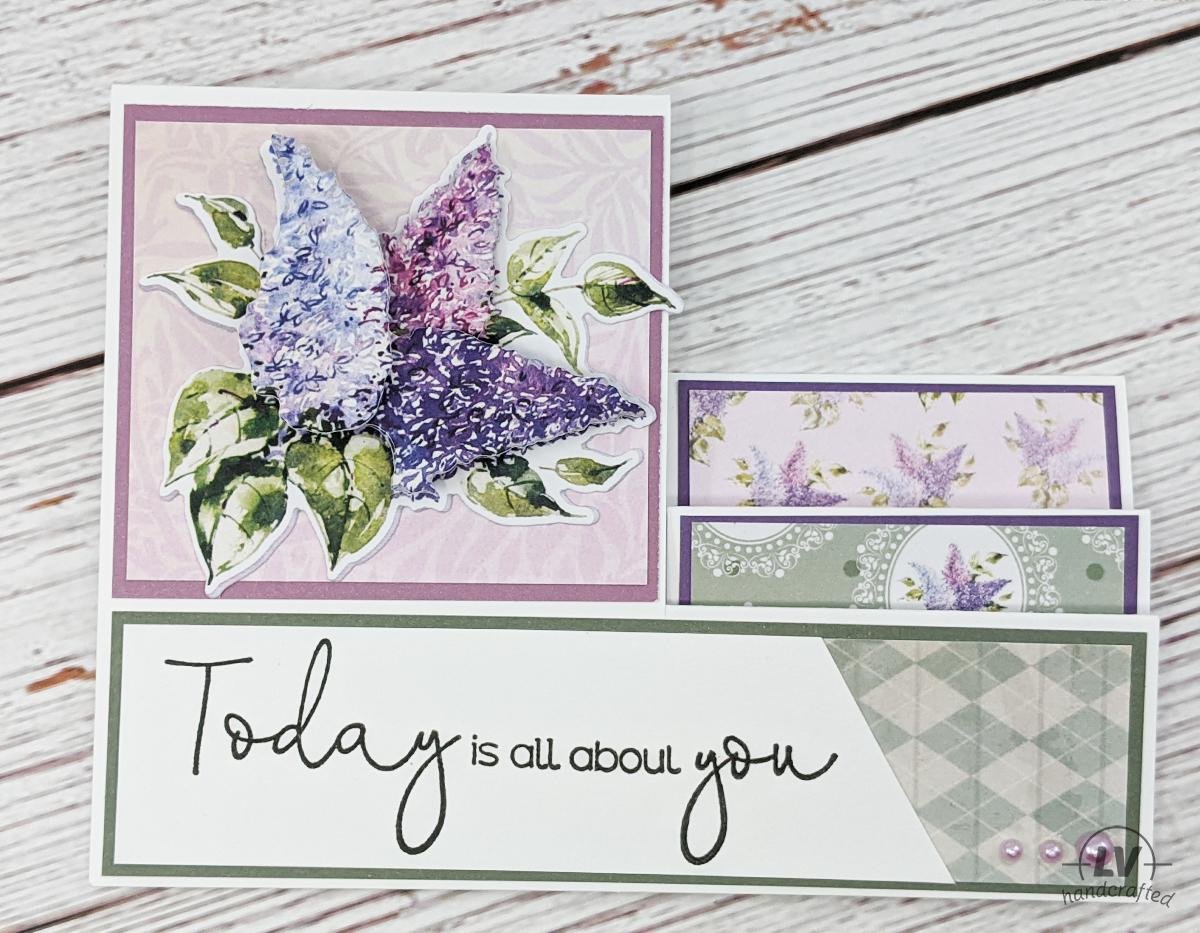
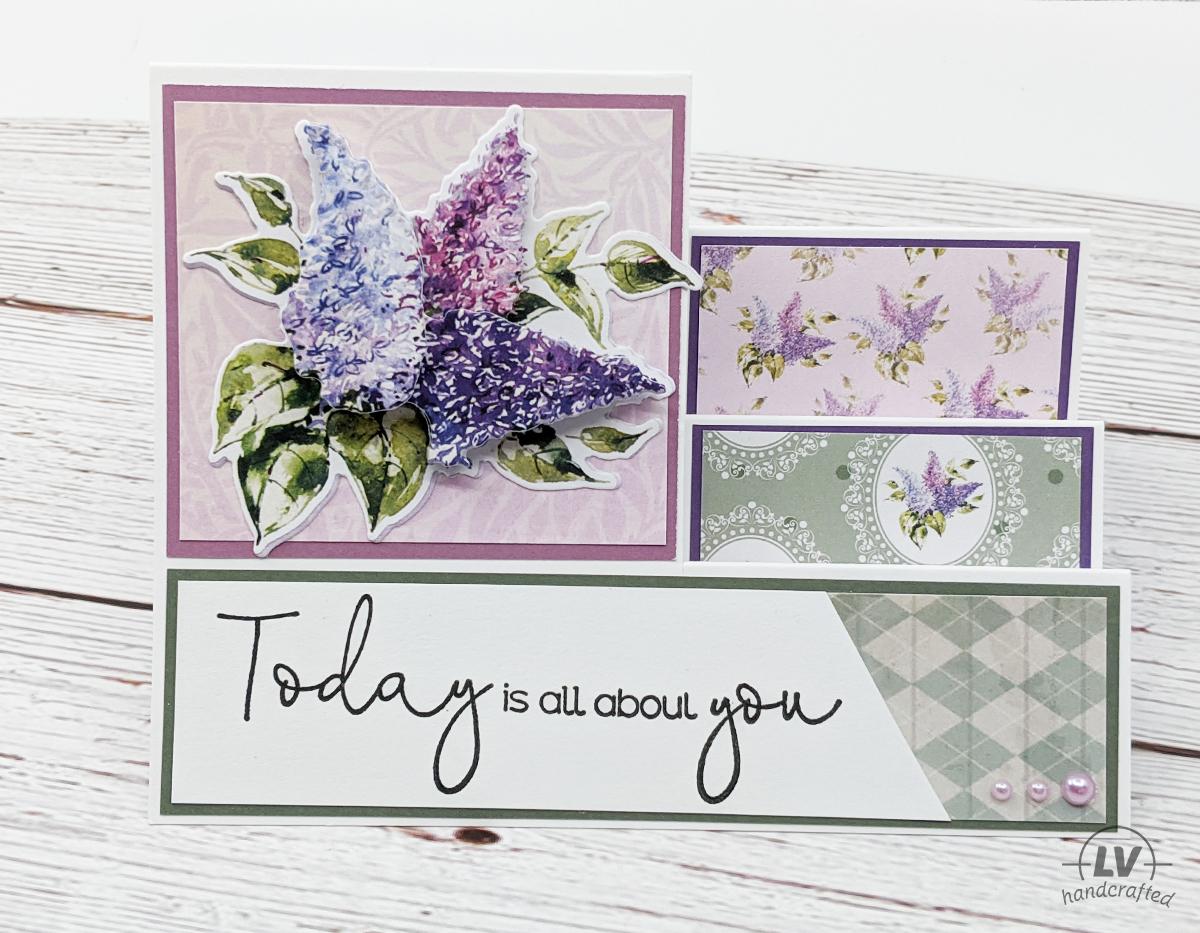
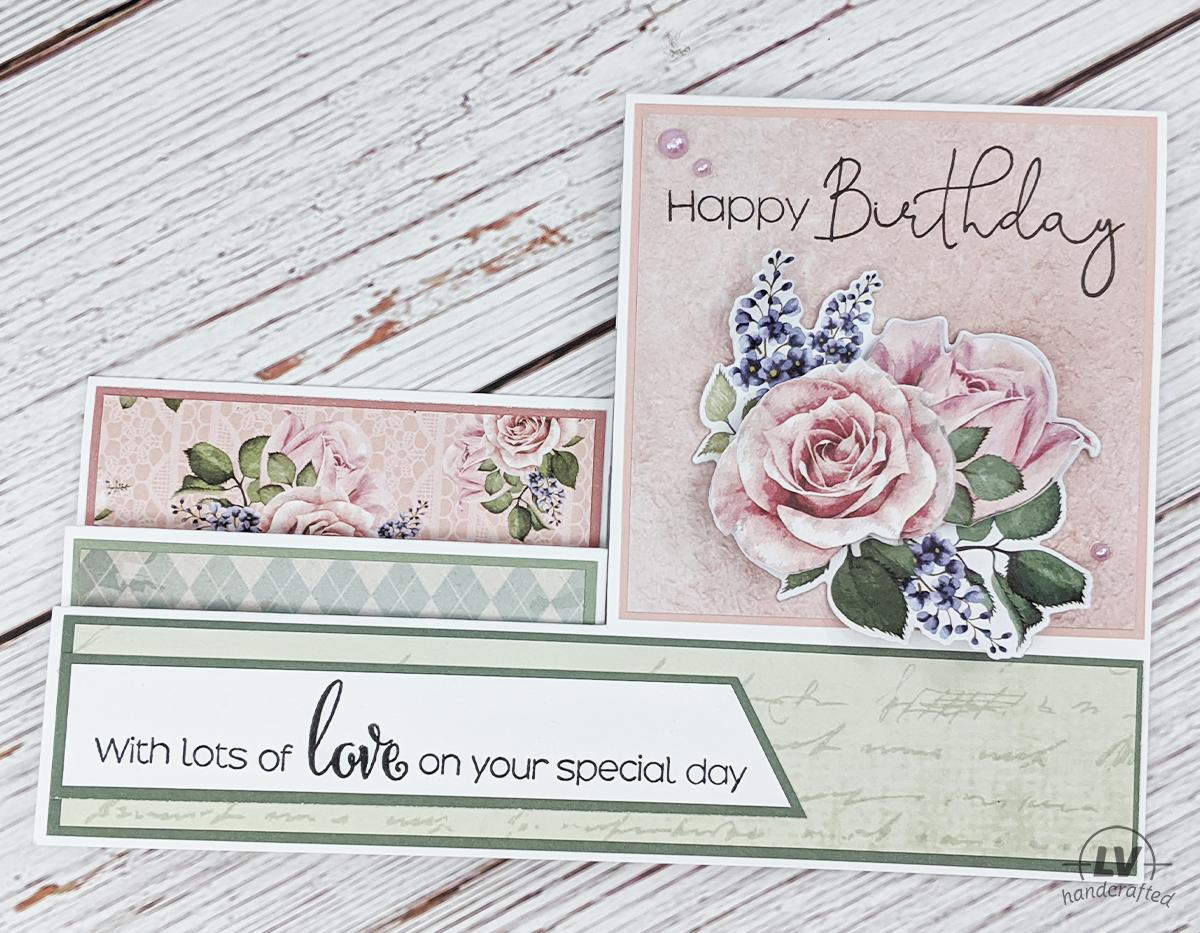
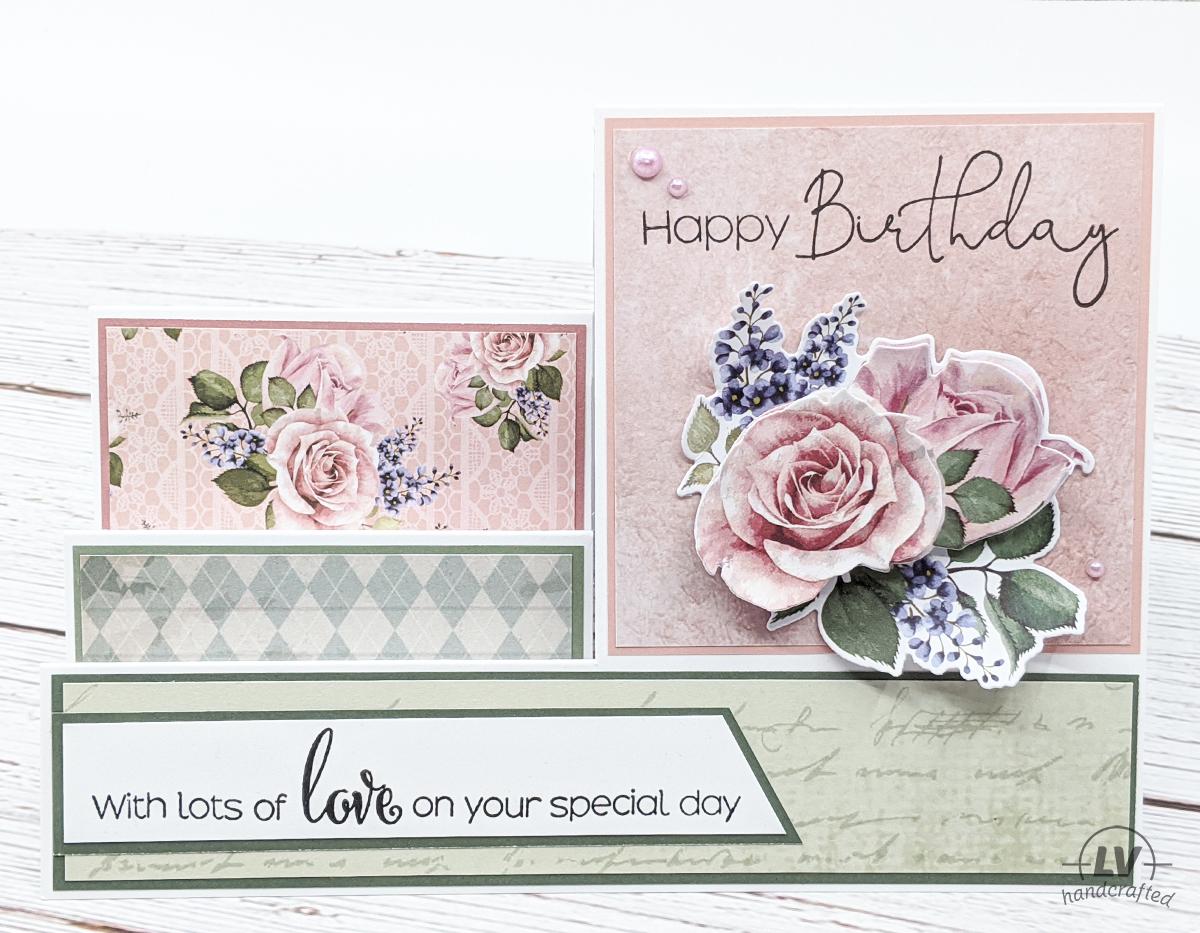
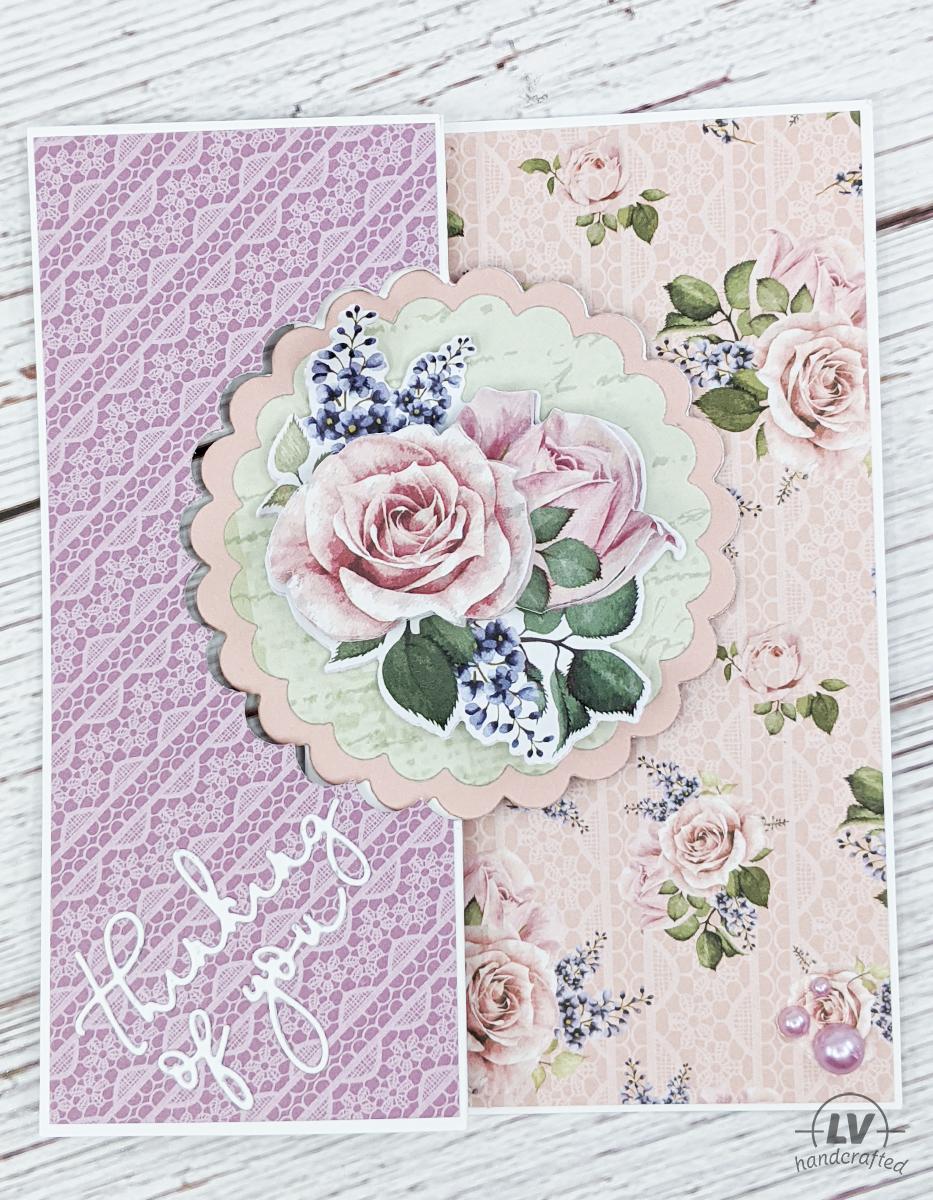
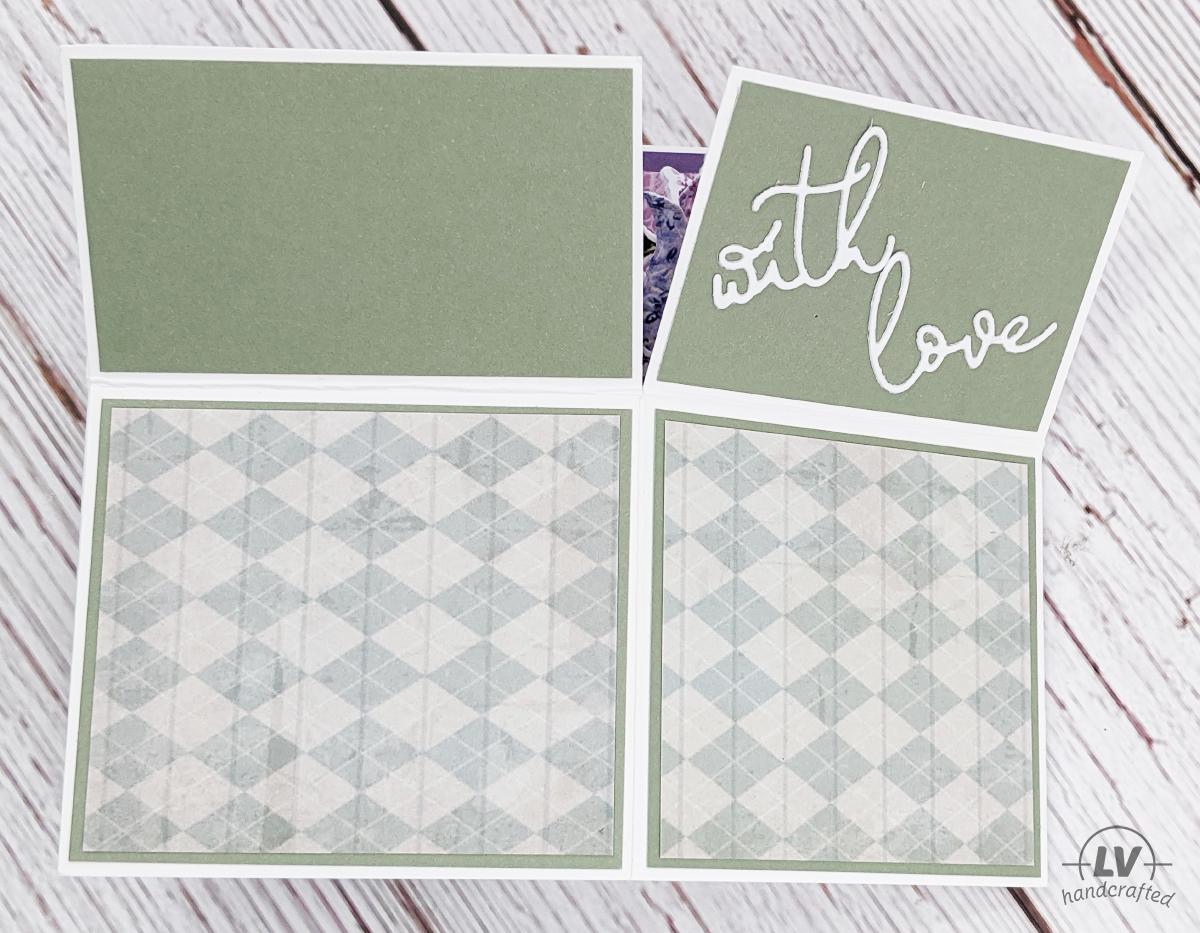
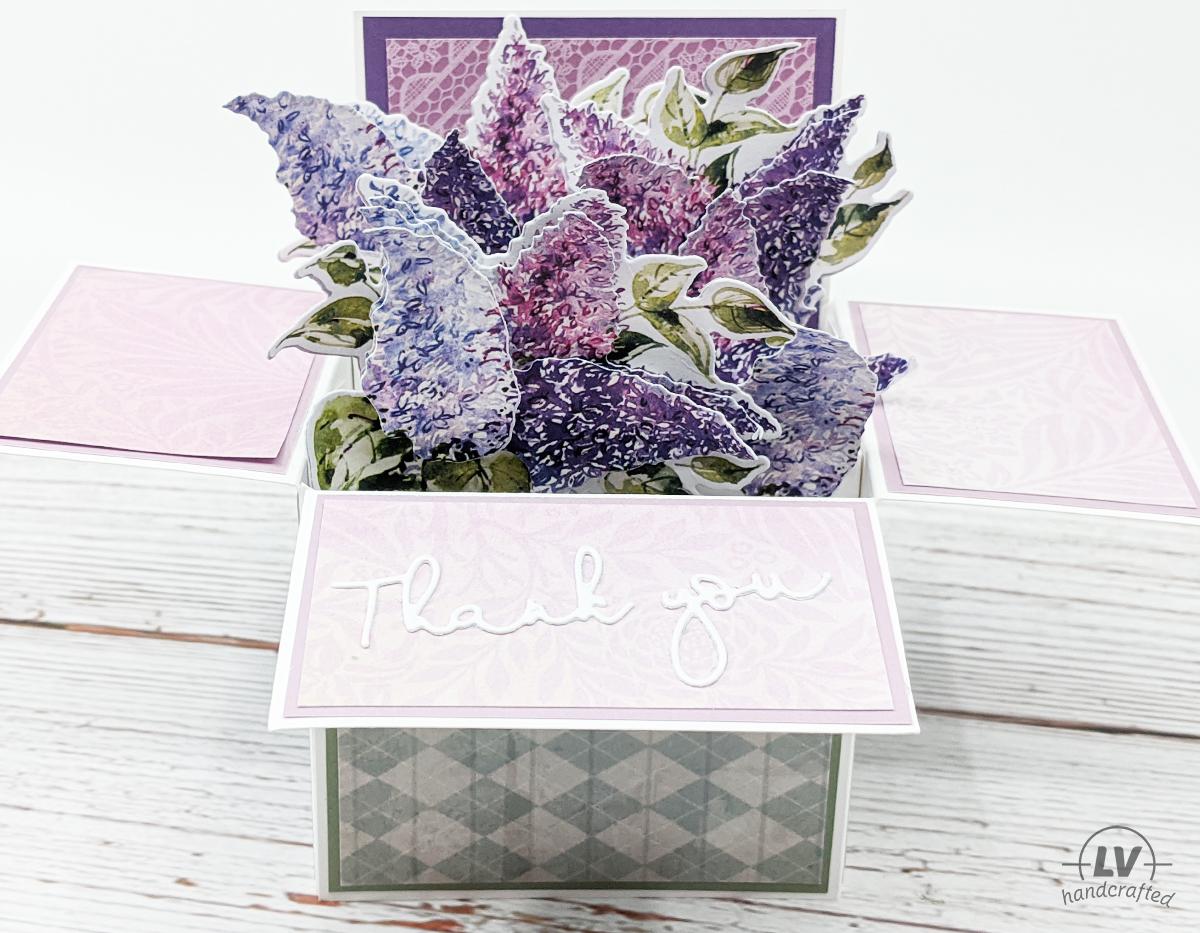
I actually haven’t done much decoupaging where you line up multiple layers of the same image to build up dimension. I was looking forward to this kit for that reason. What’s really cool is that this kit not only comes with pre-printed decoupage sheets but it also comes with a stamp set that allows you to stamp and color more images. You also get all the dies necessary to cut out the floral pieces. And there are actually TWO floral designs in the kit!
Unboxing
Card-Making Tutorial
Flower Assembly
Tips & Tricks
I assembled my floral decoupage in a few different styles just to play with it and see what I got. Here’s what I tried:
- Stack with foam squares – this is probably the quickest and most common method. Just die cut your pieces and adhere them using foam pieces.
- Die cut adhesive foam to match – I used the same dies that cut the decoupage sheet and die cut some foam sheets. This gives me edge-to-edge foam behind each die cut piece. The result is a very different look from the first because the sides are a solid white (from the foam)
- Curl the edges – I did some very simple “shaping” by curling the edges of the die cuts before adhering them to each other. This gives the entire piece even more dimension and realism.
Shop This Project
-
 Scrapbook.com Foam Sheets
 -
 Crafter’s Companion Craft Box #23 – Floral Decoupage
 -
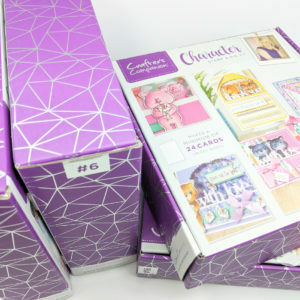 Crafter’s Companion Craft Boxes
 -
 Fiskars – Bypass Trimmer (12″)
 -
 Tonic Studios – Guillotine Trimmer (12″)
 -
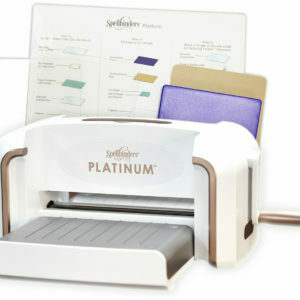 Spellbinders – Platinum Die Cutting Machine
 -
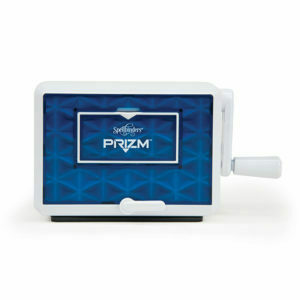 Spellbinders – Prizm Die Cutting Machine
 -
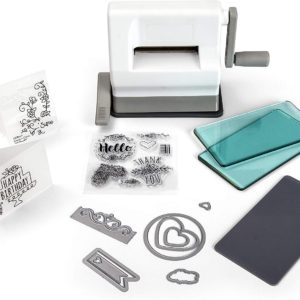 Sizzix Sidekick
 -
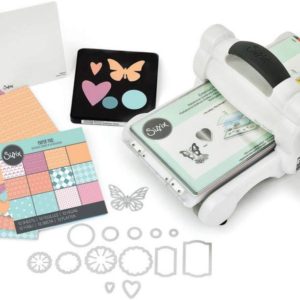 Sizzix Big Shot Starter Kit
 -
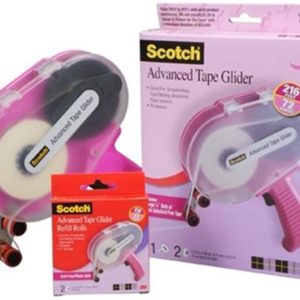 Scotch Advance Tape Glider
 -
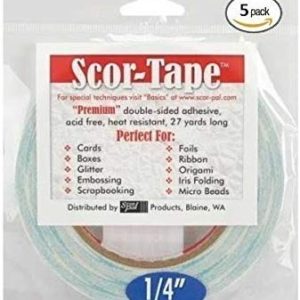 Scor Tape (Sookwang) – 1/4 inch

