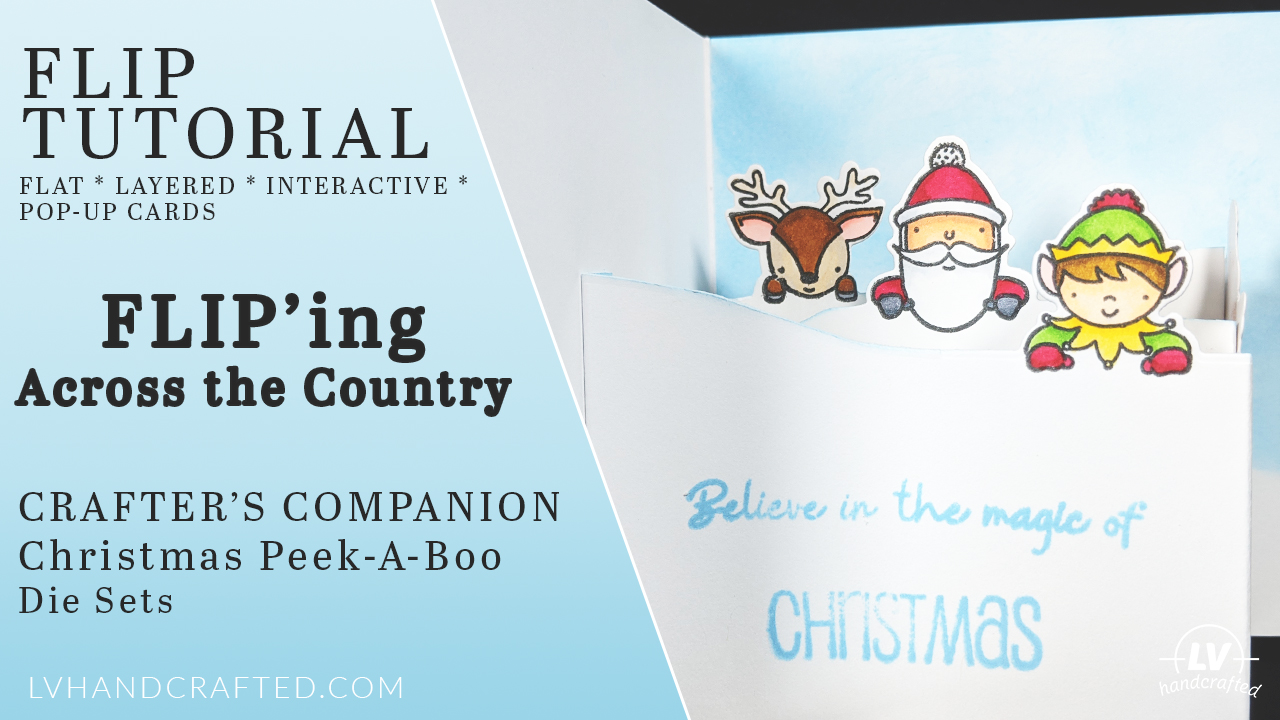
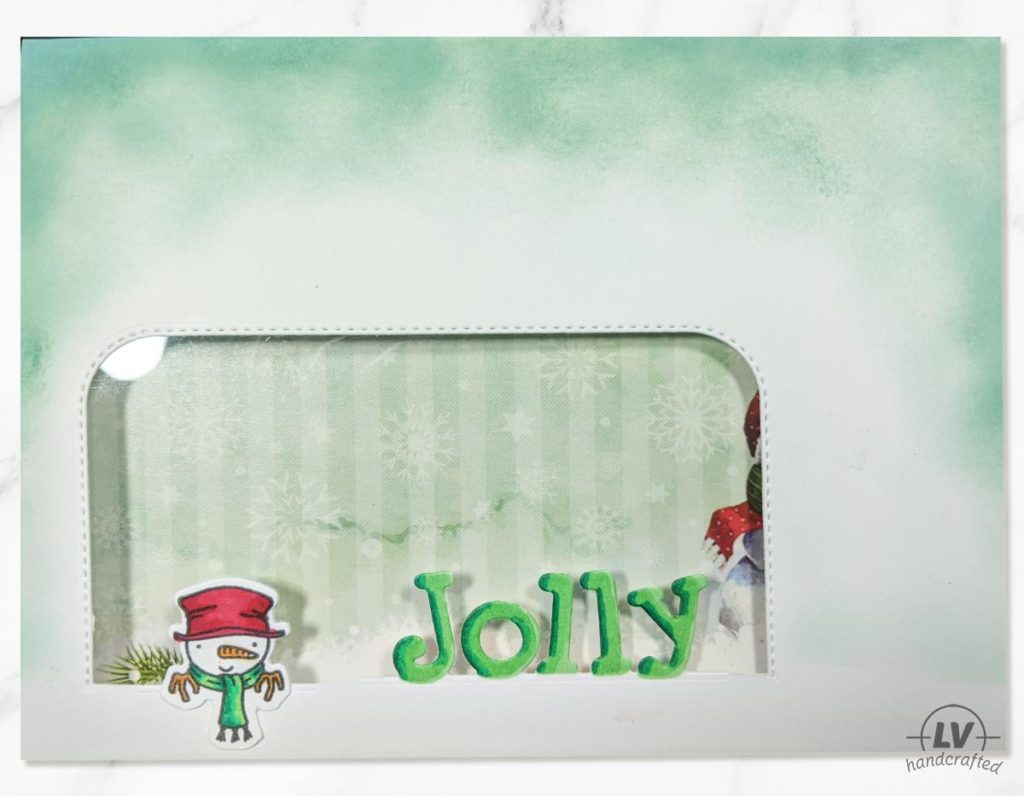
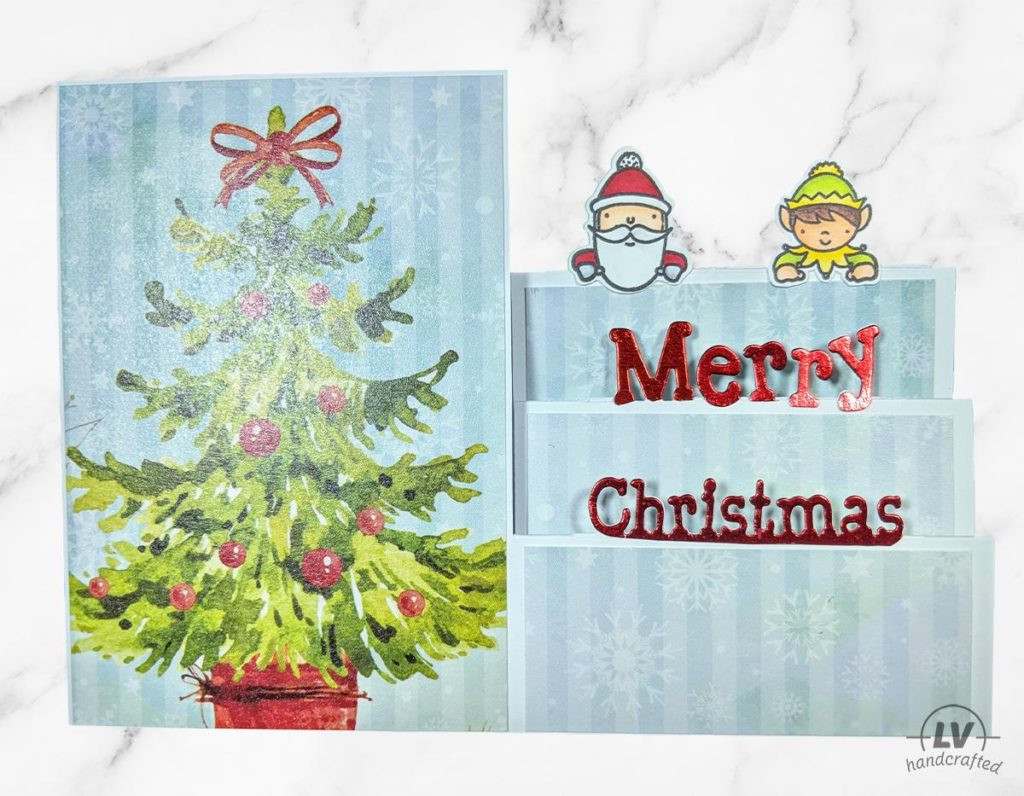
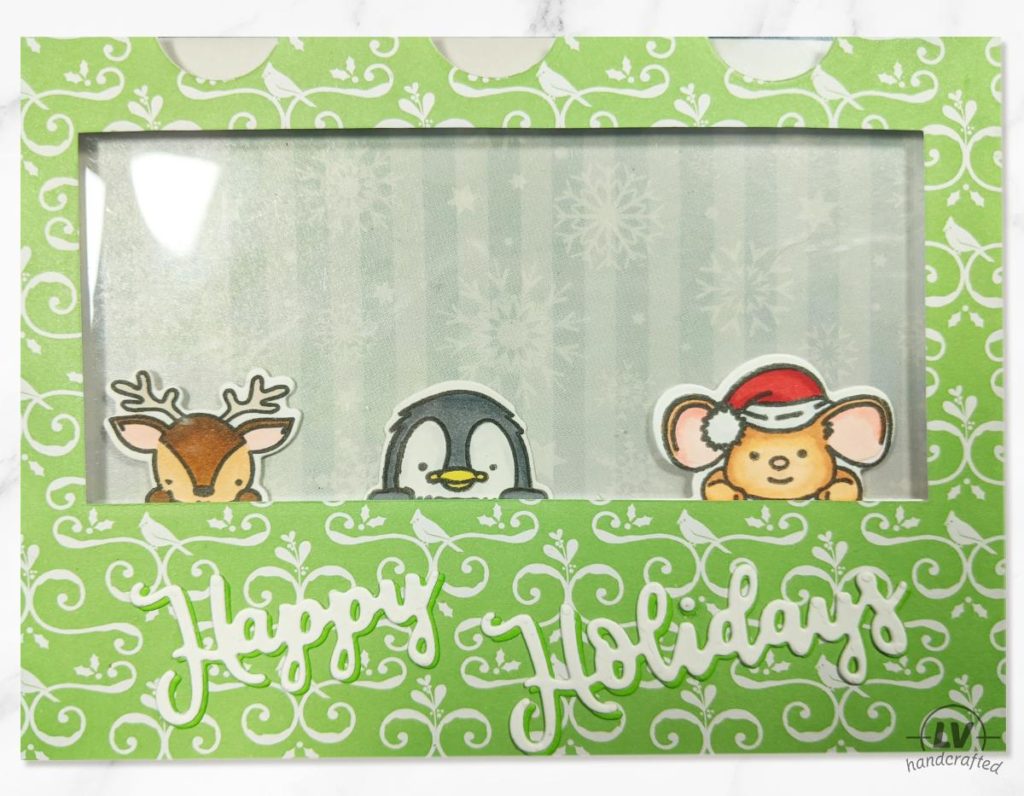
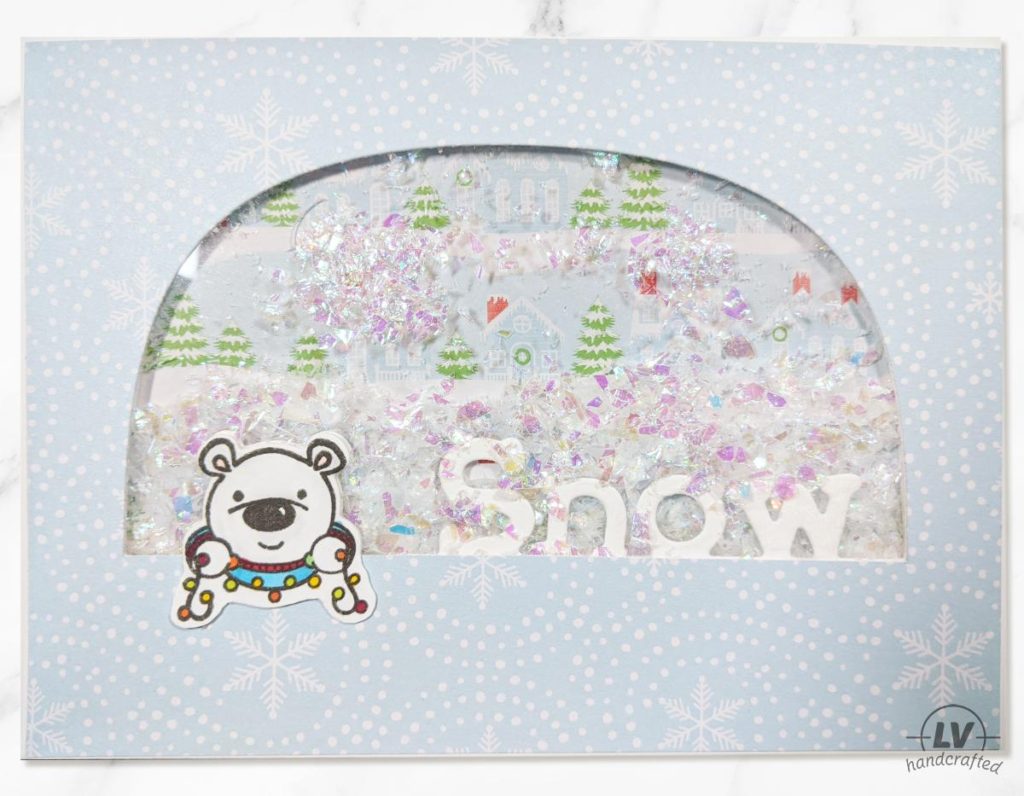
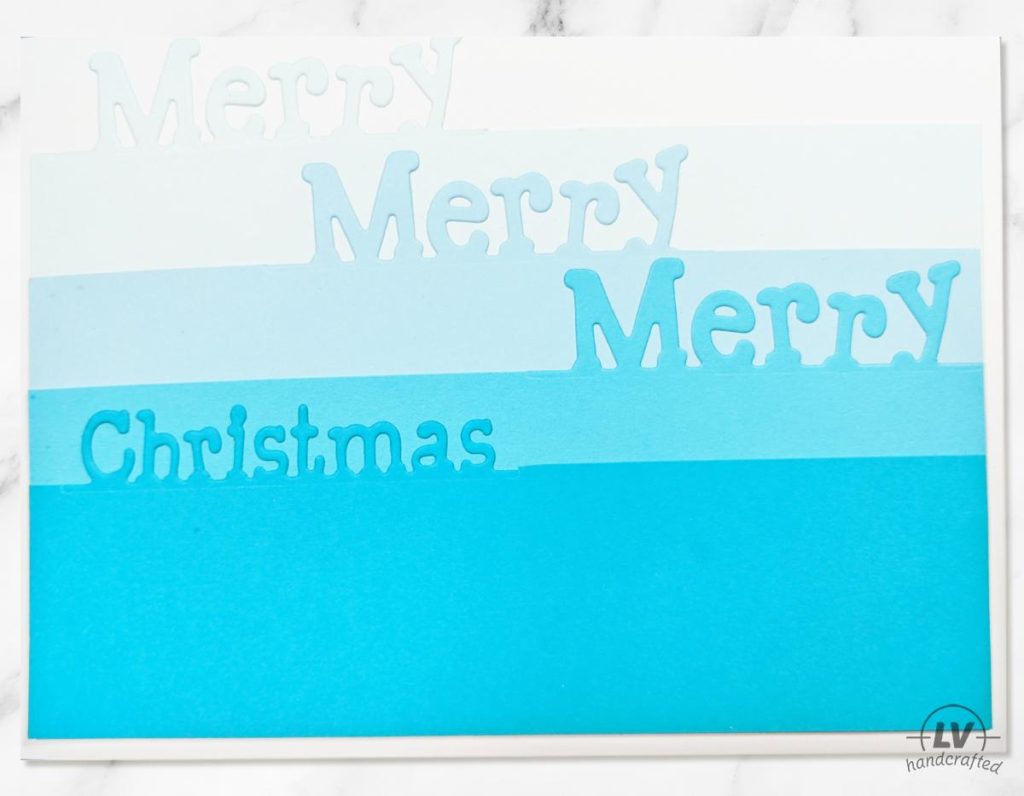
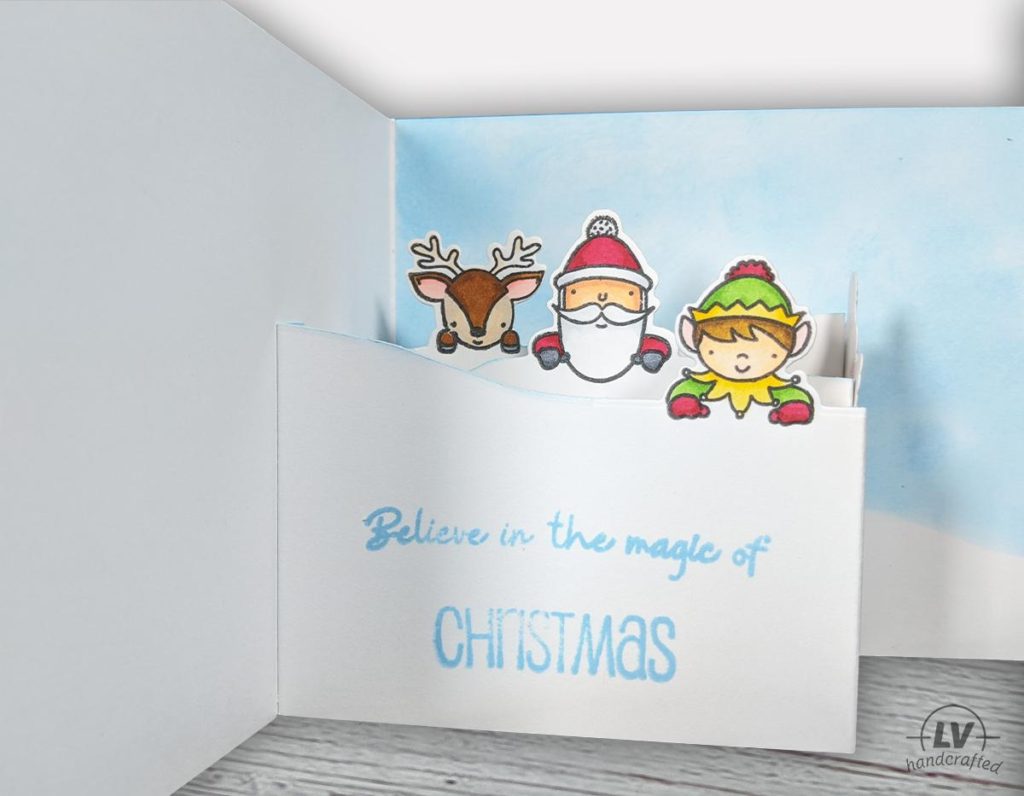
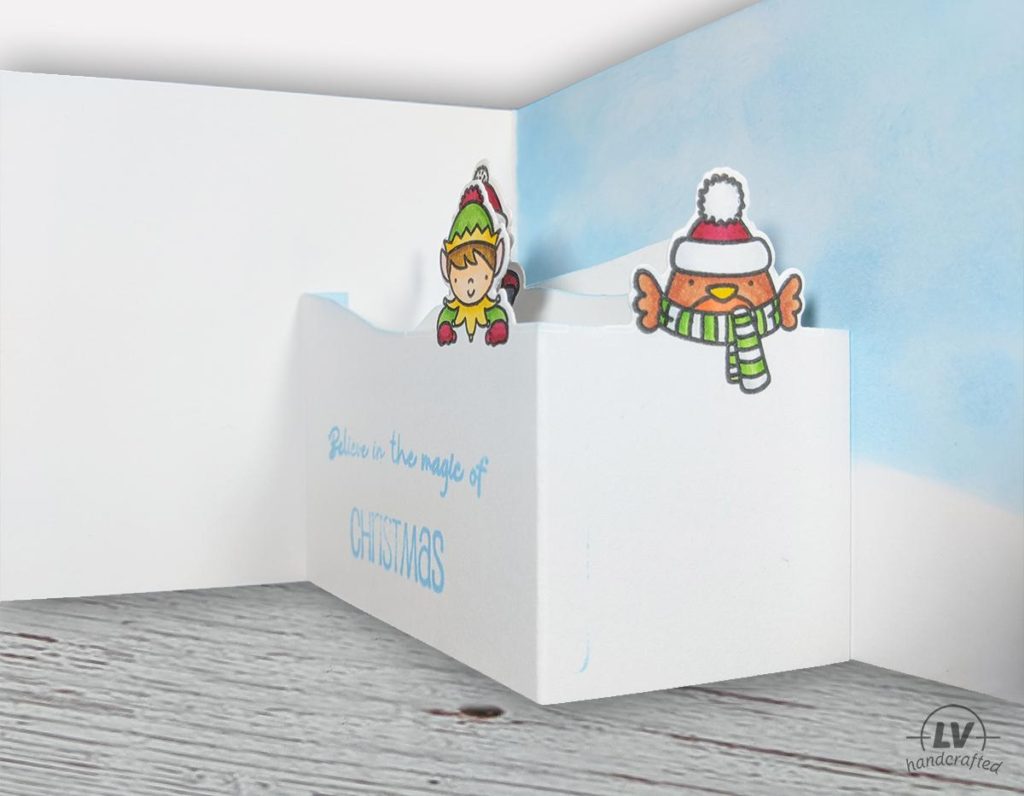
These Peek-A-Boo dies come in two varieties — the Christmas and the Everyday. I don’t have the entire Christmas set, but I did get the full Everyday set when it went on sale. The unique aspect of these stamp and die sets is that you get stamps for the front and the back of the characters. It’s not often you get the back of a character, so you can really create fun scenes like characters peeking into the card. The die that comes in the set only cuts the top portion of the character, which makes it an easy way to cut fun edges.
In general, I find Craftstash has fantastic prices even without any special offers or deals. The only thing is they don’t always have full sets or bundles. Crafter’s Companion generally has great offers when they do their full collection bundle deals. You really can’t beat the price of their bundled deals especially when you include your Club Inspire discount.
Tutorial
Tips & Tricks
- If you’re coloring the characters with alcohol markers, the coloring will bleed through to the back. So if you’re using the front and back of the character, you may want to stamp the back of the character and color it in separately. I recommend coloring the back image onto your card/card panel directly. Then stamp and die cut the front image of the character on a scrap piece of paper. That will require a smaller scrap and also be less fussy cutting. But really, it depends on the look you’re trying to create and which side you want to e flush to the card and which you want to be raised.
- If you have multiple dies in this collection, you can always mix and match the characters, sentiment die, and sentiment stamps. For example, there’s a Penguin with “Christmas” and a Polar Bear with “Holiday”, so you can combine those for “Christmas Holiday”. You can even mix and match between the Christmas and Everyday… for example, you can make “Santa Baby” by combining the Santa and the Elephant sets.
- Of course, the characters can definitely be mixed with any of the sentiment dies and with other characters too!
- If you’re die cutting multiple dies at the same time, I highly recommending taping down your dies. In fact, I like to pop some tape anywhere two dies are close to each other. This way, you secure those down so they will not move and risk popping over each other, damaging your dies.
- If you have the Character Stamp & Die Box Kit and/or the Word Edge’able Box Kit, then you’ll have the “arch” dies often used with these peek-a-boo dies since they only cut along 3 edges. You can buy these arch dies as well from Crafter’s Companion if you don’t have them.
- If you don’t have any window arch dies, you can just use a nesting die and do a partial die cut from the top, leaving the bottom portion attached to your card.
Check out other cards I’ve made in my Card Gallery. Interested in other projects like mini albums, boxes and bags? Check out my Project & Mini Album Gallery.
Shop This Project
Below are the brands, shops and products I use this project and in general!
-
 Accent Opaque – 120lb Cover, 8.5 x 11 Paper, 150 Sheets
 -
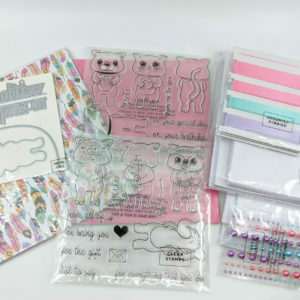 Crafter’s Companion Craft Box #18 – Character Stamp and Die
 -
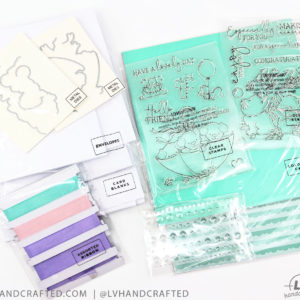 Crafter’s Companion Craft Box #28 – Character Over The Edge
 -
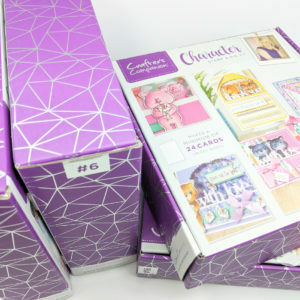 Crafter’s Companion Craft Boxes
 -
 Craftstash
 -
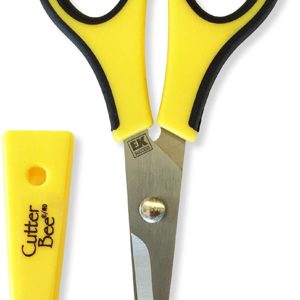 Cutter Bee Precision Scissors
 -
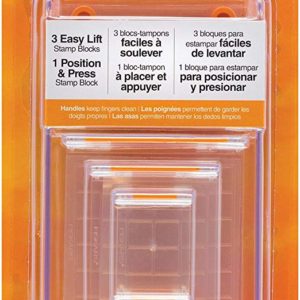 Fiscars Clear Stamp Block Set
 -
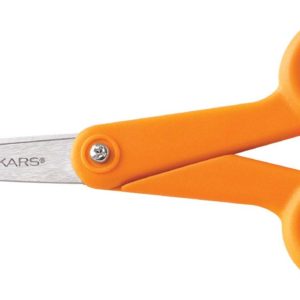 Fiskars – Micro Tip Scissors
 -
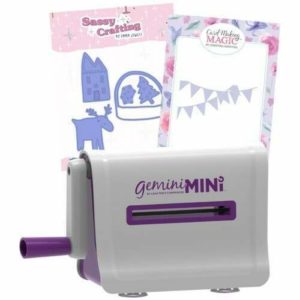 Gemini – Mini Die Cutting Machine Bundle
 -
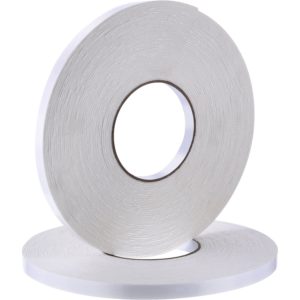 Generic Foam Tape
 -
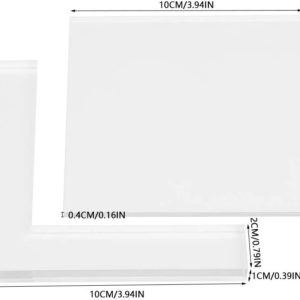 Generic Stamp Positioning Tool
 -
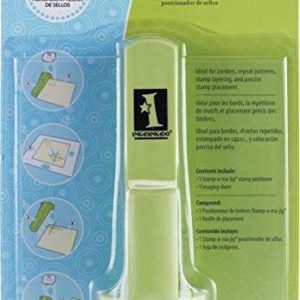 Inkadinkado Stamp Positioning Tool
 -
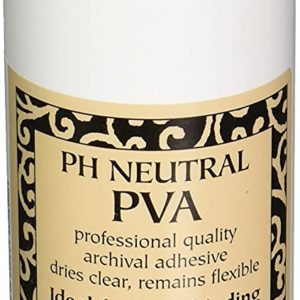 Lineco pH Neutral
 -
 Scrapbook.com
 -
 Scrapbook.com Foam Sheets
 -
 Sizzix
 -
 Spellbinders
 -
 Tonic Studios
 -
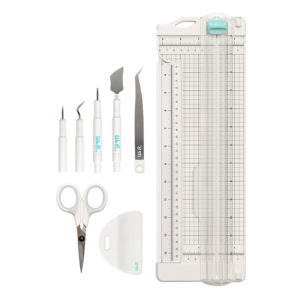 We R Memory Keepers – Hand Tools

