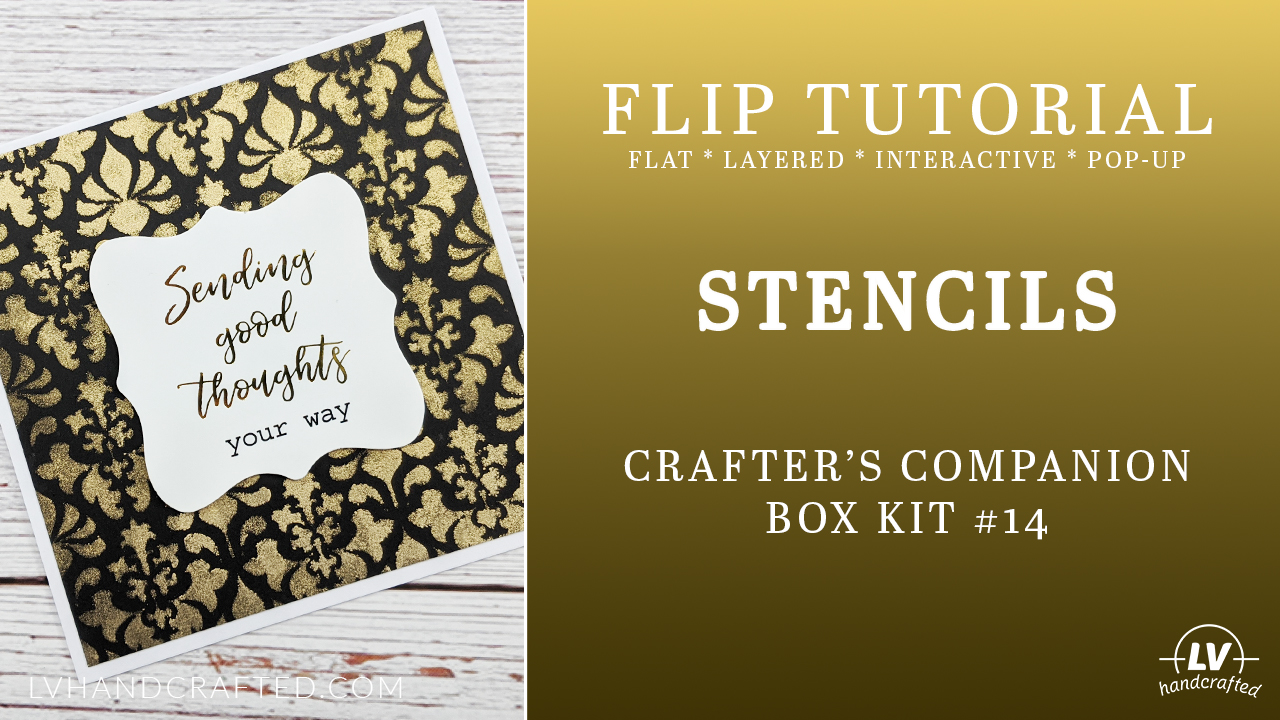
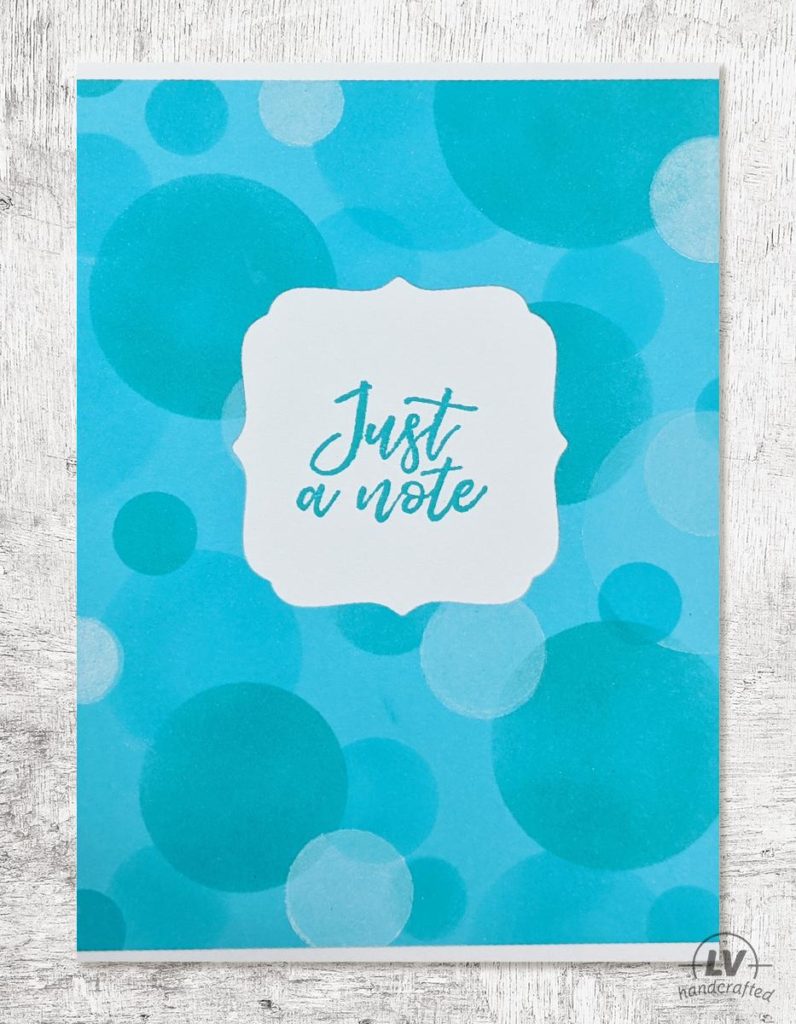
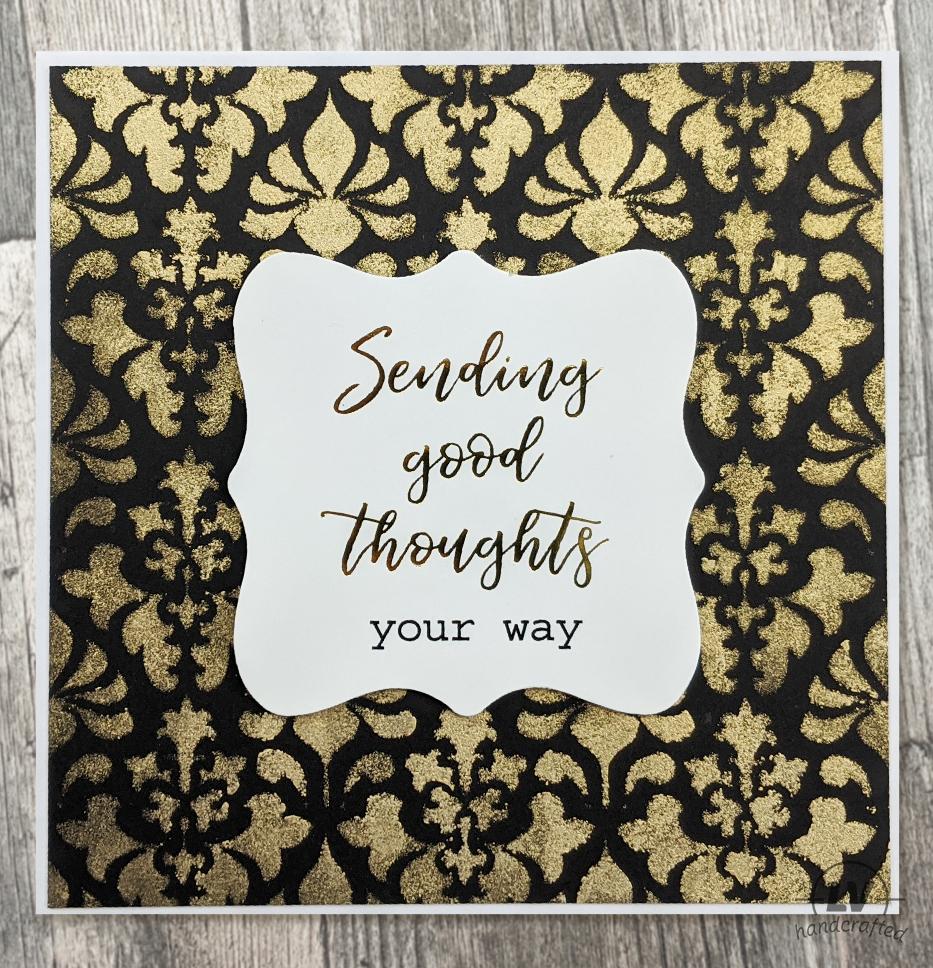
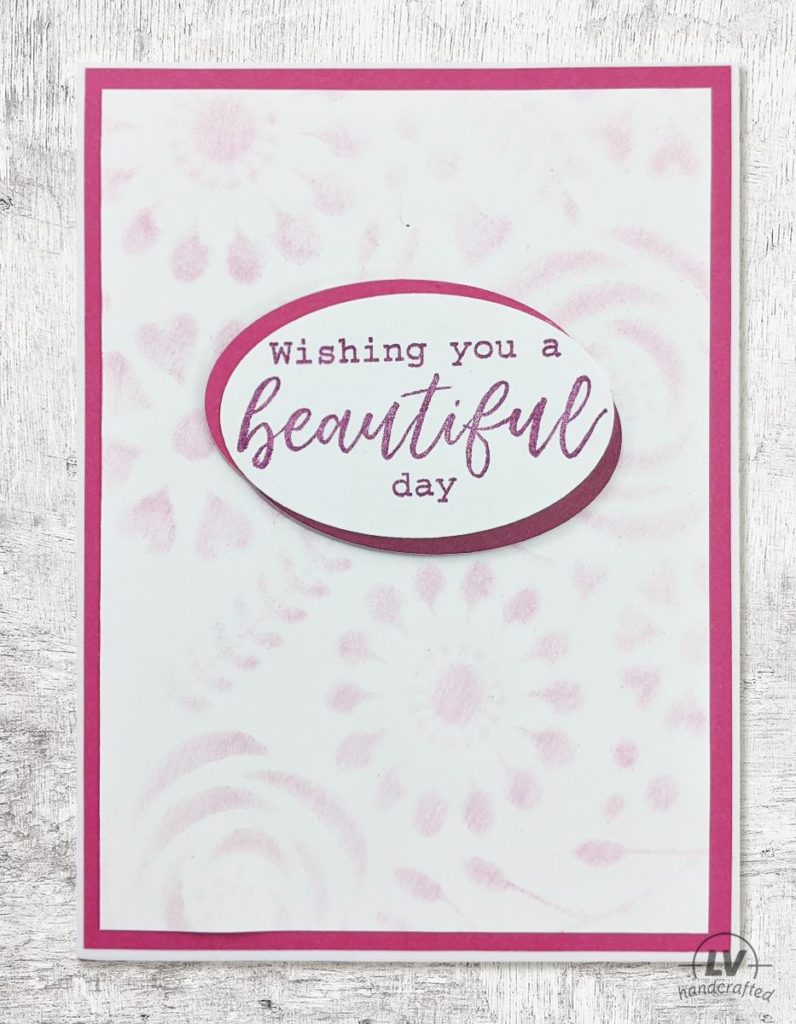
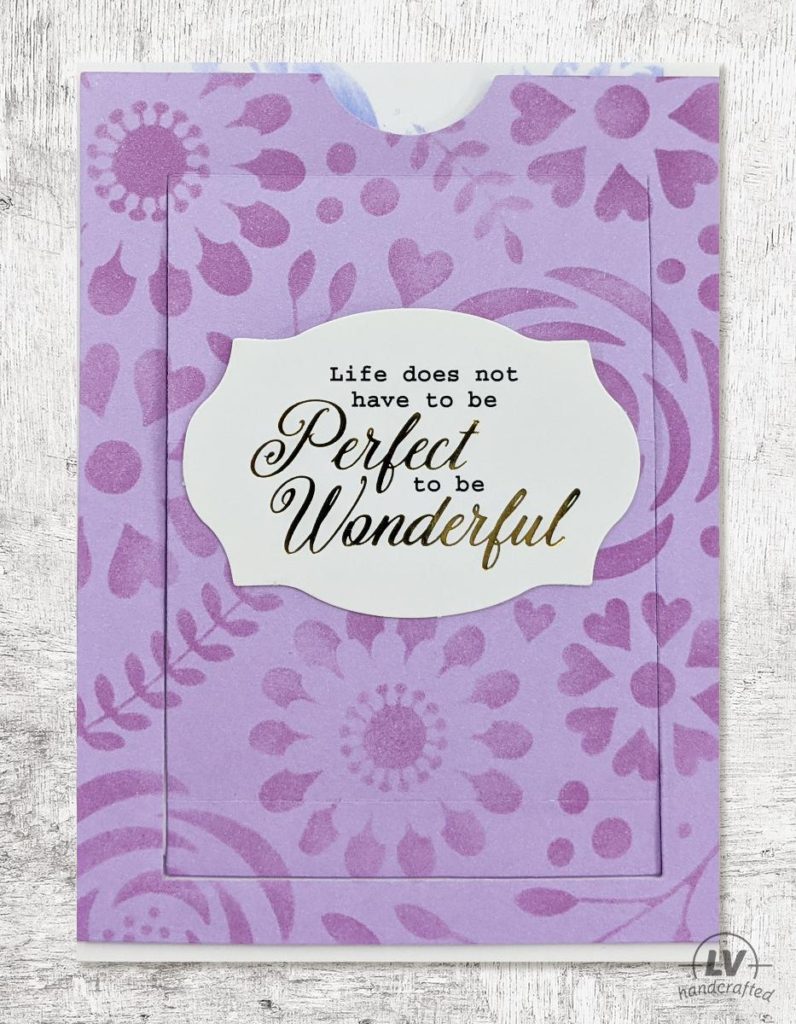
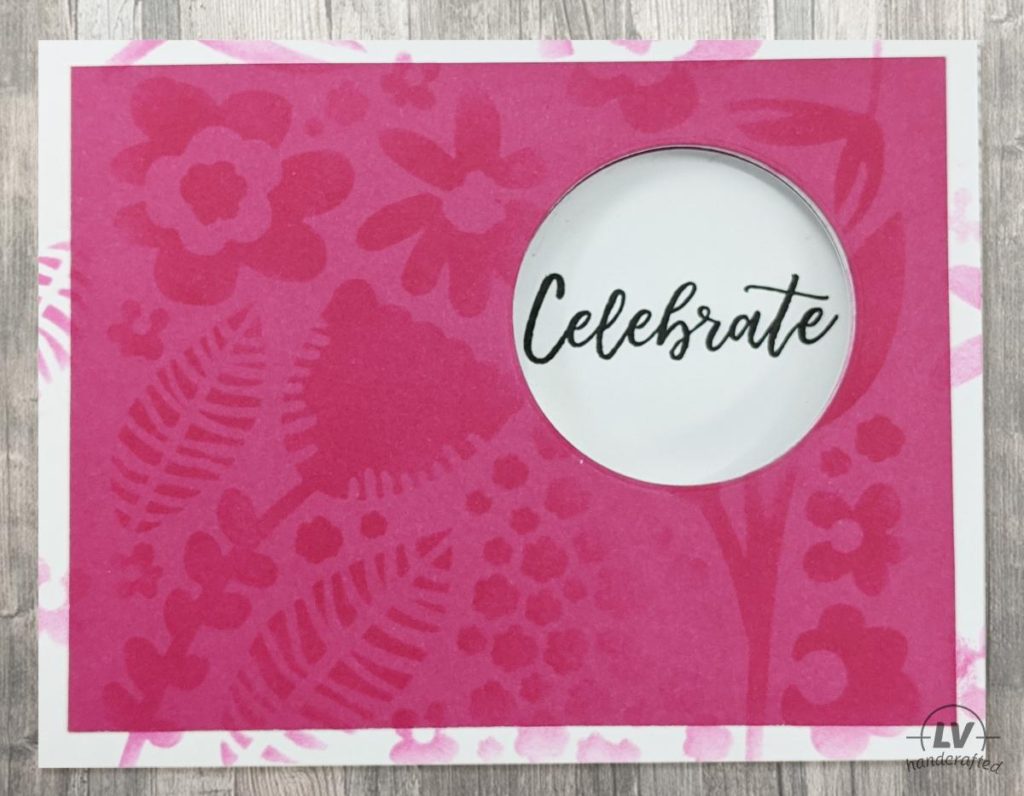
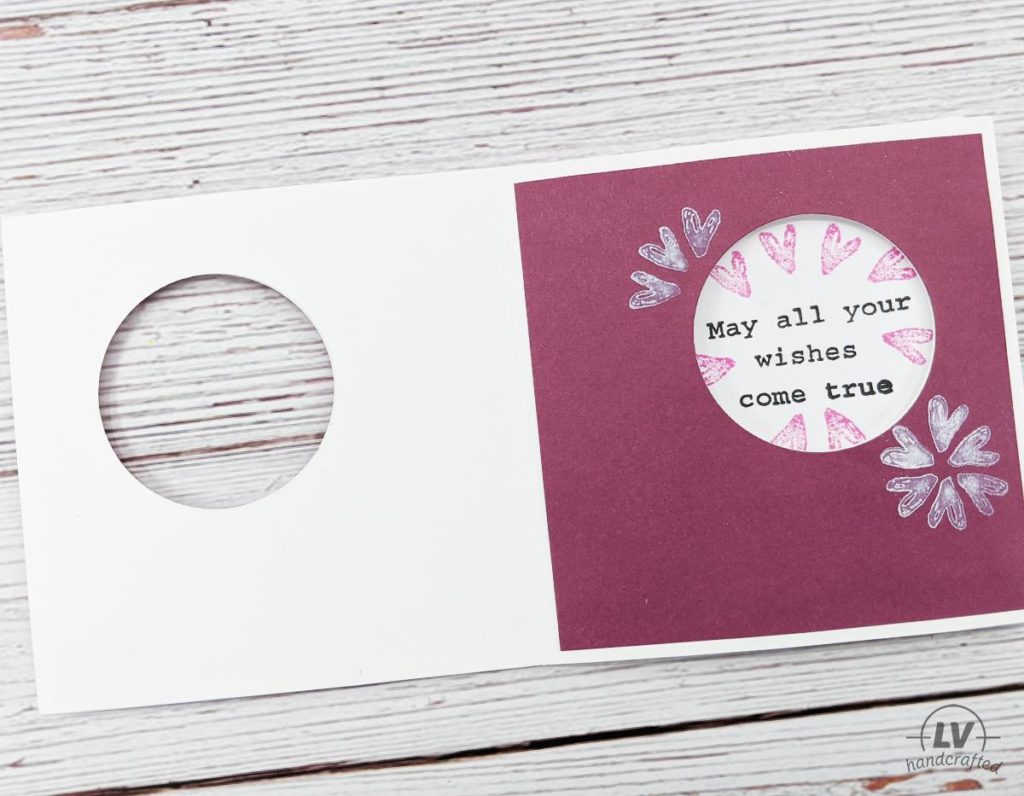
I don’t think I’ve ever used stencils as extensively as I did during this craft session. 🙂 It really did remind me to pull out my stencils more often. Stencils are great for making gorgeous backgrounds. These backgrounds can also stand centerstage with just simple sentiments to finish them off.
Unboxing
Tutorial
Tips & Tricks
- When you clean your stencils, if you use a wet wipe you can wipe the stencil onto a fresh piece of cardstock to get a second background for free.
- These stencils are a good size. However, if your stencil is smaller than your card size, you can still tile the design to fill your card panel.
- You can always rotate and shift your stencil to create different designs. You don’t always have to line it up straight with your card panel.
- Try different media with your stencils — ink, gilding polishes, embellishment pastes & mousses, texture pastes, etc.
- Experiment with applying VersaMark through the stencil and embossing the design.
- You can even use your stencil to embossing your cardstock!
- Keep a tray or bucket of soapy water near you so you can just put your dirty stencils in the water while you finish your card. This way you can continue crafting and still be able to clean your stencils easily.
Check out other cards I’ve made in my Card Gallery. Interested in other projects like mini albums, boxes and bags? Check out my Project & Mini Album Gallery.
Shop This Project
Below are the brands, shops and products I use this project and in general!
-
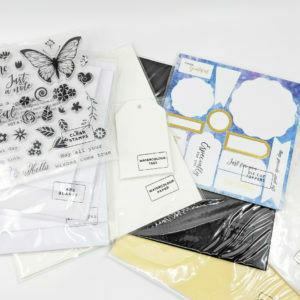 Crafter’s Companion Craft Box #14 – Stencils
 -
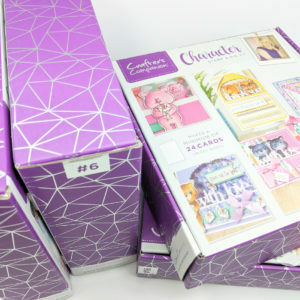 Crafter’s Companion Craft Boxes
 -
 Craftstash
 -
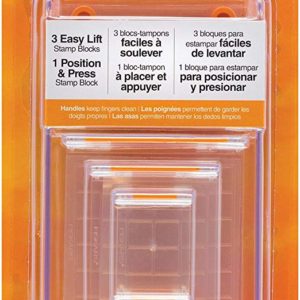 Fiscars Clear Stamp Block Set
 -
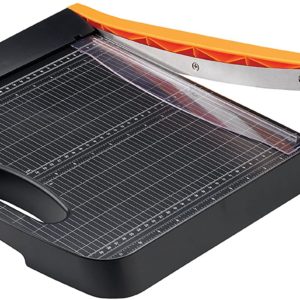 Fiskars – Bypass Trimmer (12″)
 -
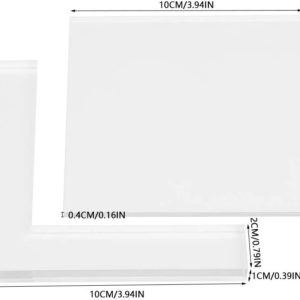 Generic Stamp Positioning Tool
 -
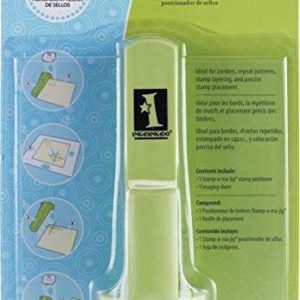 Inkadinkado Stamp Positioning Tool
 -
 Scrapbook.com
 -
 Scrapbook.com Foam Sheets
 -
 Sizzix
 -
 Spellbinders
 -
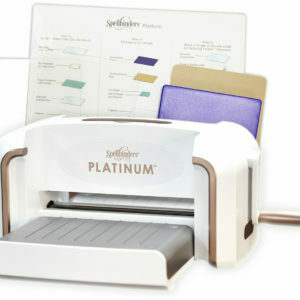 Spellbinders – Platinum Die Cutting Machine
 -
 Tonic Studios
 -
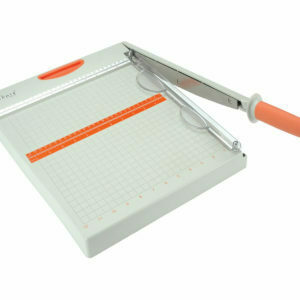 Tonic Studios – Guillotine Trimmer (12″)
 -
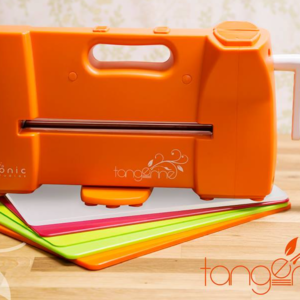 Tonic Studios Tangerine Die Cutting Machine

