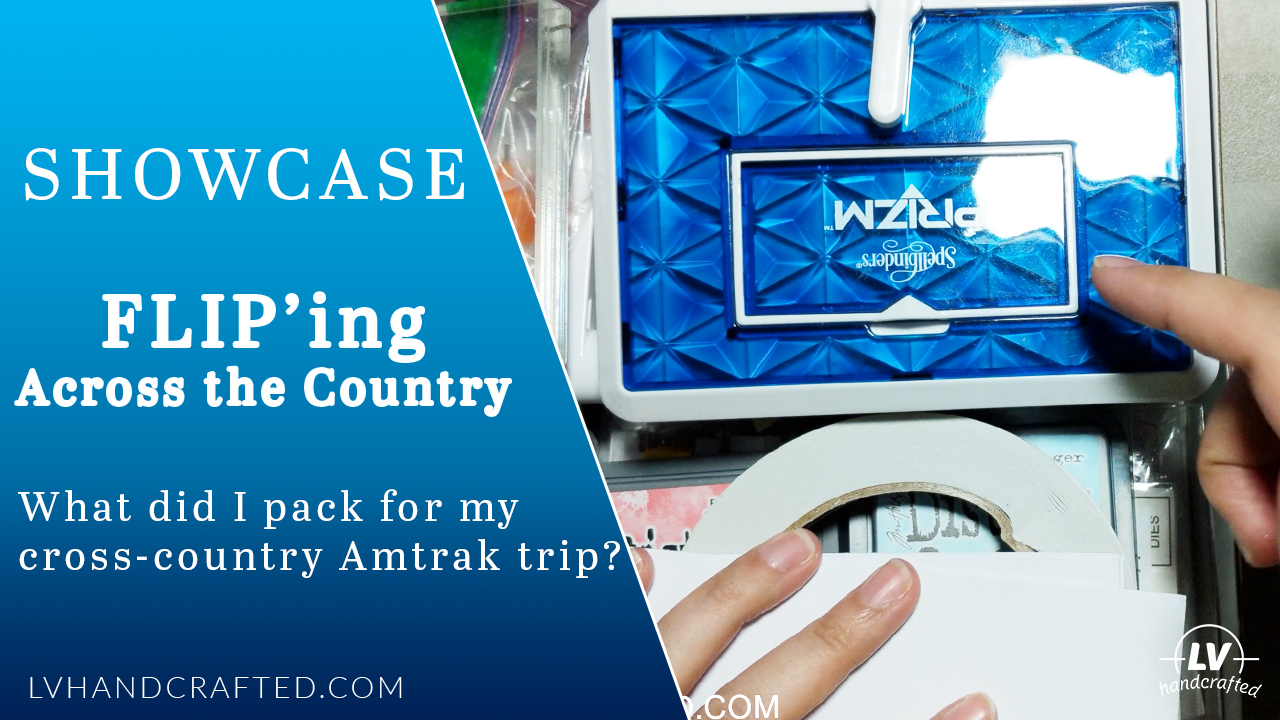
I’m taking my first ever Amtrak train trip and it’s from coast-to-coast! Now, get this, for about 3 days I won’t have any Wi-Fi access. Eeeek! That’s definitely a first for me. I found out a few days before I was set to travel and decided to pack some craft supplies! I managed to bring enough to make four FLIP projects, which I was able to fit almost entirely into a Crafter’s Companion craft kit box.
Check out the video below if you want to see what crafting goodies I packed for my trip.
Unboxing
Tips & Tricks
Below are the items I used the most on my trip:
- Mini Die Cutting Machine – I highly recommend bringing a mini die cutting machine. It looks like the Prizm isn’t for sale anymore, so I’d recommend either the Sizzix Sidekick or the Gemini Mini. I haven’t used either but should my Prizm ever break, I’d probably give the Gemini Mini a shot.
- Stamp Positioner – It’s a pretty shaky ride on the train. If you can bring something like the Misti, all the better, but I was trying to save on space and brought the old school “L” positioning tool. It worked just fine but did take some extra coordination to keep that in place while re-inking with the other hand.
- Craft Kits – Kits are fantastic for crafting on the go because you’ve got a bit of everything you need to make finished, beautiful cards. Plus, the CC box kits come in a convenient box for storing all your crafting supplies. Instead of bringing everything in the kit, I just brought one of each of the papers and then the stamps, dies and embellishments. I still had plenty leftover after making a handful of cards, so I imagine I could still create another handful with what’s left.
- Magazine Kits – In particular, the Hunkydory kits are fantastic because there are loads of papers and even die cut toppers and sentiments. You don’t even need to do any die-cutting or stamping! These kits make gorgeous cards because the papers are just so lovely. However, they do include stamps, dies and embossing folders so you can put your own creative touches on your cards as well.
- Craft Knife & Steel Ruler – The Fiskars precision craft knife is saw cute but so awesome! On a shaky train, it really helped to have such a nice grip on the craft knife.
- Bone Folder – I definitely use my bone folder a lot on this trip. I always burnish my adhesive but I also needed to make card bases and burnish the fold.
- Paper Trimmer – This is one I used a lot but to be honest, I think I could have done without it and saved some space. I would have just needed to bring a longer steel ruler than the mini one I packed.
- Eraser (Wish I had it) – I forgot to bring an eraser. D’oh! I brought a pencil knowing I’d probably need to make marks for cutting but totally forgot to bring an eraser. LOL
Check out other cards I’ve made in my Card Gallery. Interested in other projects like mini albums, boxes and bags? Check out my Project & Mini Album Gallery.
Shop This Project
Below are the brands, shops and products I use this project and in general!
-
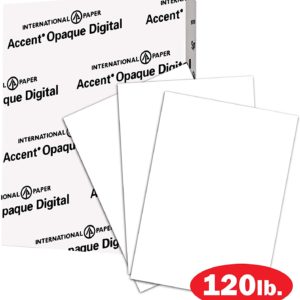 Accent Opaque – 120lb Cover, 8.5 x 11 Paper, 150 Sheets
 -
 Craftstash
 -
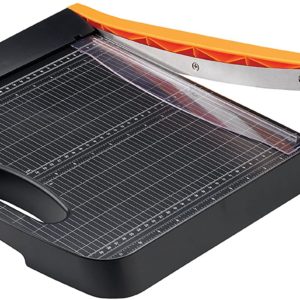 Fiskars – Bypass Trimmer (12″)
 -
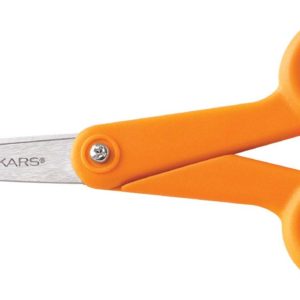 Fiskars – Micro Tip Scissors
 -
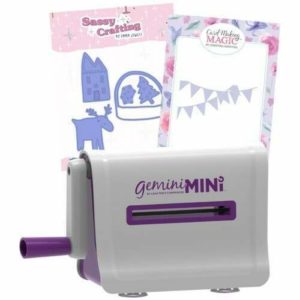 Gemini – Mini Die Cutting Machine Bundle
 -
 Generic Foam Tape
 -
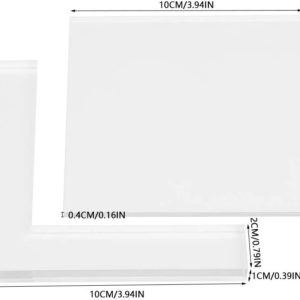 Generic Stamp Positioning Tool
 -
 Scrapbook.com
 -
 Scrapbook.com Foam Sheets
 -
 Sizzix
 -
 Spellbinders
 -
 Tonic Studios
 -
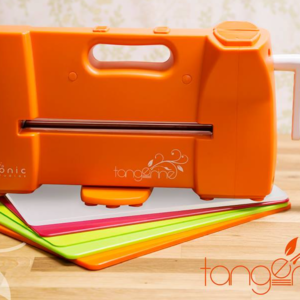 Tonic Studios Tangerine Die Cutting Machine
 -
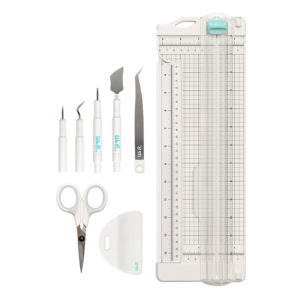 We R Memory Keepers – Hand Tools

