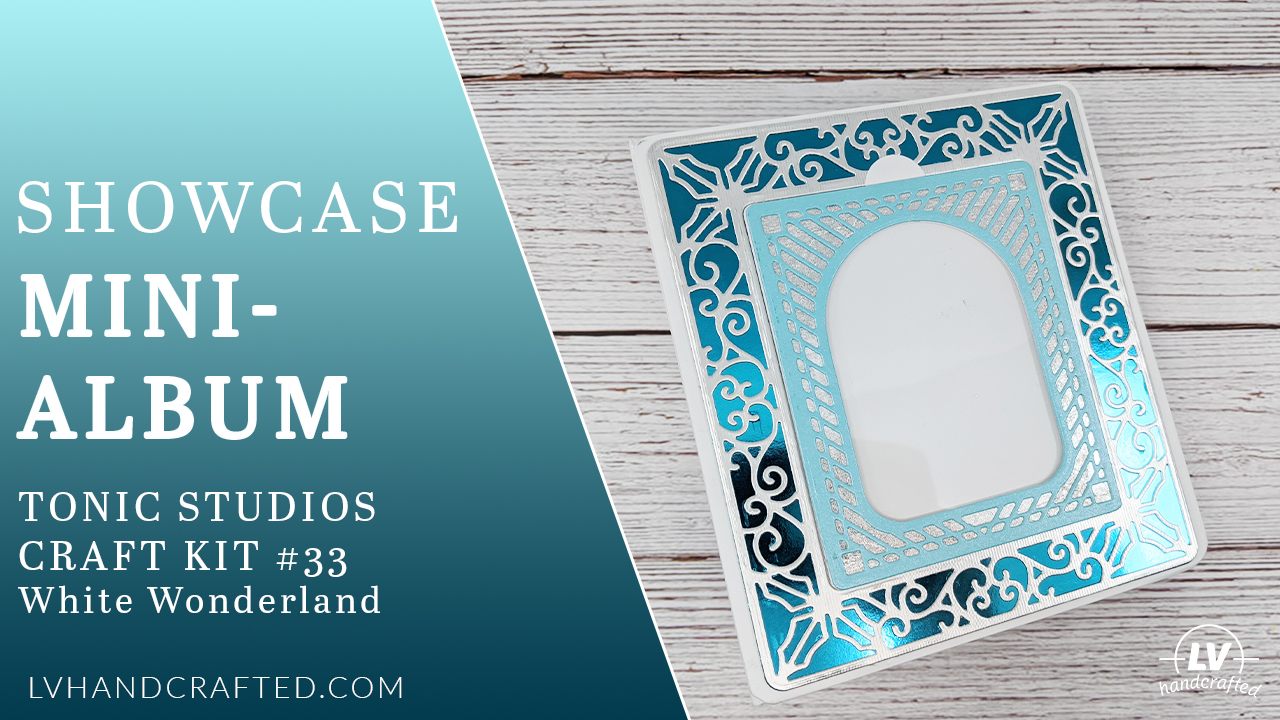
This was the Tonic Craft Kit that sold me on the subscription. I love the color theme for the kit — which turned out to be the White Wonderland color trend (*). The dies are fantastic also because not only are they great for cards, but when I saw them, I knew I wanted to make a mini album. It’s a pretty decent size mini-album (roughly 5.5″ x 5″) and comes together really quickly.
Below you’ll find a showcase video, where you can see a flip through of the final album. I’ll also update this blog post with a tutorial video showing the page construction if you’re curious how I put together the pages.
(*) If you’re new to Tonic Studios, they release new “color trends” a few times a year. Their color trends are introduced in the craft kits as an early preview. So you get a first look of the newest colors in a sample of products (e.g. paper, Nuvo drops, mixed media pastes, sequins, glitter, etc.) before they are available for purchase.
Video Tutorial
Showcase
Tips
- For my shaker frames, I generally create them using this “sandwich” of materials (from top to bottom): decorative frame, acetate, foam w/ shaker bits inside, acetate. This gives you a see-through shaker that you can then attach to your page base on 3 sides — leaving one side open so you can slip a photo behind the shaker frame
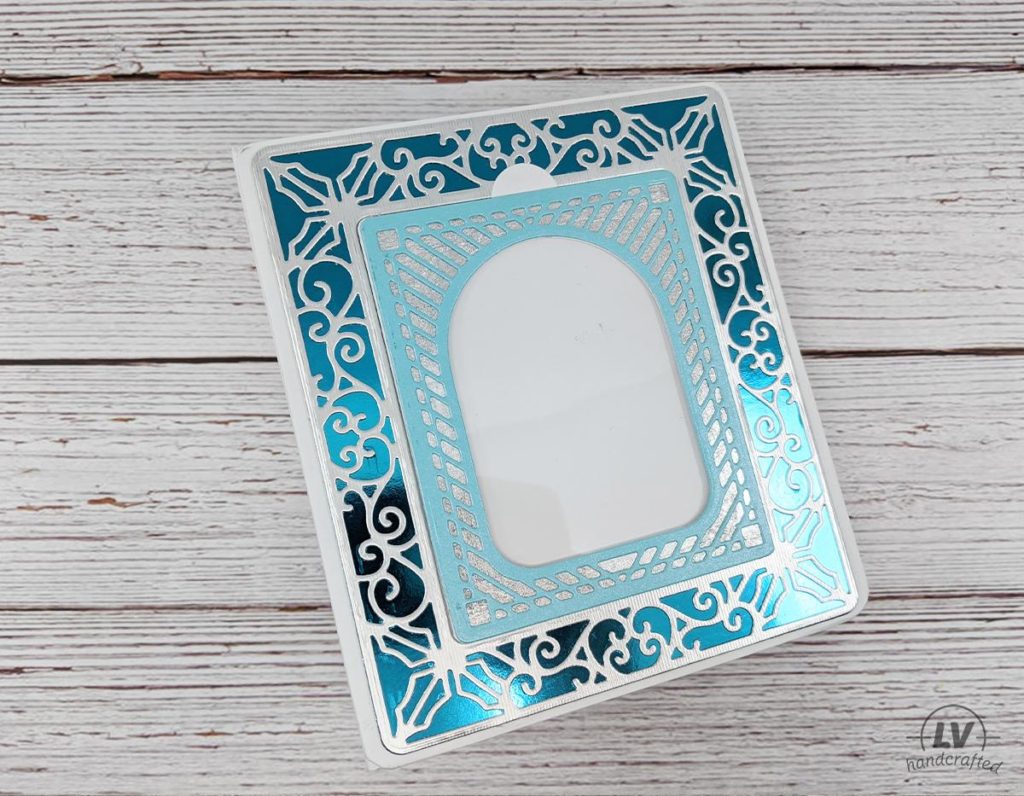
- For the collage panels I created using scraps, I used a 5″ wide roll of double-sided adhesive tape sheets to cover the entire page base. That makes the entire panel sticky. Then I stick down the strips in a pattern. There are lots of patterns you can create but whatever you’re going for you can either put each strip directly next to another strip or you can leave a gap, exposing a bit of adhesive between the paper. By leaving a gap, you can then fill that gap with something like glitter, gilding flakes or even embossing powder. That creates a little bit of a “grout line” between your strips of paper. If you do use embossing powder, be sure to test it on some scrap before using it on your project so you know how your adhesive reacts to heat.
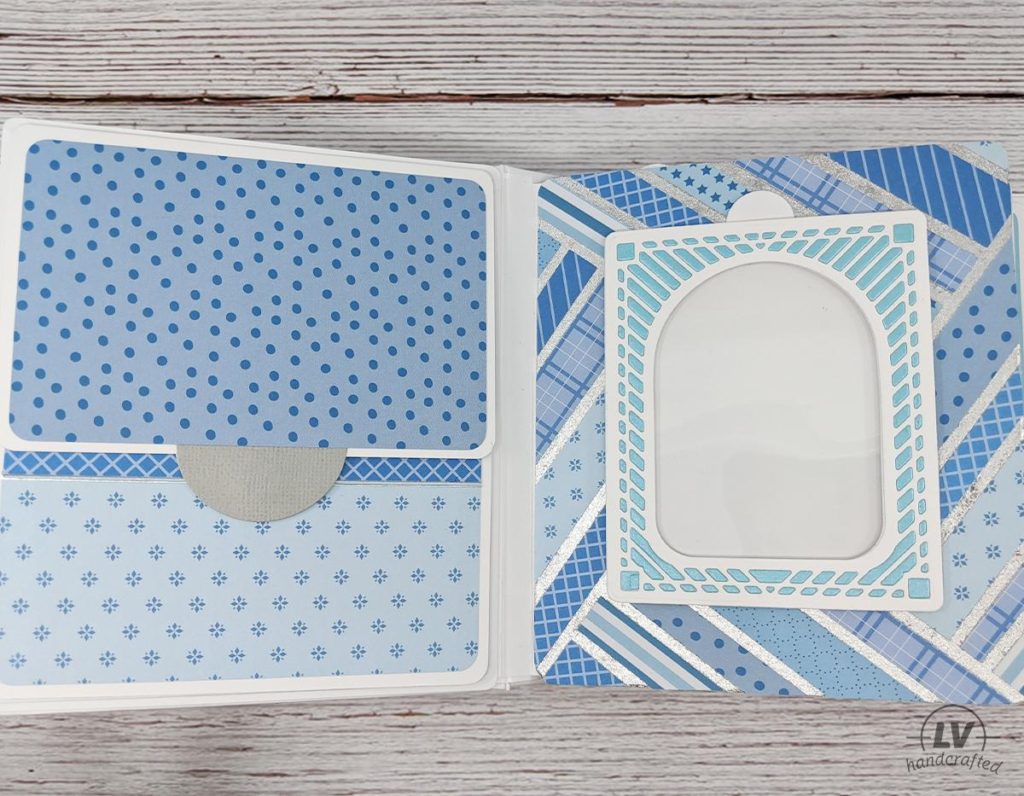
- For the waterfall in this album, I used the leftover pieces of paper after die cutting the page base. It makes for pretty efficient use of your letter size cardstock. Keep in mind when you attach your “belly band” around the sliding mechanism, to make it more narrow and/or place it lower so your waterfall flaps can all flip up fully.
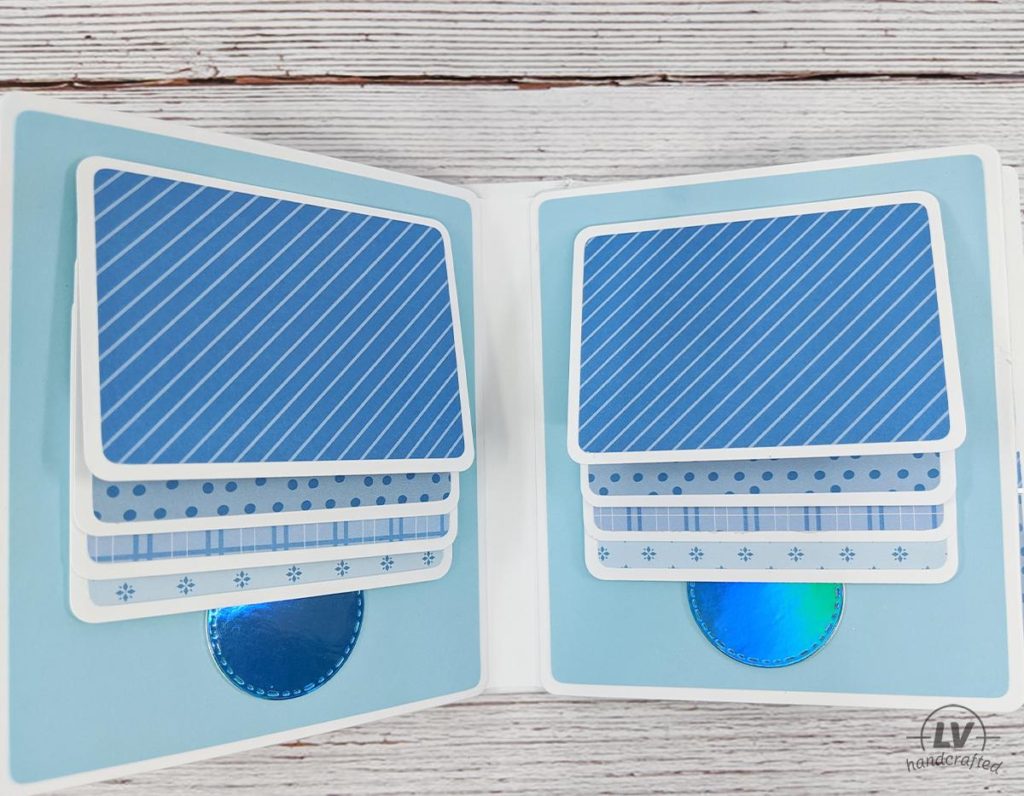
Shop This Project
-
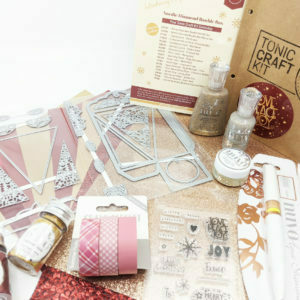 Tonic Studios Craft Kits
 -
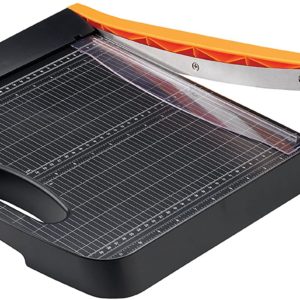 Fiskars – Bypass Trimmer (12″)
 -
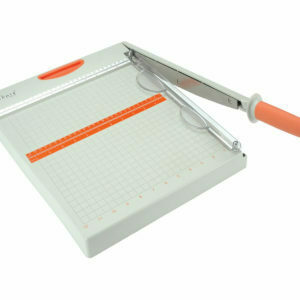 Tonic Studios – Guillotine Trimmer (12″)
 -
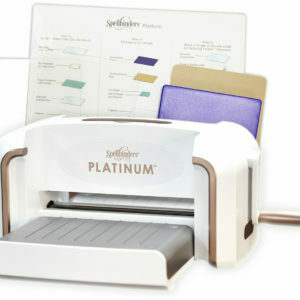 Spellbinders – Platinum Die Cutting Machine
 -
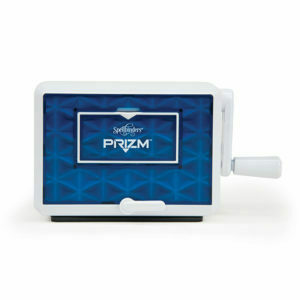 Spellbinders – Prizm Die Cutting Machine
 -
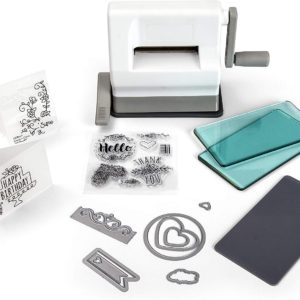 Sizzix Sidekick
 -
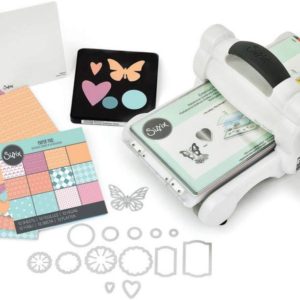 Sizzix Big Shot Starter Kit
 -
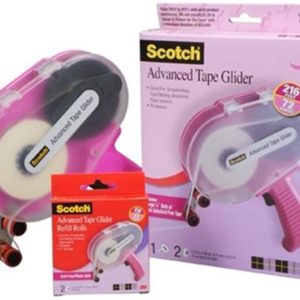 Scotch Advance Tape Glider
 -
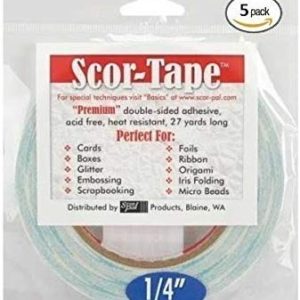 Scor Tape (Sookwang) – 1/4 inch
 -
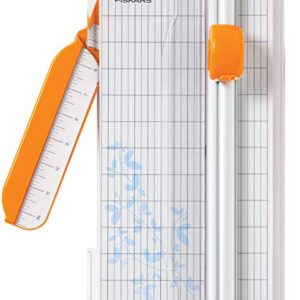 Fiskars 12 Inch Portable Rotary Paper Trimmer

