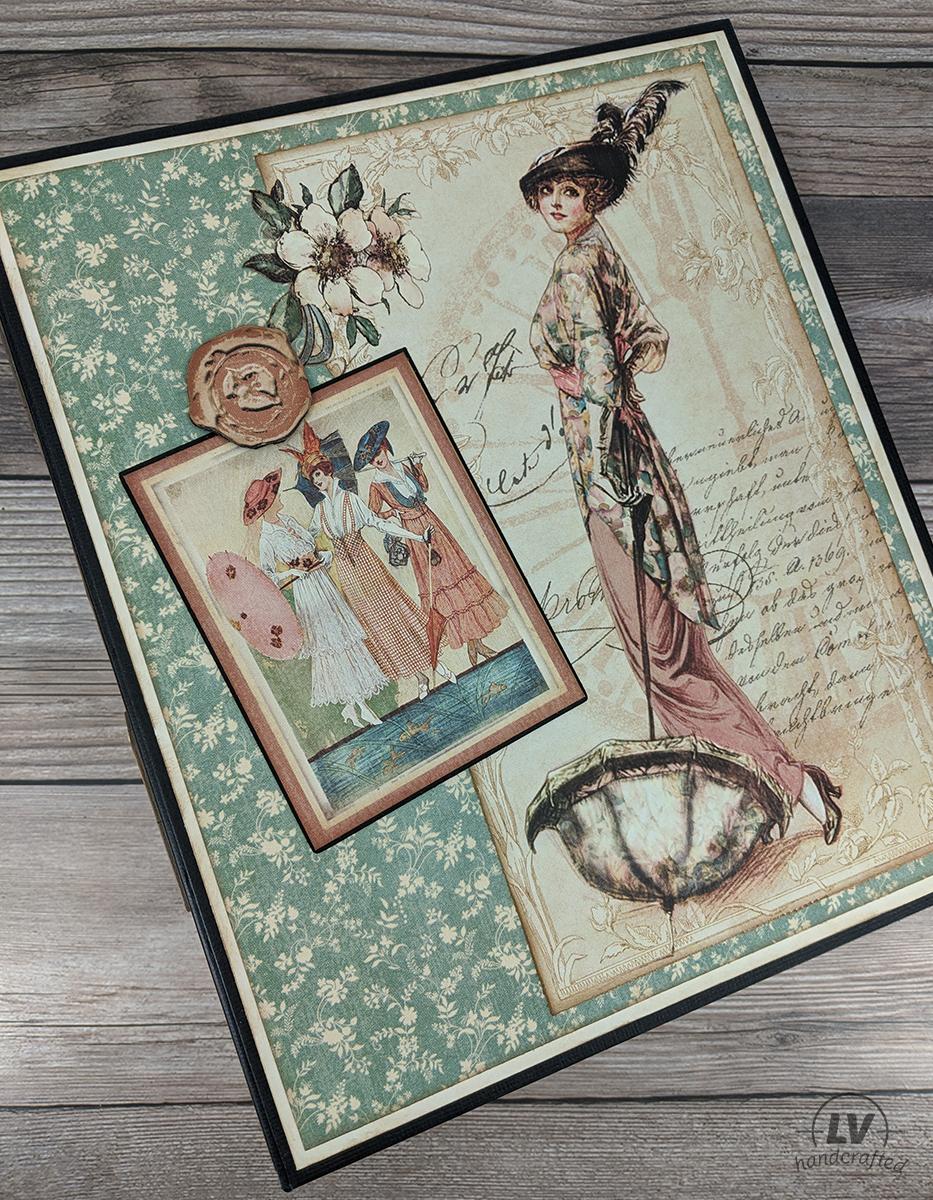
When I saw the Graphic 45 Ladies Diary Deluxe Collector’s Edition paper pack, I knew I had to make a mini album for my mom. She used to sew for a wedding dress designer, and the illustrations of these gorgeous women in all their different style dresses reminds me of the dress patterns my mom used to buy. It really is a beautiful paper pack and comes with chip board elements and a sticker sheet.
Below is a walk-through of the finished album and you can find photos of it in my Mini Album Gallery as well. I didn’t go through a lot of details of how I constructed the album in the walk-through video but I’ll leave those tips below the video. Since I worked on this album sporadically here and there, I don’t have a tutorial video showing how I constructed it unfortunately. At the bottom of this post, you’ll see some of the main materials I used to construct this album though, so hopefully that helps if this is something you want to try.
Enjoy!!
Album Cover & Spine Construction
I construct my album covers and spines a little differently with each album I make. That’s the nice thing about doing all of this by hand is that you can choose materials and methods to suit the needs of your album. For smaller albums, I definitely don’t pull out all the stops like I did for this one.
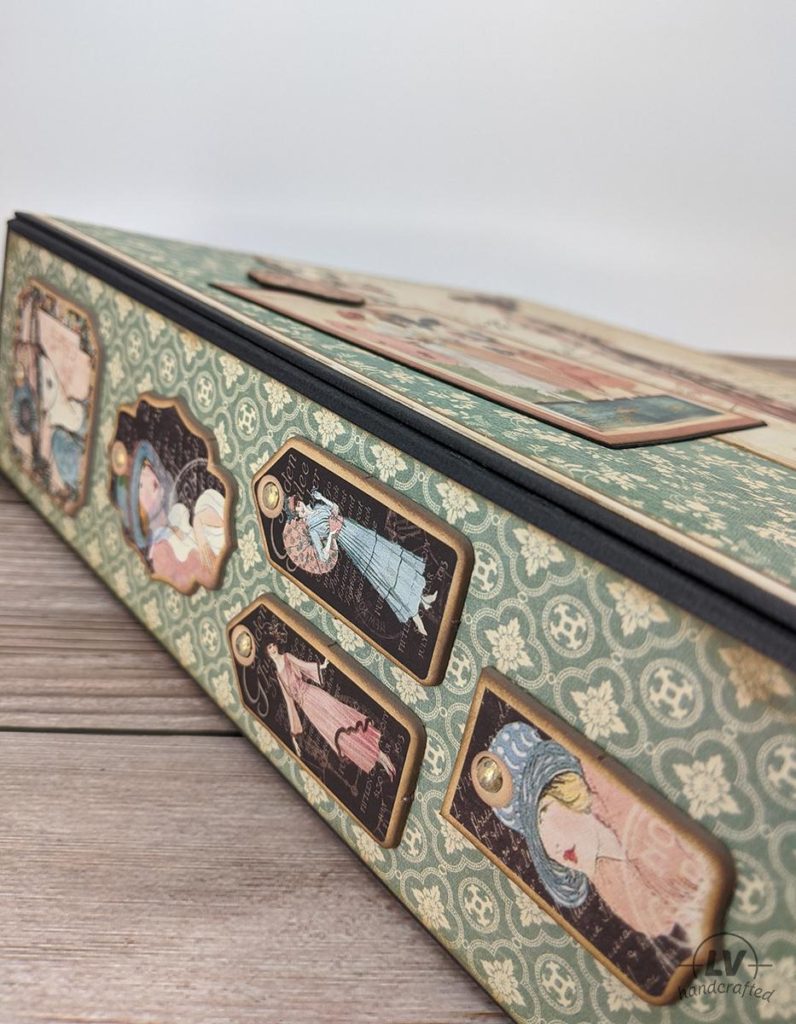
- Heavy weight chipboard – Because this is a slightly larger album (10″ x 8.5″), I decided to use heavy weight chipboard. The heavy weight chipboard not only makes the album feel substantial but it holds up to all the paper (and eventually photos) that are contained inside.
- Individually-wrapped – No matter what size album I’m making, I prefer the method of individually wrapping the front cover, spine and back cover. This is as opposed to lining the three pieces up and covering all three with one large sheet of cardstock. The advantages I see of individually wrapping each piece are: 1) you don’t need to piece together multiple sheets of cardstock to get a piece large enough to wrap around it. 2) there isn’t any danger of not leaving enough space between the spine and two covers to allow the cardstock to bend and fold without cracking 3) the covers lay flat and bend with more ease and 4) I can actually decorate the covers and spine before attaching them to each other so I can more easily burnish while the pieces are flat and outside the book.
- Tyvek entire hinge – I lined the entire piece of cardstock I used to create my hinge with Tyvek. This was done before scoring and folding the hinges so the hinges are reinforced as well. In the past, I would just line the back of the finished hinge with tyvek so that the portion that overlaps the fold between the spine and two cover is reinforced. I saw a YouTube video of another mini album maker (I looked but can’t find it now but if I come across the video again, I’ll update this post.) who suggested lining the entire hinge mechanism and I just thought it was brilliant! The hinge holds everything in place and has to hold up to all the page turns, so it only makes sense to reinforce it with Tyvek as well.
- Generous with Scor-Tape – Because it can be a little expense (and I only do this as a hobby and for personal use — i.e. I don’t earn any income off of my crafting), I can be a little reserved with my use of Scor-Tape. But, I’ve embraced the fact that if I want these albums to stand the test of time, then I should use the best quality of materials I can afford. So, I invested in a 5″ roll of Scor Tape. Out-of-pocket, it’s a little spendy but the 5″ roll is more economical in terms of dollars per square inch, so it’s cheaper and faster for covering large areas. In the past, I just put an inch around the border but now I line the entire cover. I pretty much only use it for wrapping the two covers. That way there’s (hopefully) no chance of lifting or bubbling over time.
Reinforced Hinges, Slits & Punctures
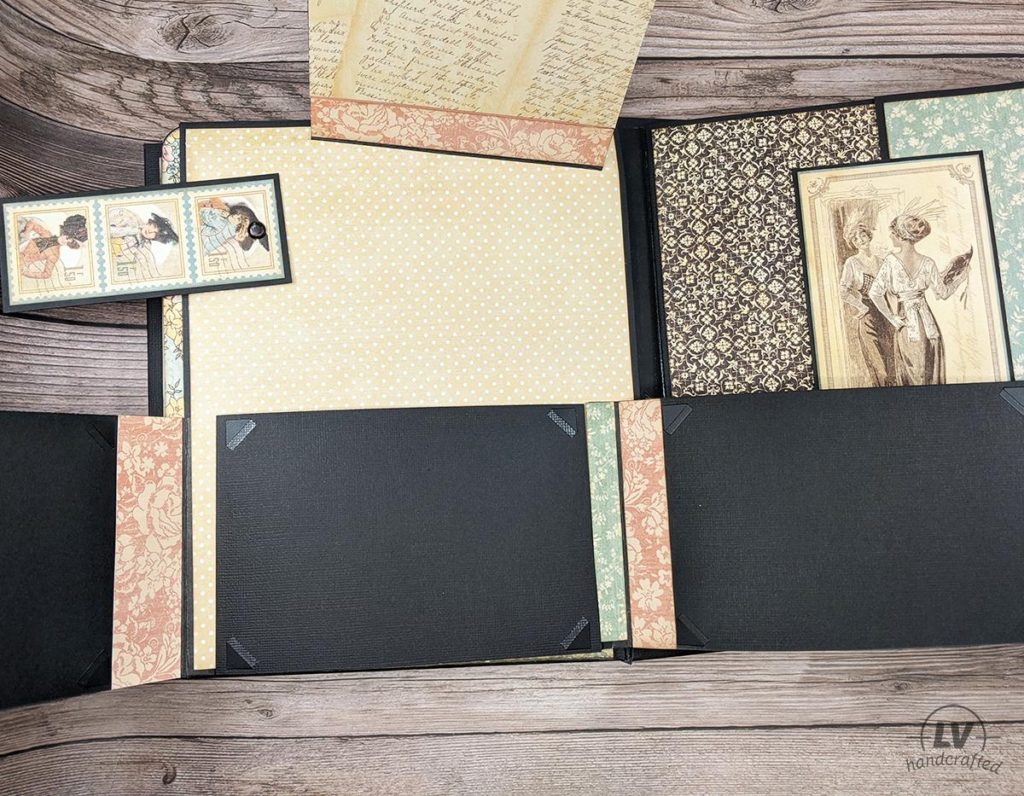
With this album, I’ve started to reinforce all the hinges in the album — not just the hidden hinge that holds the pages in the book. I found Tyvek wristband strips that come in 3/4″ x 10″ strips that are so easy to use. They are perfect for reinforcing a 1/2″ hinge. So I lay a strip of Tyvek over the fold of all my flips and flaps. I figure, anything interactive that has a fold is going to benefit from reinforcement so over time that paper doesn’t tear off. Also, if I made any slits (e.g. to insert a mid-page flap) or punctured any holes (e.g. to insert a brad) in my paper, I reinforced it with Tyvek also. That way that hole or slit doesn’t expand or tear either.
Shop This Project
-
 Fiskars – Bypass Trimmer (12″)
 -
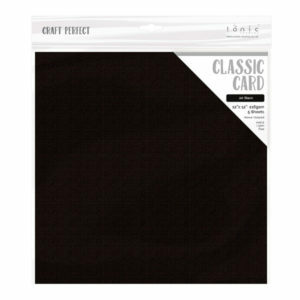 Tonic Studios – Craft Perfect Classic Card
 -
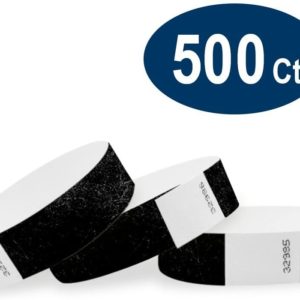 Tyvek Wristbands
 -
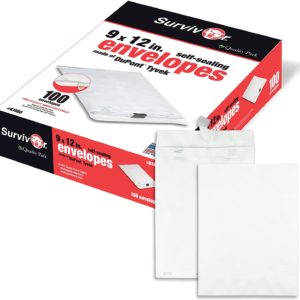 Tyvek Envelopes
 -
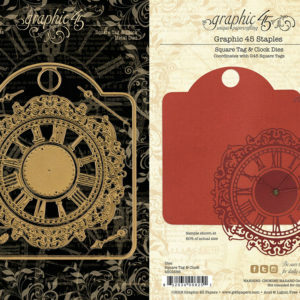 Graphic 45: Square Tag and Clock
 -
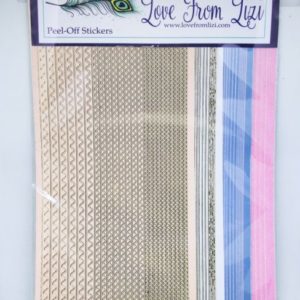 Love From Lizi: Pinstripe Peel-Offs
 -
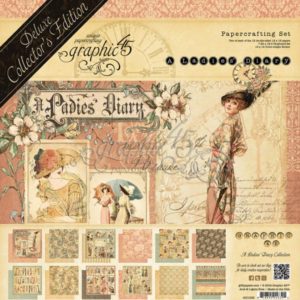 Graphic 45 – Ladies Diary DCE (12×12)
 -
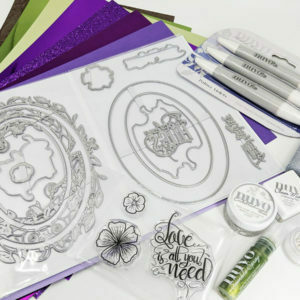 Tonic Studios: Craft Kit #22 – Oval Frame
 -
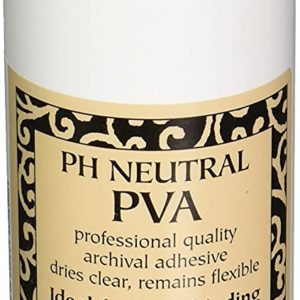 Lineco pH Neutral
 -
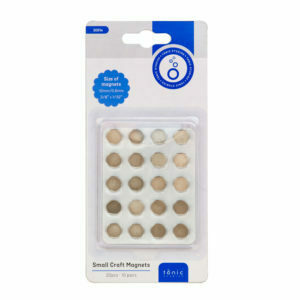 Tonic Studios – Magnets (10mm)
 -
 Scrapbook.com Chipboard – 12×12 (heavyweight)
 -
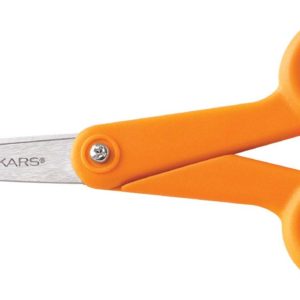 Fiskars – Micro Tip Scissors

