
Today I’m sharing a mini album! I’ve made several of these and they are so simple and fun, but make great gifts! These days it feels getting photos off our phones and printed might be the hardest step, so a simple album like this really encourages me to actually print my photos!
Supply List
| Cardstocks | Other Supplies |
|---|---|
| DCS Tartan Red PopTone Orange Fizz PopTone Banana Split PopTone Sour Apple DCS Caribbean Blue DCS Patriot Blue PopTone Grape Jelly DCS Pink Tutu Cougar White Shop CutCardStock (affiliate link) | * WRM Universal Cinch or Cinch Machine * WRM Multi Cinch or Mini Cinch (alternative but you will only be able to use 5/8″ wire) * Double Loop Binding Wire * Photo Corner Punch * Bearly Art Glue (10% off with code LVHANDCRAFTED) * Paper Trimmer * TapeRunner 20% off with code LINHVAN The above are all affiliate links |

Watch my video tutorial on YouTube.
Let’s Make This Mini Album
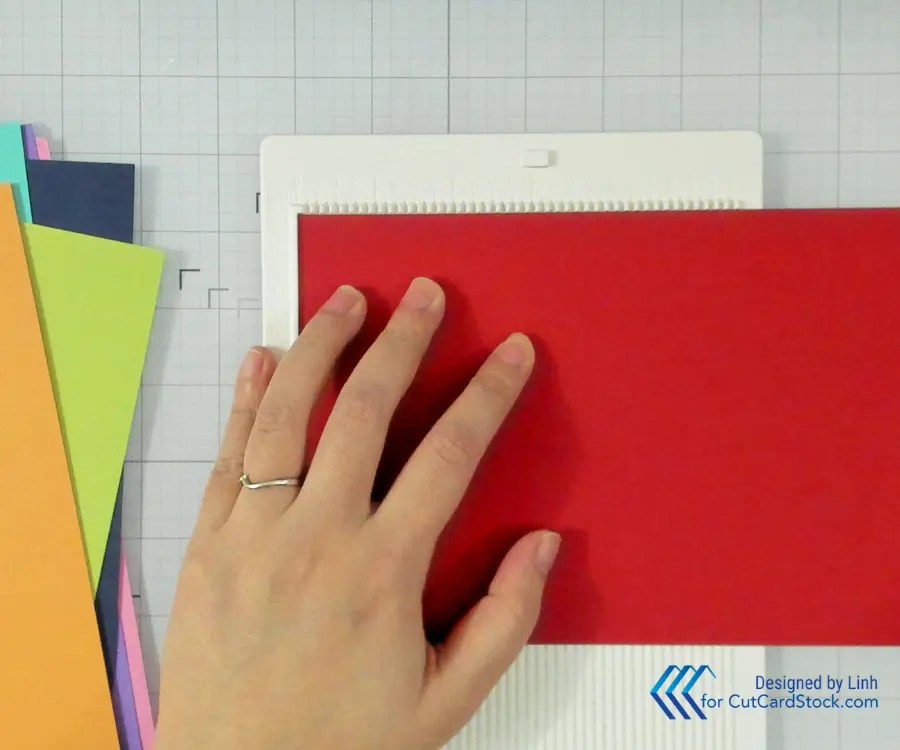
Step 1. Cut Your Pages Bases to 5.5″ x 8.5″ and Score at 4.25″ Along the Long Edge
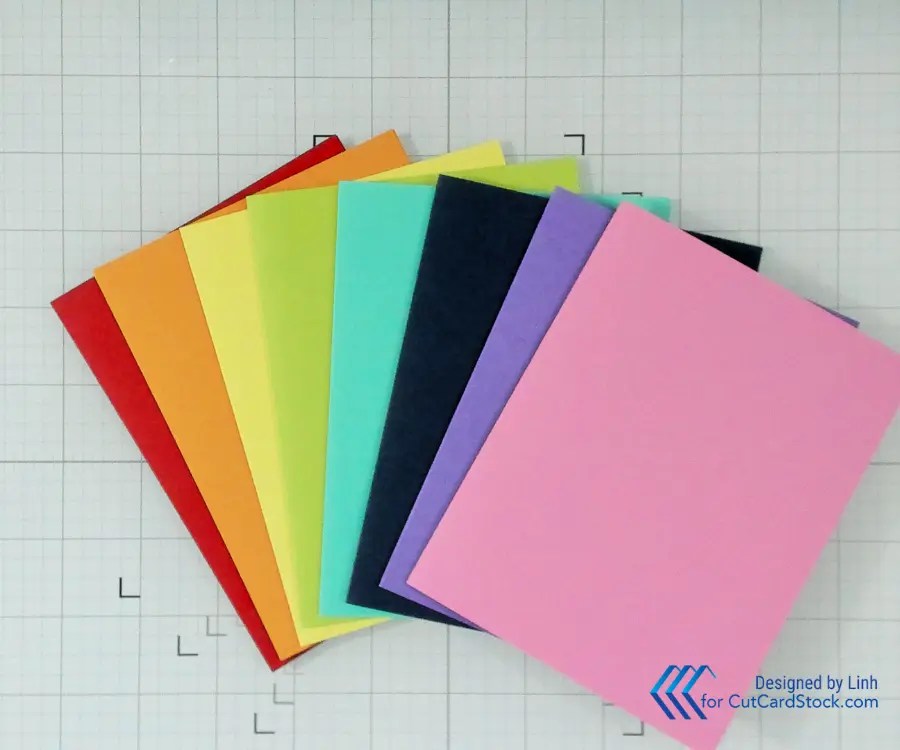
I went with rainbow pages. In total, I cut 8 page bases – red, orange, yellow, green, teal, blue, purple and pink. Cut, Score and burnish each page well.

Step 2. Turn Each Page Base into a Pocket
Add a thin bead of glue at the bottom of the folded page base. This will form a top-loading pocket once we bind the left, open edge.

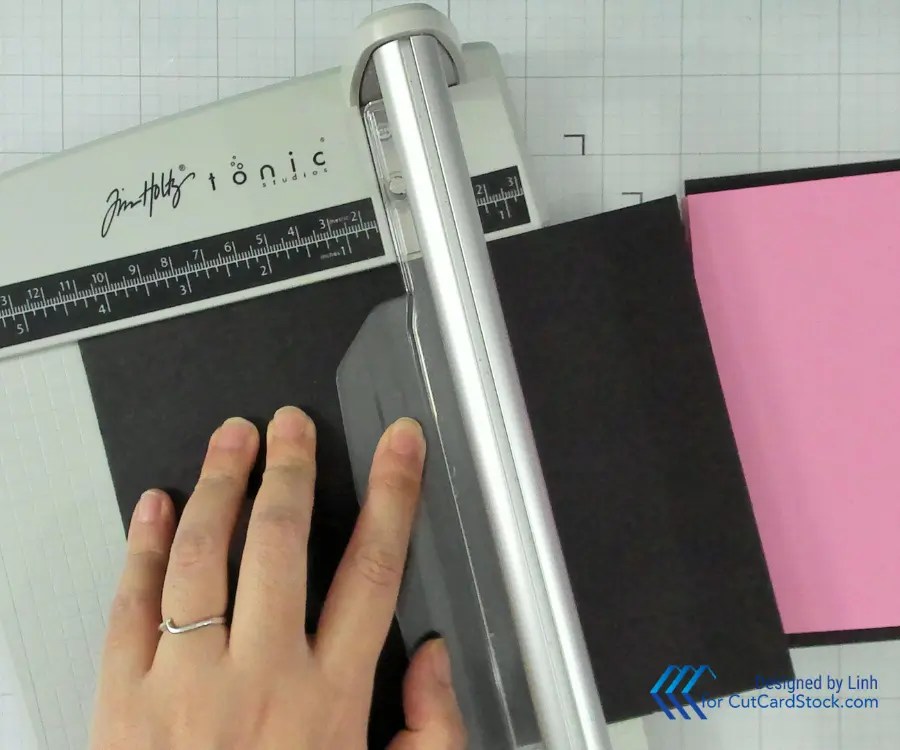
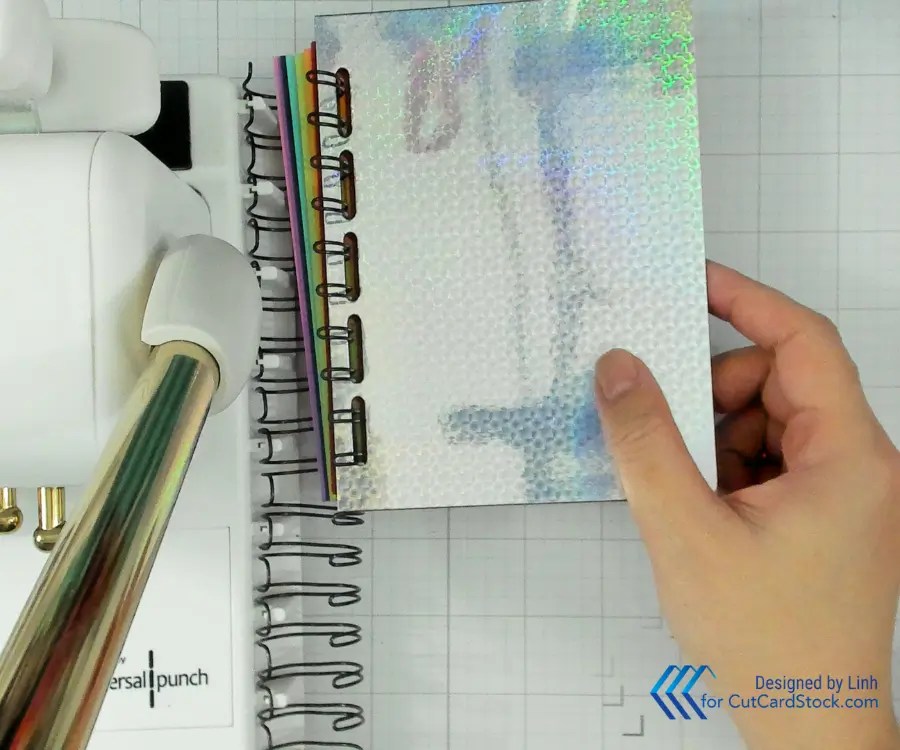
Step 3. Cut Your Covers from Chipboard to 4.5″ wide and 6″ high
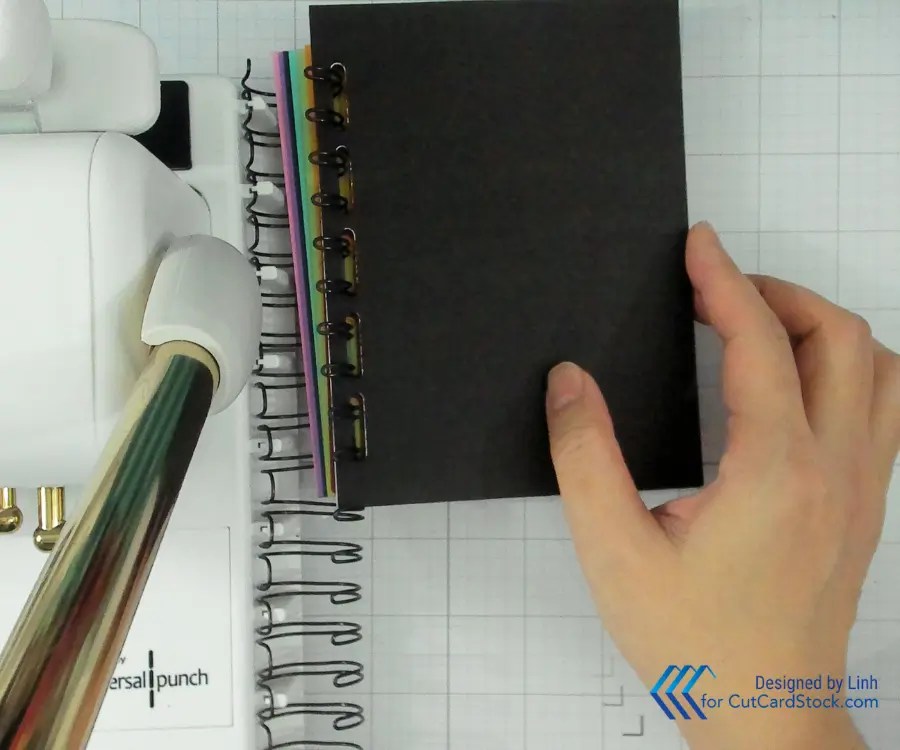
I leave the back cover just as it is – the black chipboard is actually a nice finish. You could decorate it with pattern paper or even do a wrapped cover, but I’m going for an EASY album. For the front though, I did cut some holographic cardstock to the same size and glued it to the chipboard.
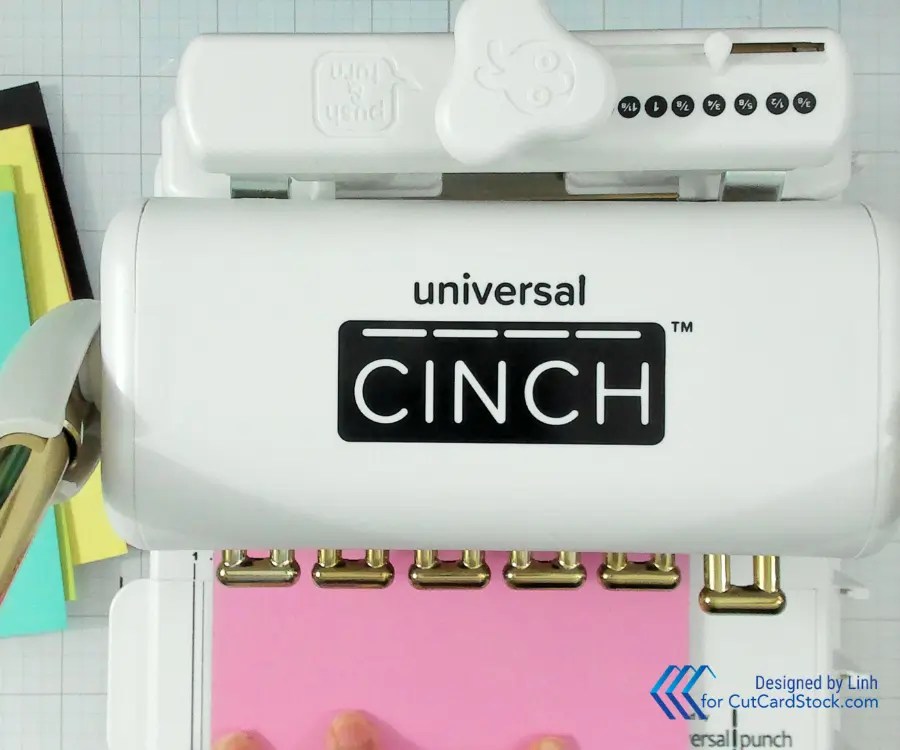
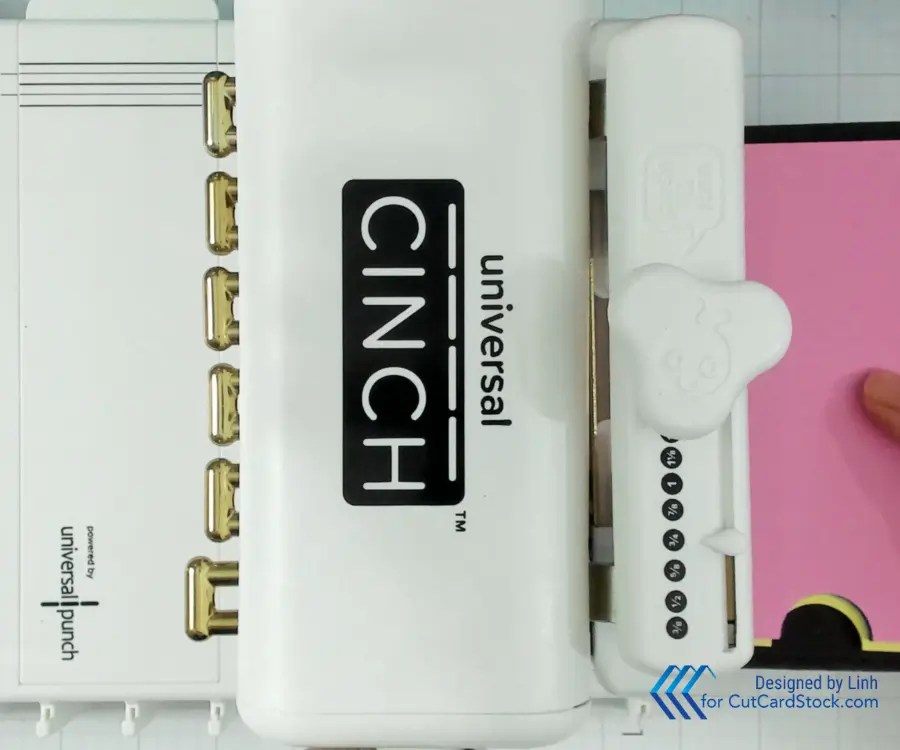
Step 4. Punch the Binding Holes
On the WRM Universal Cinch, the guide for punching your holes is very easy. You just round to the closest quarter-inch and line up your pages to that mark. The page bases are 5.5″ so we need to line them up to the 1/” line on the Cinch. The cover is 6″, so we line up the covers to the 1″ line. You’ll want to make sure the last (6th) peg is pulled out so that hole doesn’t punch a partial hole through your page or cover.

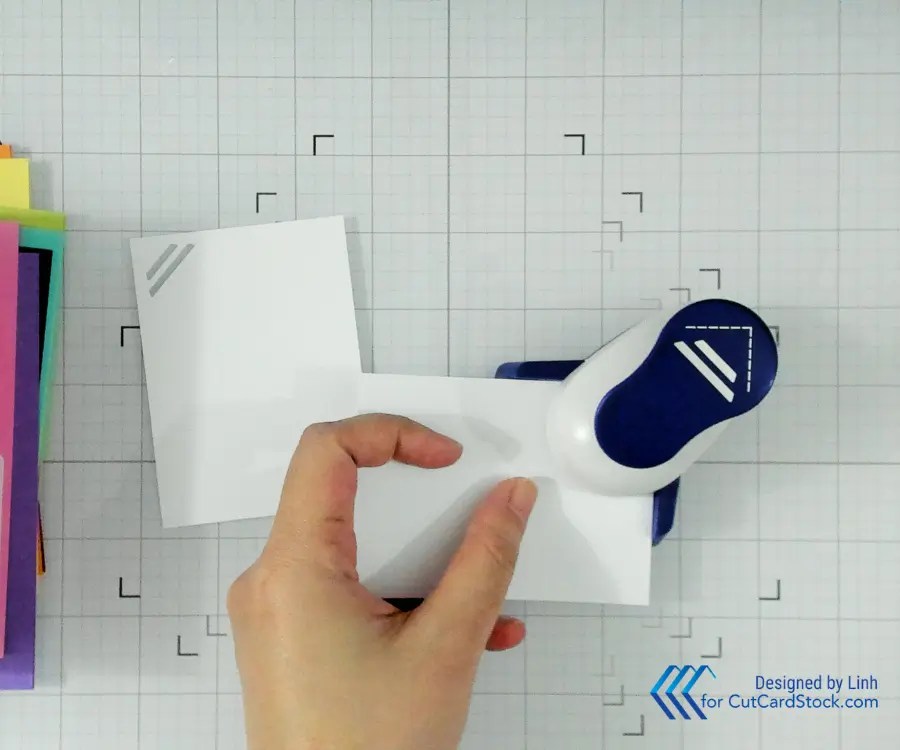
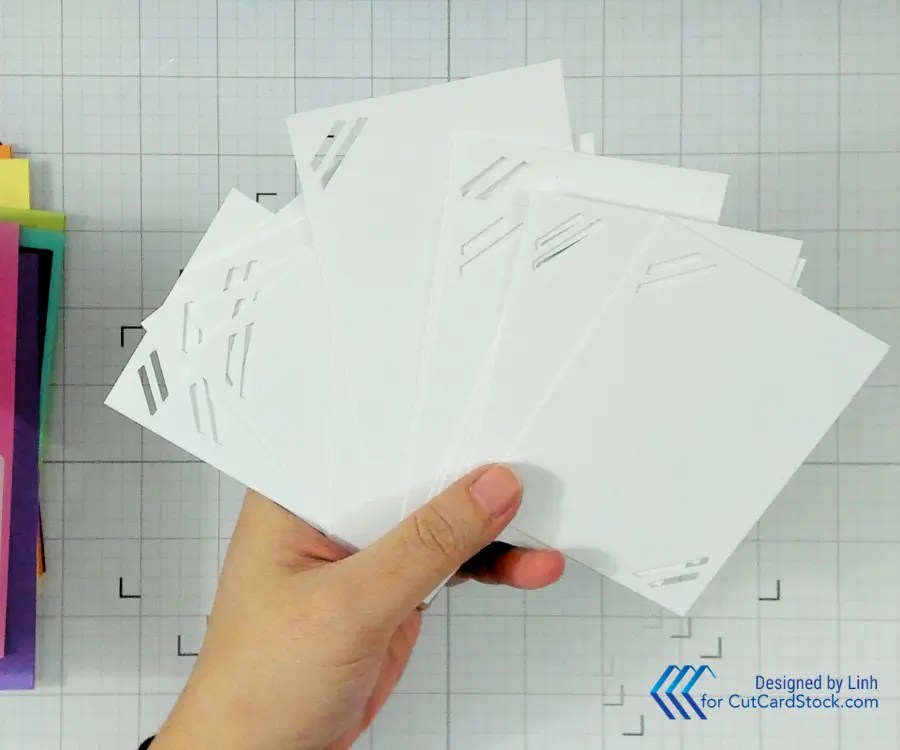
Step 5. Punch a Half Circle Thumb Notch
Make a pencil mark at the top of your pocket page in the center of your page. If you want to measure exactly in the middle, this mark should be at the 2-1/8″ mark. However, I made my pencil mark at 2-3/8″. I like to center my photo (and this thumb notch) on the main area of the page, disregarding half an inch on the left from the binding.
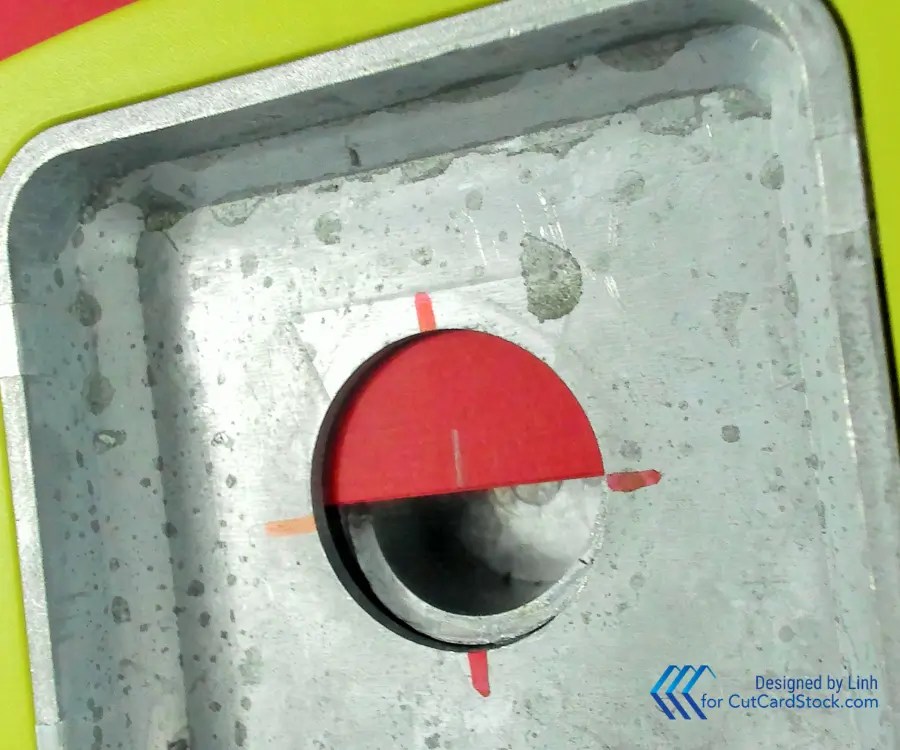

Once I have one notch punched, I line that page up against the next page and trace the notch with a pencil. Then I can continue to punch the rest of these pages in this way, ensuring these notches line up.

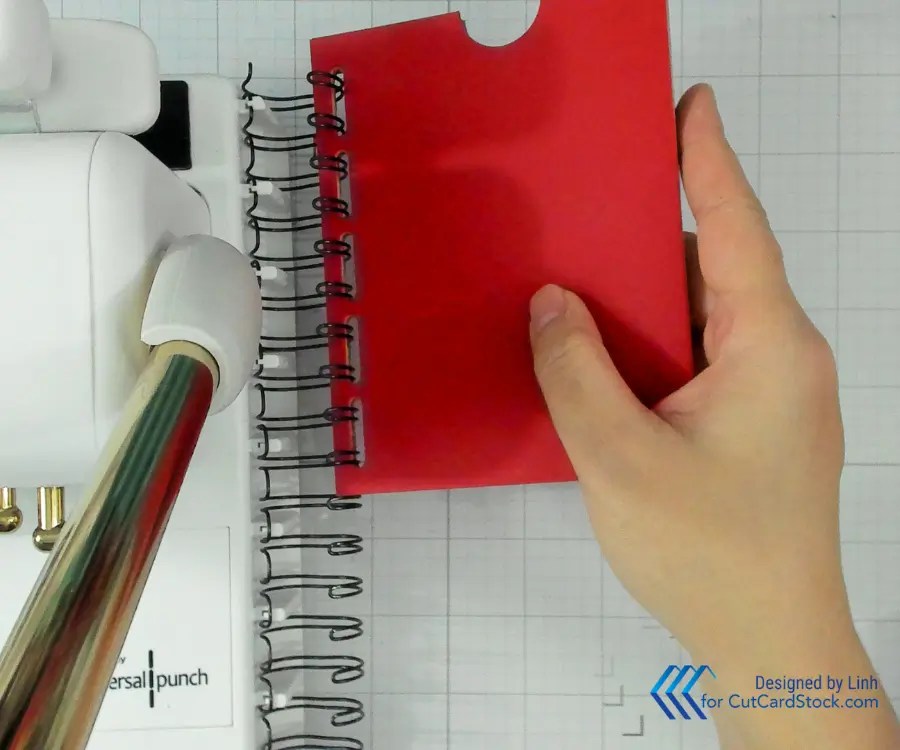
Step 6. Bind Your Album!
That seems like a lot for a single step, yeah? It’s not really. Load your pocket pages already in your desired order, onto 3/4″ Double Loop Binding wire. Next, load your front cover on top of that.
Now load your back cover. If you didn’t decorate it, then it doesn’t really matter how you place this since it’s the same on both sides. However, if you did decorate your back cover, what you should be looking at is the INSIDE back cover. By binding in this order, the ends of the coil will be hidden on the inside of the album.
Snip off any excess wire and then bring your album to the back of the Cinch. Adjust the dial to 3/4″ to match the diameter of your wire. Pull down to close (or “cinch”) the wires closed. And Voila! Your binding is complete!
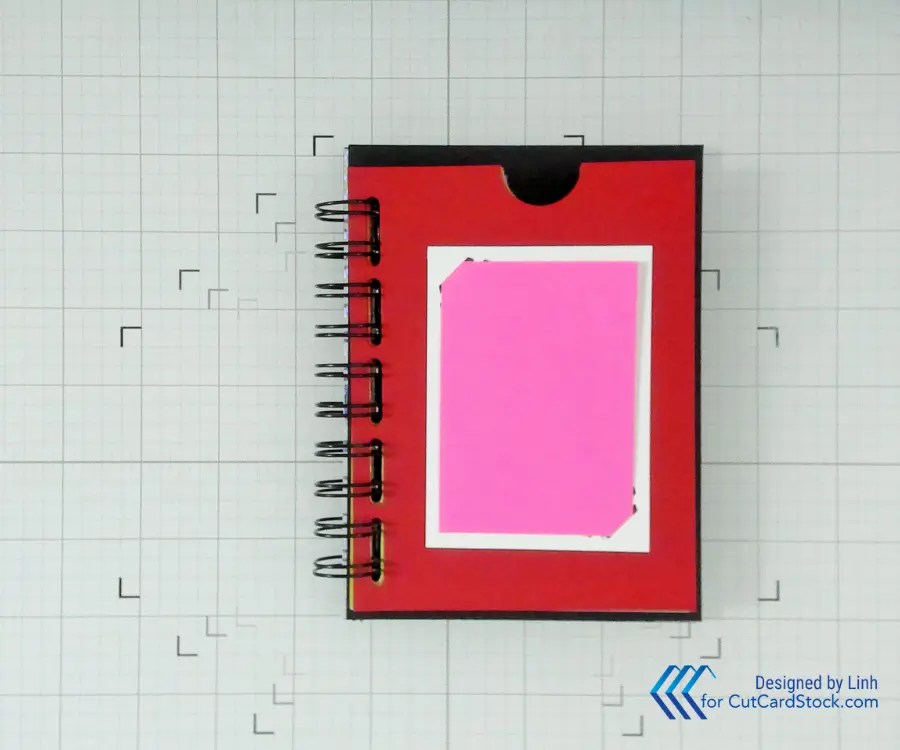
Step 7. Cut Photo Mats to 2.75″ x 3.75″ and Punch Photo Notches
This simple Photo Corner Punch (similar product to what I used) cuts slits in the corner that allow you to slip your photo behind. It gives the album owner the option to change out photos if they want. At this size, the mat can fit 2.5″ x 3.5″ photos (wallet size). That will cover the slits completely. If the photo is trimmed down to 2.375″ x 3.375″, then it will fit inside the slits.
Step 8. Cut Additional Photo Mats to 3.5″ x 5.25″
These panels will slip into the pocket pages, giving you more space for additional photos or a place to do some journaling.

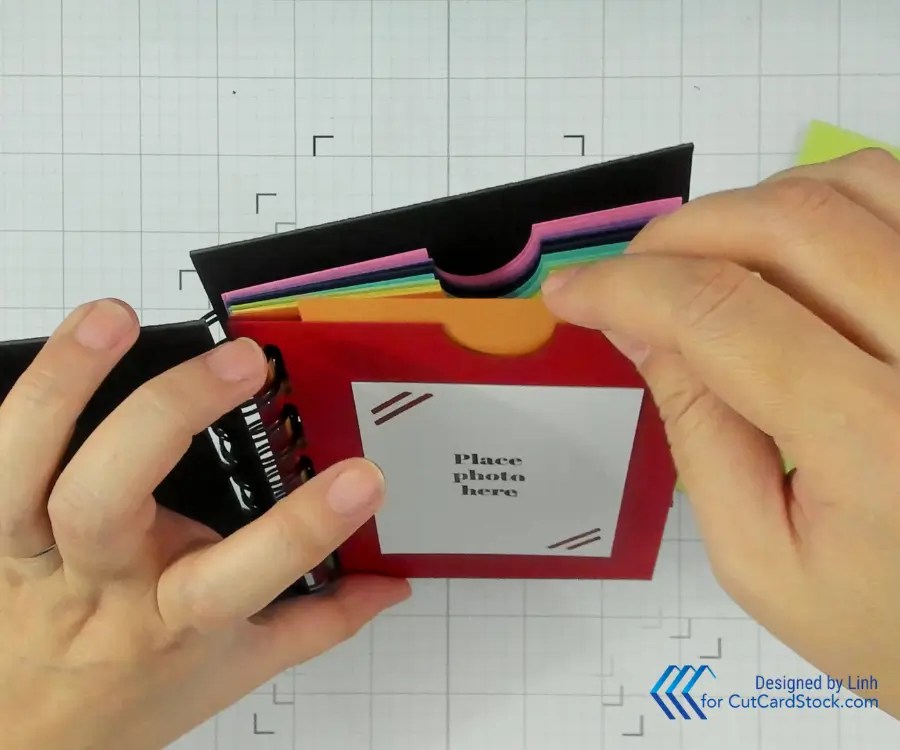
Step 9. Slip Photo Mats Into Pockets
My pocket pages are in rainbow order, but in order for the extra photo mats to be visible in the pocket, staggered the order by shifting it by one. Inside the red pocket, I placed the orange mat. Inside the orange pocket, I placed the yellow mat and so on.
And that’s it! We’ve completed a simple but fun album. Simple albums like this make great gifts because they are so easy to fill with photos. It doesn’t take much (if any) explanation. Whether you’re using this yourself, giving it to a friend or maybe even selling it at a craft fair, the beautiful array of colorful pages is what makes it fun and the simplicity of how to use it makes it practical — the perfect example of form AND function!
Picture Gallery


Enjoy!
