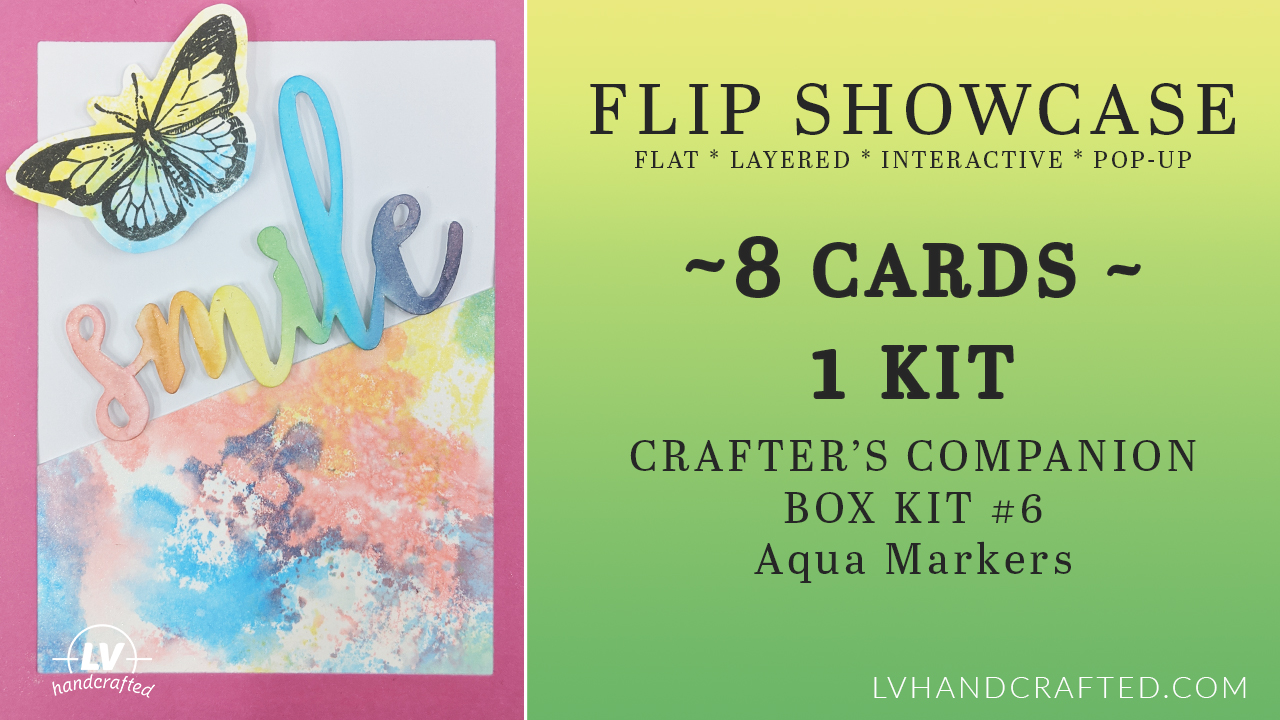
I absolutely loved this kit! It was the first time I’ve ever used anything in the Spectrum Noir range. These aqua markers are fantastic. There are a lot of different ways to use them. Three pens doesn’t seem like a lot but you can get the whole rainbow by mixing them! I know I just scratched the surface, but it has inspired me to bring out my water-based markers and use them more in my cardmaking!
Unboxing
Tutorial
Tips & Tricks
Here’s a short list of ways you can use your Aqua Markers (or any water-based markers you have):
- Scribble, Spray & Smush — scribble the marker onto a craft mat, glass plate, or silicone mat. Then give it a spritz or two of water. Finally, smush your cardstock or watercolor paper into the ink. You can create fun, organic backgrounds. Try building up layers of color by applying multiple coats. Be sure to dry in between each coat. Also, scribble multiple colors if you want to try to blend your colors.
- Ink Your Stamps – You can color your stamps with your marker pens. Give a light spritz of water and then just stamp onto your cardstock. Try coloring different portions of your stamp in different colors. Since you can put color precisely where you want, why stick to just one color!
- Blended Backgrounds with Glycerin – You can scribble some color onto a mat, acrylic block, glass mat, etc. and put a few drops of glycerin off to the side. Load your favorite blending tool (e.g. a sponge dauber) with some color and some glycerin and blend directly onto your cardstock or watercolor paper. You get a fantastic, soft blend by adding the glycerin. Build up multiple layers to increase the color vibrancy.
- Color with a Water Brush/Pen – You can also color your stamped images by using a water pen or even a clear shimmer pen. Just put down some color — either directly on your stamped image or on a mat — and use your water pen / shimmer pen to pull the color out and create shadows and highlights.
Shop This Project
-
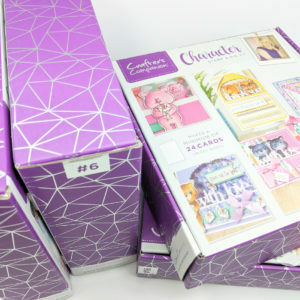 Crafter’s Companion Craft Boxes
 -
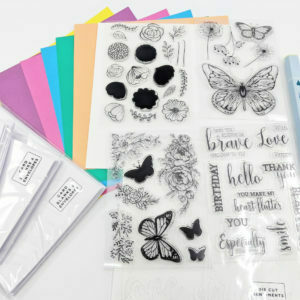 Crafter’s Companion Craft Box #6 – Aqua Markers
 -
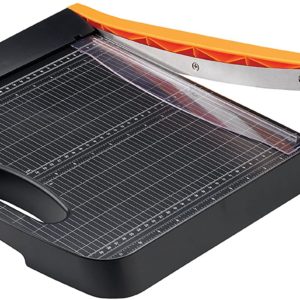 Fiskars – Bypass Trimmer (12″)
 -
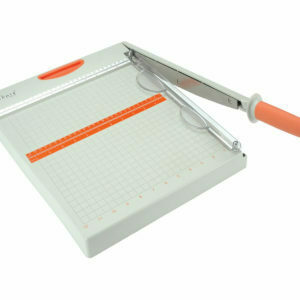 Tonic Studios – Guillotine Trimmer (12″)
 -
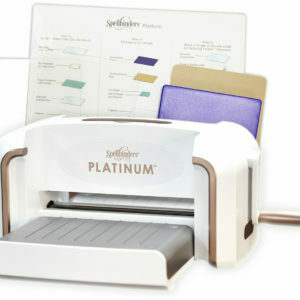 Spellbinders – Platinum Die Cutting Machine
 -
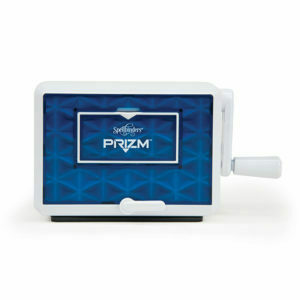 Spellbinders – Prizm Die Cutting Machine
 -
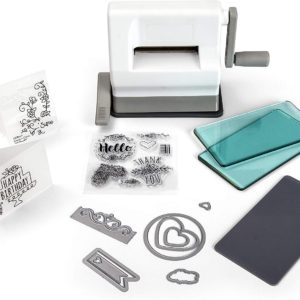 Sizzix Sidekick
 -
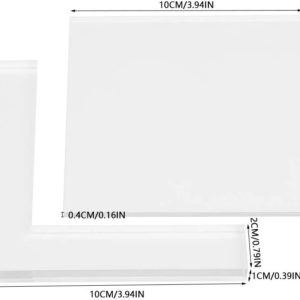 Generic Stamp Positioning Tool
 -
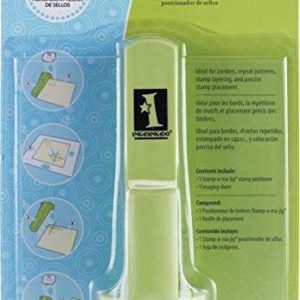 Inkadinkado Stamp Positioning Tool
 -
 T-Square Ruler

