Description
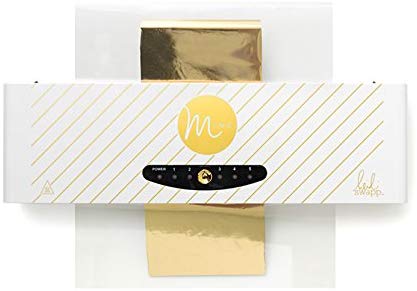
I started dabbling in foiling on my cards. The first thing I found was the Minc, but boy, it’s a bit spendy. All the reviews I’ve seen are fantastic though. But the expense is a bit hard to justify for me especially since I’m not sure how much foiling I’ll really do. So my research led me to the laminator option.
It took me a while to commit to buying a laminator. It was hard to justify buying a laminator when I have no laminating needs. But when I decided to make my own wedding invitations that were gold foiled, I started exploring ways to add gold to a card. The laser printer / laminater combination was the last option I explored mainly because it involved two pieces of equipment I basically had no other use for. However, to achieve consistent foiling and also custom gold foiled lettering, there really isn’t a better option, so I bit the bullet.
I did end up getting the AmazonBasics laminator because it was affordable. This was one of those times, when the difference in price and the uncertainty of how much use I’d really get out of it steered me away from the product that’s really leading industry — which is the Minc (from everything I hear). I’m pretty sure the Minc will likely be better and perhaps last longer if you’re doing higher volume, but for my very basic needs, I’m hoping the one I got will suffice. If mine bites the dust and I’ve still got the foiling bug (which, let’s face it, I probably will), I will look to upgrade to the Minc, assuming it’s still the latest and greatest of lamintors.
So far, the laser printer / laminator combo is really living up to the hype. It’s really consistent, easy to use, no mess and 95% of the time the foiling is perfect. I’m finding when it’s not perfect, it’s more because the image I’m using isn’t a good fit (e.g. it’s too fine-lined so there isn’t enough toner to get a full foiling). I’m loving it and while I’m still designing my wedding invitations, I’m getting plenty of use out of foiling other cards.


