
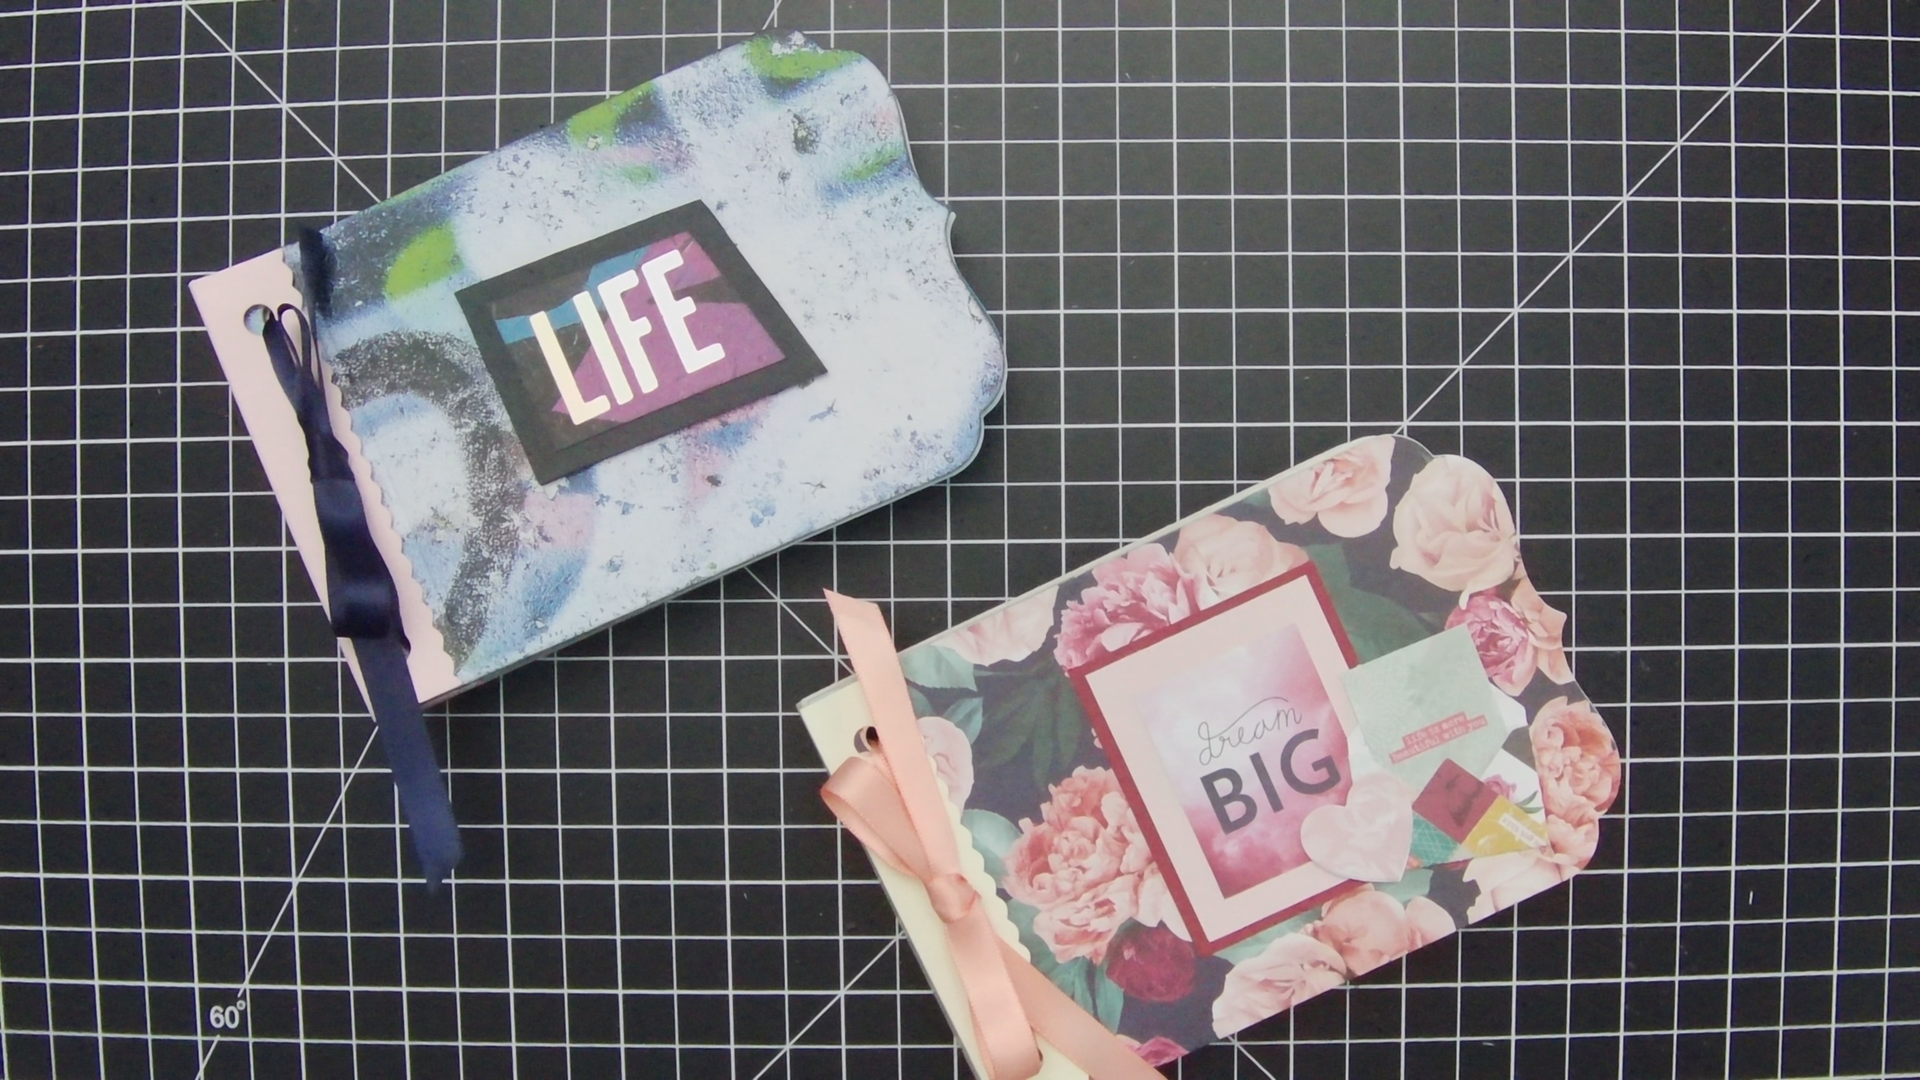
I have five nieces and four of them have birthdays the next couple months, so for presents this year I’m making them mini albums! My hope is they’ll enjoy filling the album with photos and every birthday I’ll give them a new album to commemorate that age.
I have two videos to share – one is a showcase walkthrough of one of the albums. The second video is a sped-up tutorial video showing how I made a similar album. You can see how different the albums look just by choosing different paper pads. For a list of products I used, scroll down to the “Shop This Project” section below.
Showcase
Tutorial
Tips
I go through these tips in the video, but in case you prefer to read, I’ve written out some of the tips below. The last tip is the step-by-step instructions with photos on how I created a custom spine to fit my chunky album.
Chipboard. I used lightweight (~22pt) chipboard on the front cover, spine and back cover. This gives the album a little extra sturdiness and makes it feel really substantial. On the front cover, you will want to cut the about 1/8 of an inch off at the score line. This allows the front cover to fold and open more easily. Be sure to cut from the main page as opposed to the side that’s closer to the holes. This way you don’t risk weakening the holes. I sandwich the chipboard between either designer paper (cut with the same die) or 110 lb cover cardstock.
Page Bases. You can definitely keep this album simple and just do single sheet page bases and decorate the front and back of a single sheet of cardstock. I wanted to give the book more stability, so I cut a page base for each page and then I glue two pages bases together. This not only makes the page more sturdy, but it also gives you a finished cut edge on the front and back. I prefer to use 65 lb cover paper weight. I find this folds a little bit more easily so the pages turn more smoothly. 80 lb cover would work too.
Foam Page Spacers. I cut 3/8 inch strips of foam (1.5mm thick) that I glue in the spine area (between the two holes) of each page. This gives space between each page for embellishments, decorations and photos that get added to the page. Without the foam, the pages will get bound tightly in the spine and the pages will fan out as you add more embellishments. If you aren’t planning to add anything dimensional, you could skip this. Also, if you don’t have foam, you could use chipboard as well.
Ribbon. If you are using ribbon for the binding like I did, one tip that I forgot to share in the video is to add a little bit of Fray Check to the ends after you cut your ribbon down to size. This prevents the ends from fraying and coming apart. If you don’t have Fray Check, you can use any type of glue that dries clear and matte and that would probably work as well. If you use something like a wax thread, you could also use a lighter to melt the ends a little.
Spine. I use a partial die-cutting method to customize the width of my mini album (since I have all that foam between each page). Here’s a quick step-by-step guide for how to do this:
- Die cut the spine piece from a scrap piece of cardstock. This will be your template.
- Line up your spine template on the cardstock that will be your spine.
- Trace the left corner of the template.
- Make a mark where the die embosses the score line.

- Measure the width of your spine. Gather up all the pages in your book — the front cover, all interior pages and the back cover. If you are using spacers (either foam or chipboard), be sure to add all your spacers as well. Hold all of that together and measure the width.

- Going back to your spine cardstock (from step 4) measure the width of your album (from step 5) from the mark you made in step 4. This will be where the second score line should line up.

- Bring over your spine template (from step 1). Line up the mark you made in step 6 with the second score line on your template.
- Trace the right corner of the template.

Now you’re ready to die cut!
Line up the die with the first corner you traced from step 3 above.
Place a small cutting plate over the die but only cover the left edge up to where the 3 slots are in the middle of the die. You’ll just be cutting the left edge and the holes on that side.
Run that through your die cutting machine (You may have to shim to figure out the appropriate sandwich.)


Then take your die and line it up with the second corner you traced from step 8 above.

Place the small cutting plate over the die along that right edge but just cover the die up to the 3 slots in the middle of the die. This will cut the right edge of the spine and the holes on that side.


As you can see the die embosses a score line, which matches up perfectly with the tick marks made to custom-fit the spine width to the thickness of my album.
Now that you have the two ends of the spine cut, you just need to cut a straight line to complete the cut on the top and bottom of the spine.
