

This is my first advent calendar of the year! I’ve been thinking about this design for a couple months now, so it’s nice to finally see it come together. I do have a video tutorial on YouTube if you are more of a visual learner, but I have some written step-by-step instructions below as well.
CUT LIST
Here’s a list of pieces you need to cut and some other supplies.
CHIPBOARD
- (4) Side Panels. 5-7/8″ x 7-1/2″
- (1) Bottom. 5-7/8″ x 5-7/8″
- (1) Lid Top. 6-1/8″ x 6-1/8″
- (4) Lid Sides. 6-1/8″ x 2″
CARDSTOCK
- (24) Advent Box. 5″ x 5″
- (4) Side Panel Mat. 5-3/4″ x 7-3/8″
- (1) Lid Inside Bottom Mat. 6-1/16″ x 6-1/16″
- (2) Inside Lid Reinforcer . 8″ x 1-7/8″
- (2) Inside Lid Mat. 6-1/16″ x 1-7/8″
- (2) Outside Lid Reinforcer. 8″ x 1-3/4″
- (2) Lid Glue Flap – 1″ x 6″
- (2) Lid Glue Flap – 1″ x 5″
OTHER SUPPLIES
- Wrapping paper
- Tyvek 3/4″ Wristbands
- Ribbon (optional)
- WRMK 1-2-3 Punch Board
- Paper guillotine / trimmer
- Liquid glue
- Double-sided adhesive tape
- Number Die Set
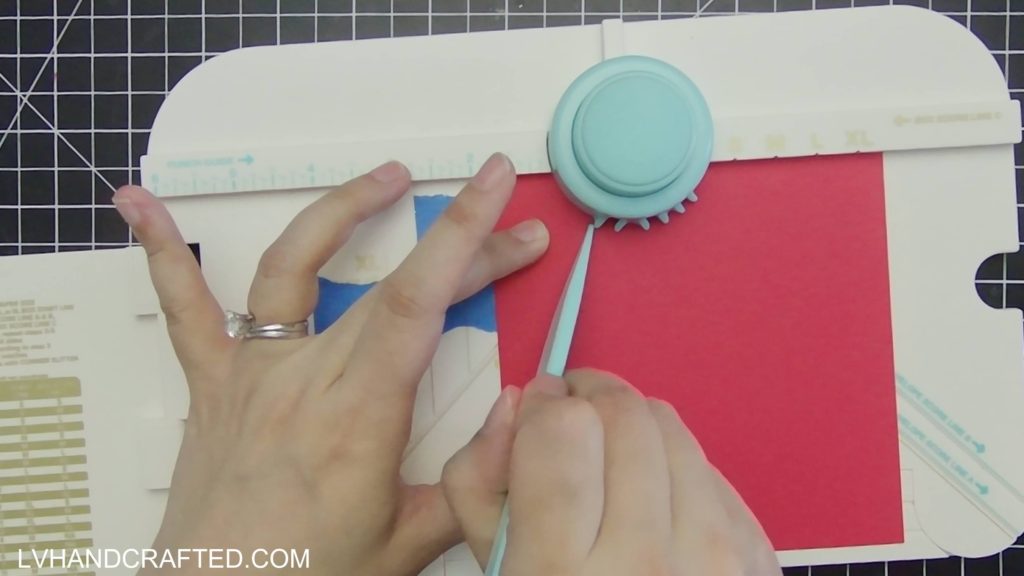
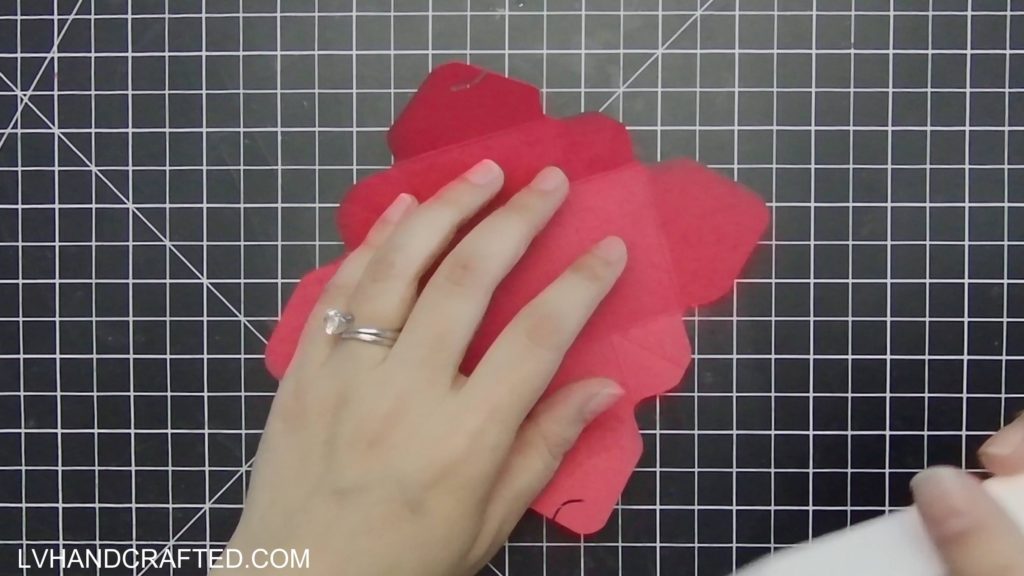
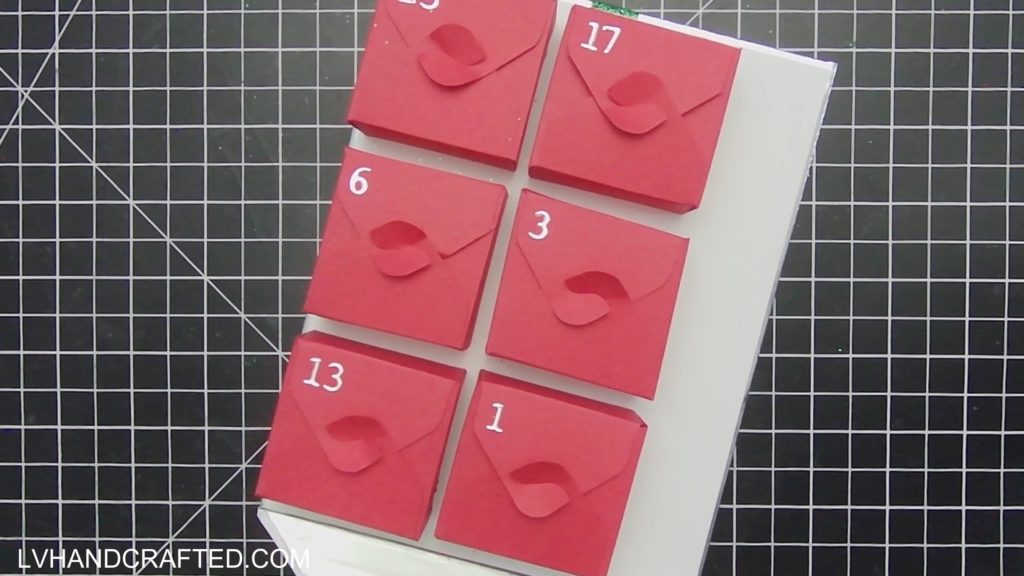
Create Advent Boxes
I am making a 2″ x 2″ x 1″ box for my advent calendar boxes. This is a custom size, so you can download the FREE template I created if you plan to use the WRMK 1-2-3 Punch board like I did. If you need a difference size, you can watch this video tutorial to see how I created this template. If you prefer, you can use one of the two styles of boxes from my advent calendar last year. Here’s one with a separate lid. Here’s the one with a tuck flap lid.
Whichever box design you use, you’ll need a total of 24 boxes. I use the A2 Snip It Grid and Calendar Creator die set for the numbers because all the numbers are on a single die, which also includes multiple copies of the numbers 1 and 2. Last year, I had to die cut individual numbers and it took a LOT more passes through my die cutting machine. I only needed to run this single die through 3 times to get all the numbers I needed. The rest of the die set will get put to good use, but just having this one die alone was well-worth the cost of the entire set since I’ll be making (or hope to make) 10 advent calendars this year! Glue the numbers on your boxes.
Assemble Side Panels
You’ll want to follow the steps below for each of the 4 side panels:
- Wrap the Side Panel on 3 sides – top and both sides – with wrapping paper. If you miter the corners of your wrapping paper, you’ll have less bulk in the corners.
- Line the fourth (bottom edge) of the Side Panel with a strip of Tyvek. Half of the Tyvek should fall on the panel and the other half on the glue flap. This will reinforce this hinge so it doesn’t tear over time. This 4th flap will be glued to the bottom of the box.
- OPTIONAL. Cover the Tyvek with another strip of wrapping paper so you have a consistent border around your mat layer.
- OPTIONAL. Run a strip of ribbon down the length (top to bottom) on the outside of the panel. Be sure to wrap the ribbon around the top and into the inside. Also make sure the ribbon extends past the bottom of the panel and onto the 4th flap.
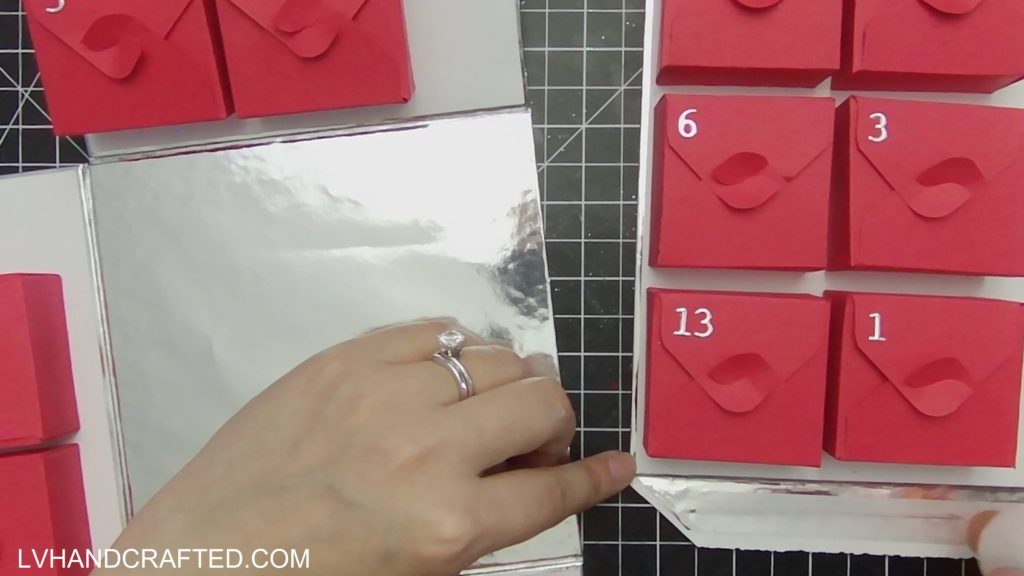
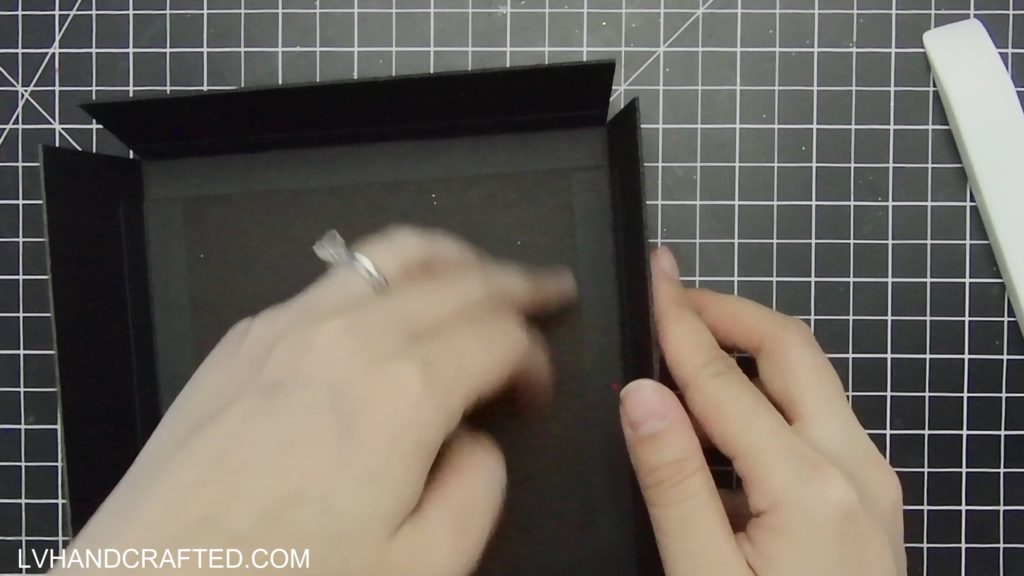
- Adhere your mat layer to cover all the raw edges on the inside of the Side Panel.
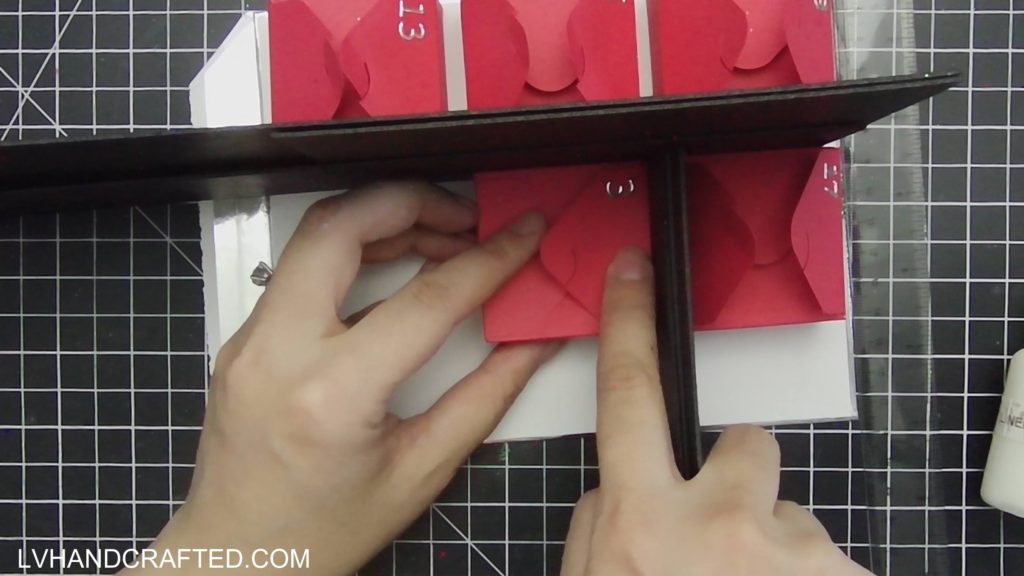
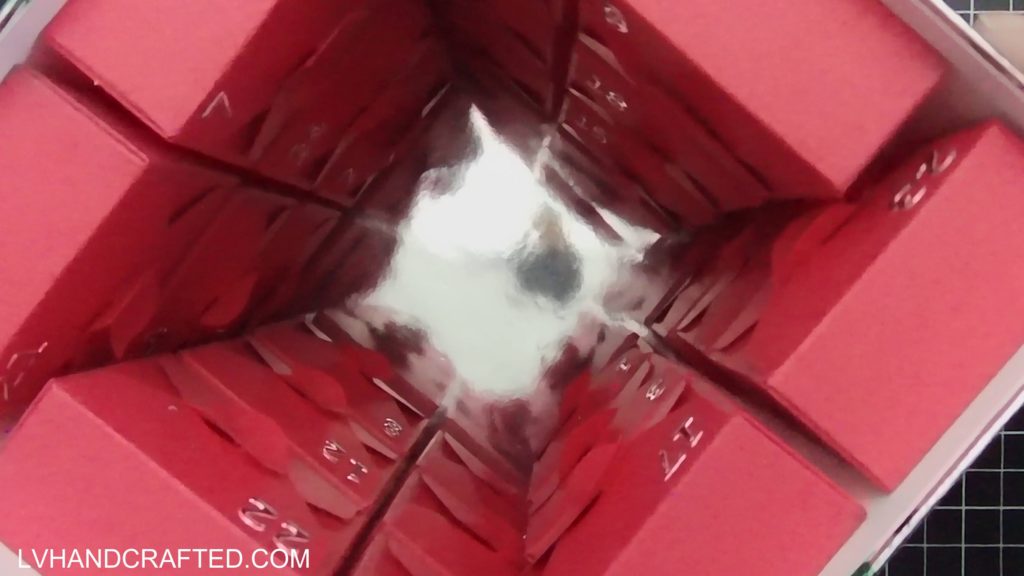
- Adhere your advent calendar boxes in 2 columns and 3 rows. I start about around 1/4″ from the top and roughly 3/16″ from the edge. I use chipboard scraps as spacers between my boxes. Make sure your follow the same orientation & positioning for all 4 Side Panels to ensure the box sides will close properly. There should be enough room next to the second column to fit the boxes on the adjoining side.
TIPS
- You can buy Tyvek strips, which are 3/4″ wide and 10″ long.
- Instead of Tyvek strips, you can cut strips from Tyvek mailing envelopes.
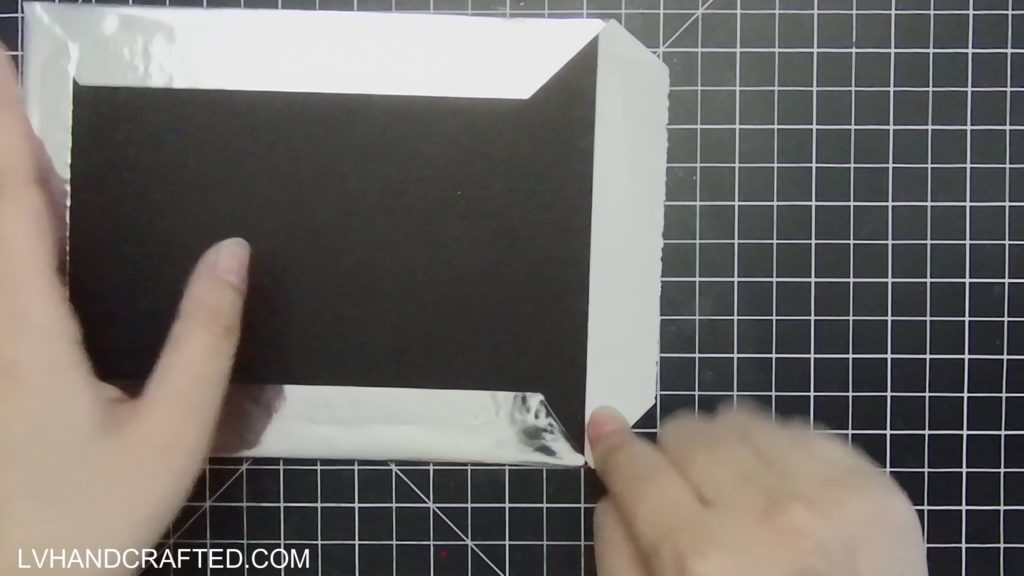
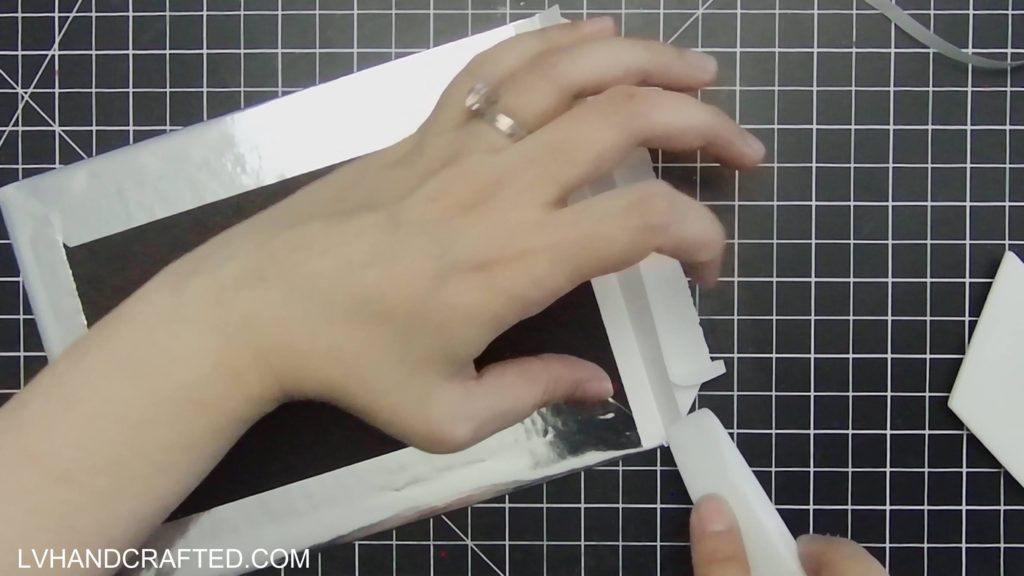
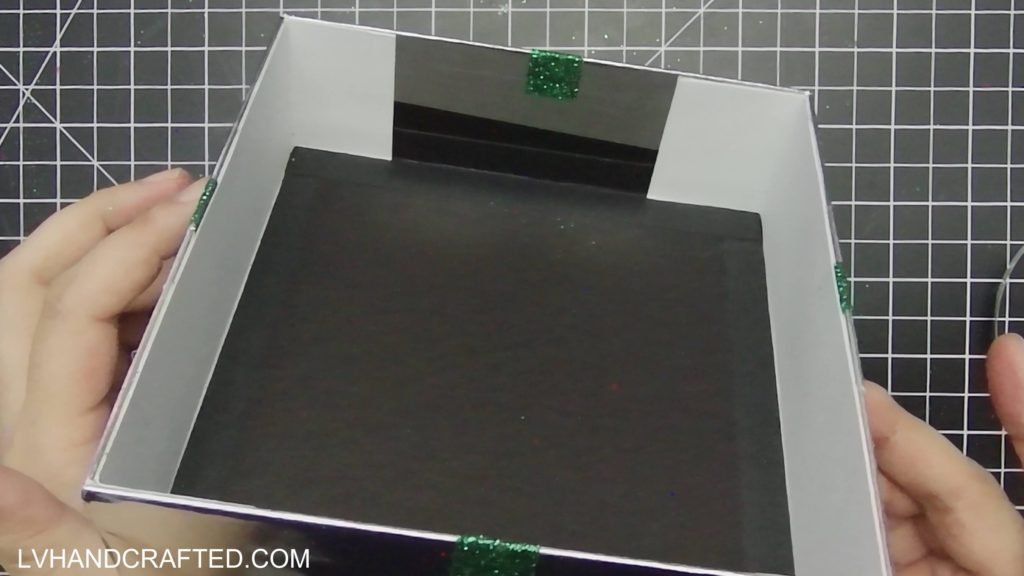
Attach Sides to Bottom
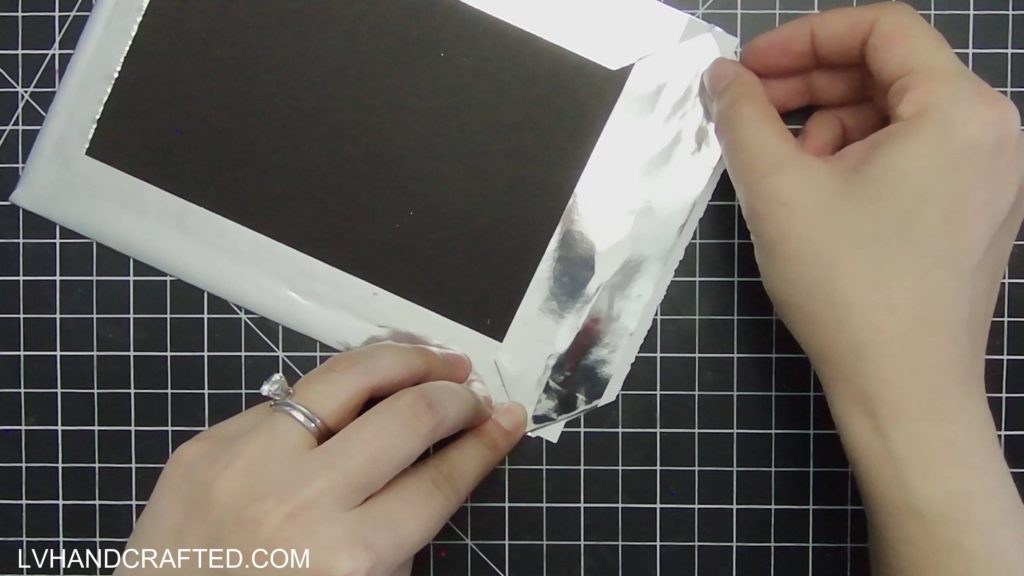
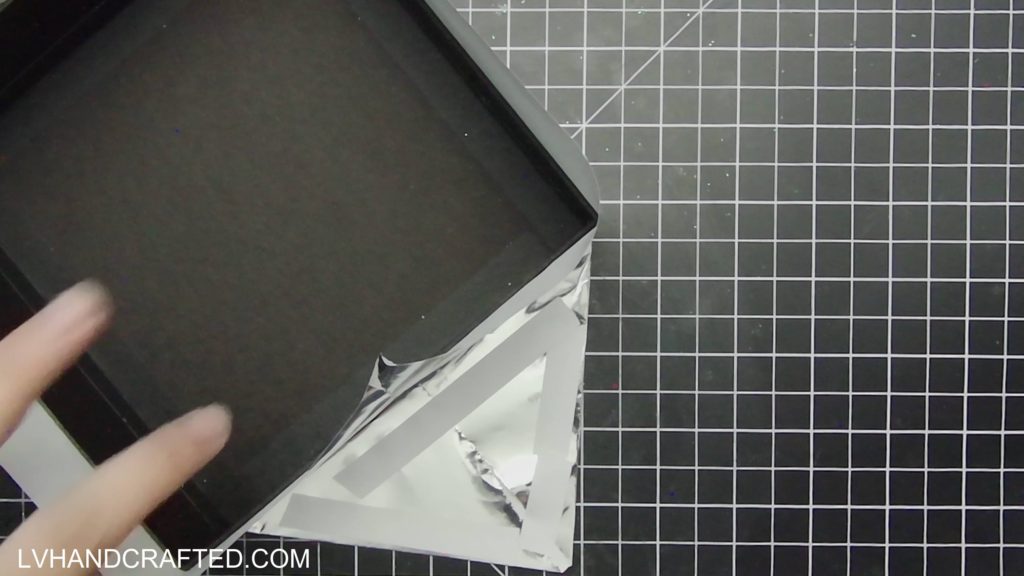
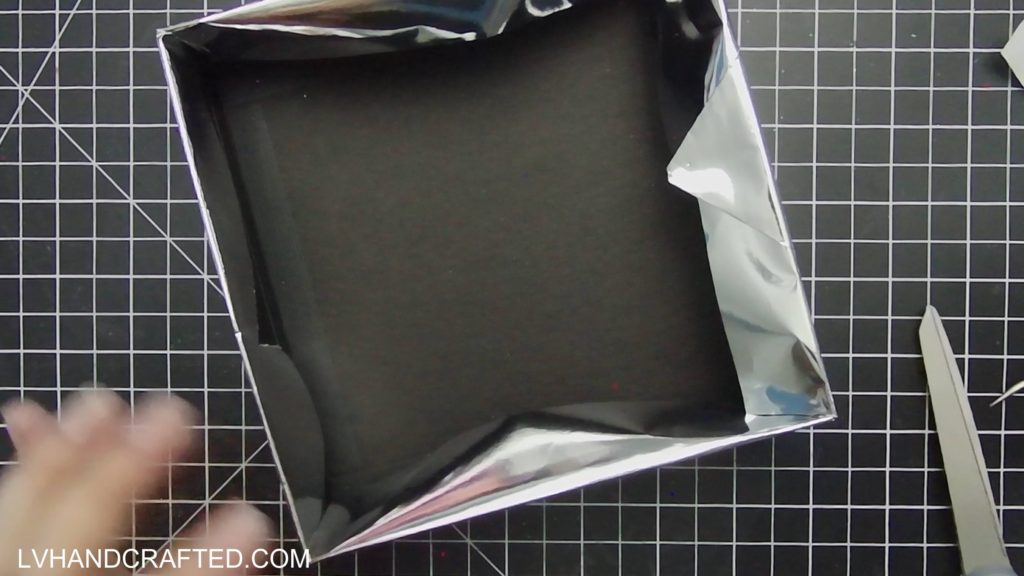
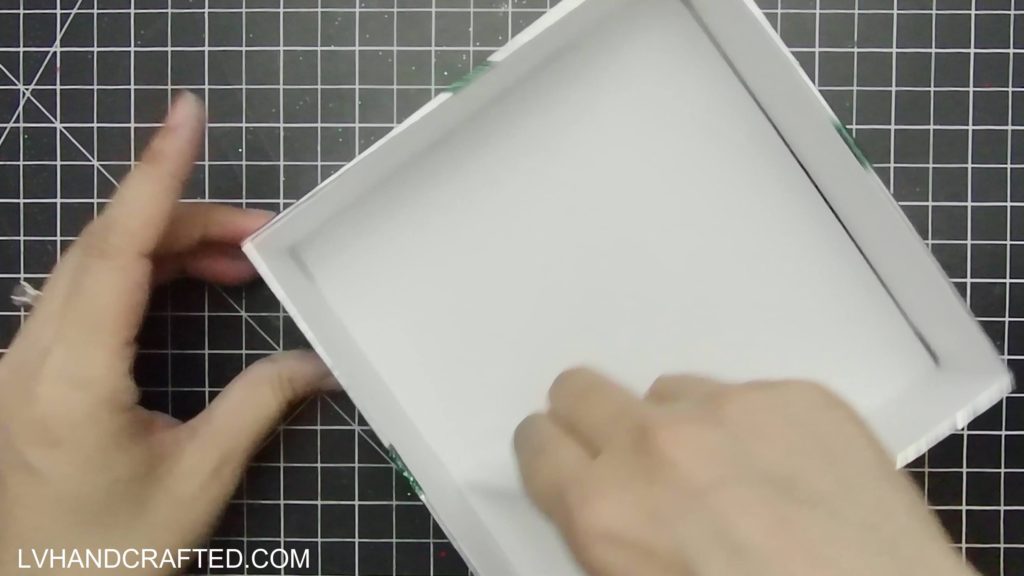
- Cover the Bottom piece with wrapping paper on all four sides
- The pretty side (with the wrapping paper) should be on the inside of the box.
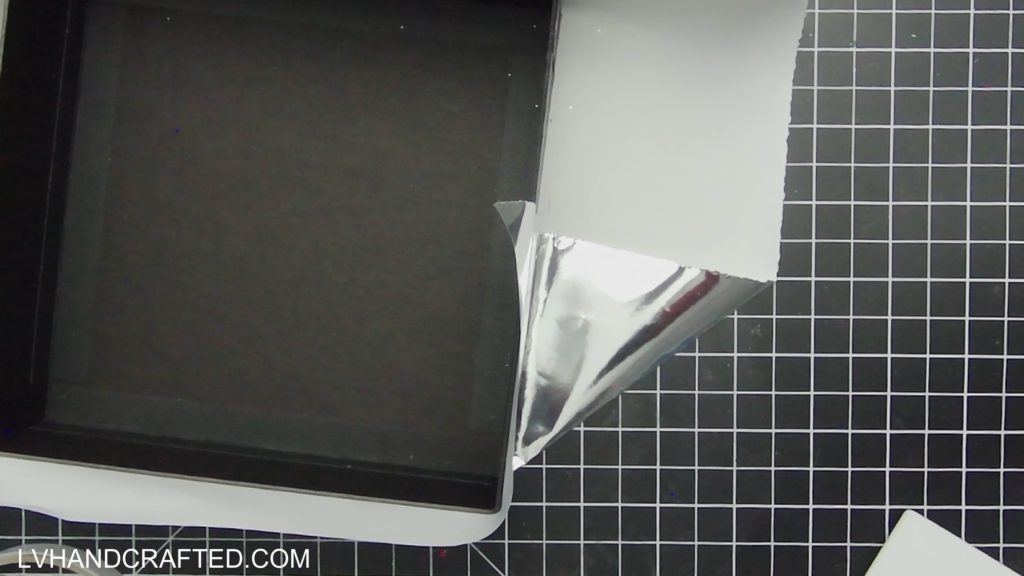
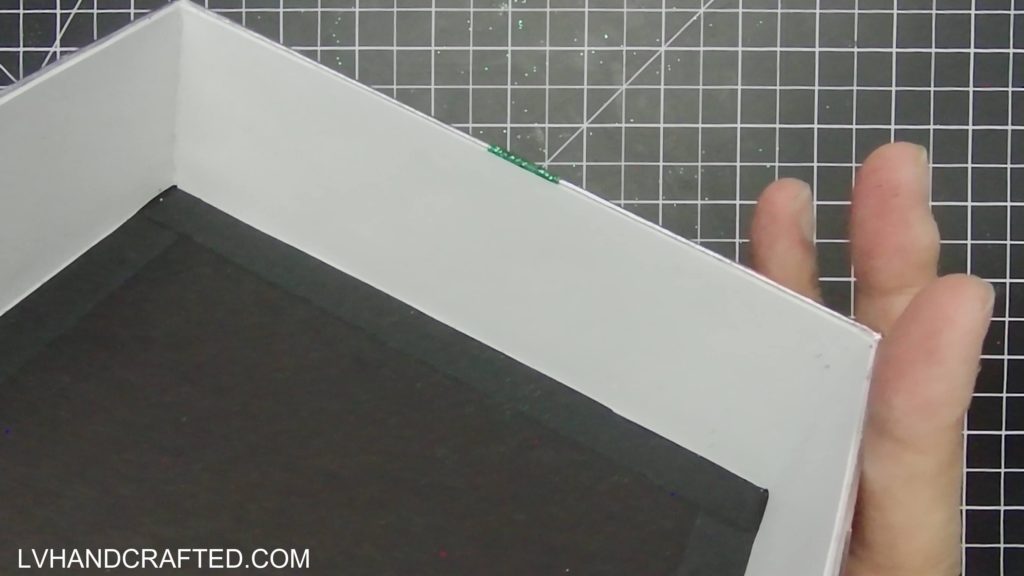
- Glue the 4th flap on each Side Panel to the Bottom (on the outside). Make sure you can fold the side panel up so it’s perpendicular to the bottom. You should see a gap between the bottom and side panel pieces — around 1/8″ gap. If you chose to do step 3 above, this gap will be the wrapping paper. If not, then you’ll see your Tyvek strip.
- Cover the outside of the Bottom piece with another piece of wrapping paper to cover all raw edges from the glue flaps.
TIPS
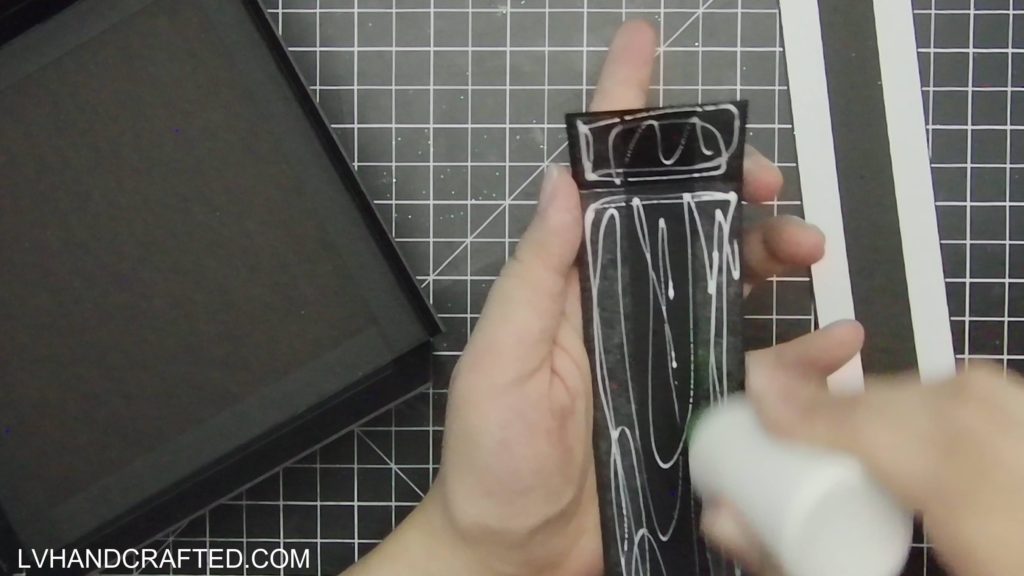
- Use a combination of dry adhesive tape for instant grab and liquid PVA glue for permanent, long-lasting adhesion.
- You can adhere the side while it’s perpendicular (in the closed position) to make sure there’s enough room for it to fold close.
Create Lid
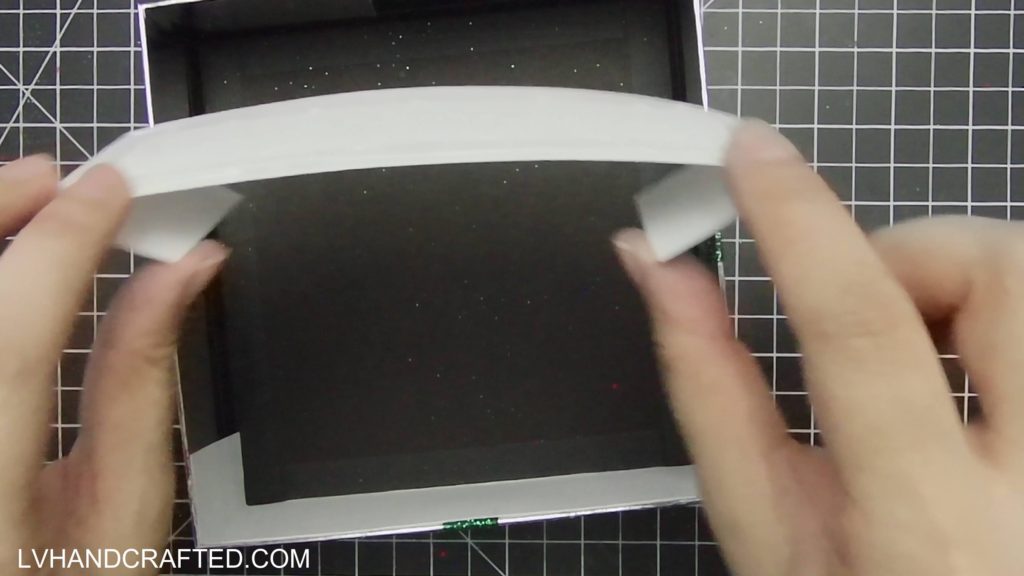
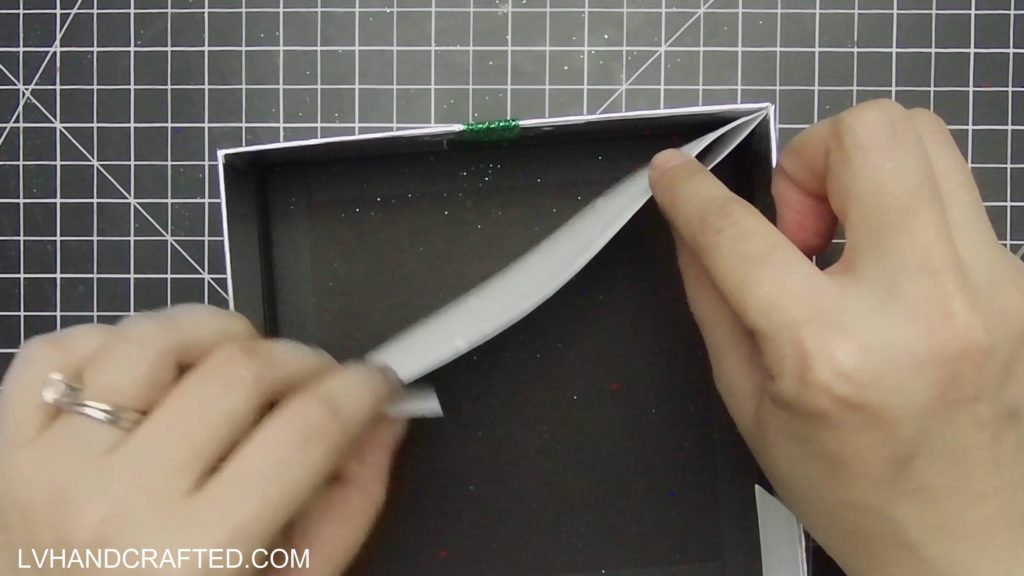
- Score and fold your 1″ glue flaps at 1/2″ down the length of the strip.
- Attach the 1″ glue flap strips to the Lid Top. The two lengths that are the same should be on opposite edges. The folded edge of the glue flap should be flush with the edge of the Lid Top.
- Next, attach the Lid Sides to the glue flaps.
- Wrap the Outside Lid Reinforcer so it covers one Lid Side from the OUTSIDE. It should cover the entire side and wrap around the two corners on the adjoining sides.
- Wrap the second Outside Lid Reinforcer along the opposite side to reinforce the remaining two corners from the OUTSIDE.
- Cover the entire lid with wrapping paper. On the sides, you should fold the wrapping paper into the inside of the Lid Sides so you get a nice finish all the way around.
- OPTIONAL. Run a strip of ribbon from one edge to the opposite edge. Run a second strip of ribbon across the remaining two edges. You can use the box sides as a reference for lining up your ribbon so the lid matches the sides. Make sure the wrap the ribbon down the side of the lid and wrap into the inside of the lid for a nice clean finish.
- Take one Inside Lid Reinforcer and attach it to the INSIDE of the LID SIDE leaving enough to wrap around the corners on the adjoining sides.
- Take the second Inside Lid Reinforcer and attach it to the opposite side to reinforce the remaining two corners from the INSIDE.
- Adhere the Inside Lid Mat to cover up the raw edges on the remaining two INSIDE Lid Side panels.
- Adhere the Lid Inside Bottom Mat to cover up the glue flaps.
Finish, Fill & Enjoy!
I finished my box with:
- Bow made from the same glitter ribbon (from the Dollar Tree)
- A 6″ tall bottle brush tree glued to the inside of the box
- A gift tag will be attached once we decide who gets this specific box
- And of course, the boxes will be filled with yummy treats and trinkets!

Video Tutorial
Some of my favorite places to shop
DISCLAIMER: This website contains affiliate links, which earn me a small commission at no additional cost to you if you purchase from my link. For more details, check out my Affiliate Disclosure.