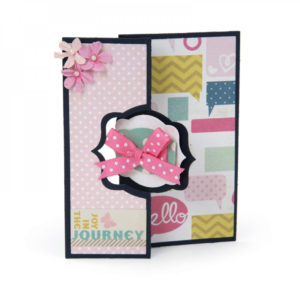
I’m a fan of the Sizzix Flip-It dies and I have several that I love to use. They are definitely an easy way to make an impressive card. However, I found myself wanting to make a Flip Card using a heart as the focal image. I don’t know if Sizzix has one, but I couldn’t wait to shop for a die. So I sat down to figure out how to make it myself. It’s actually pretty easy!
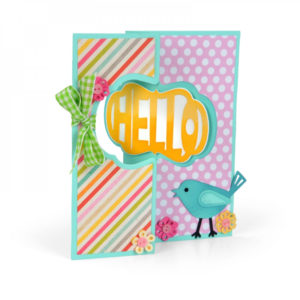
If you’re comfortable with partial die-cutting, then this will be a breeze. Here are some examples using a heart and a hexagon. I’ve outlined the steps below as well in case you want to try this as well!
I have a video tutorial (below) as well as instructions in this blog post if you prefer written instructions.
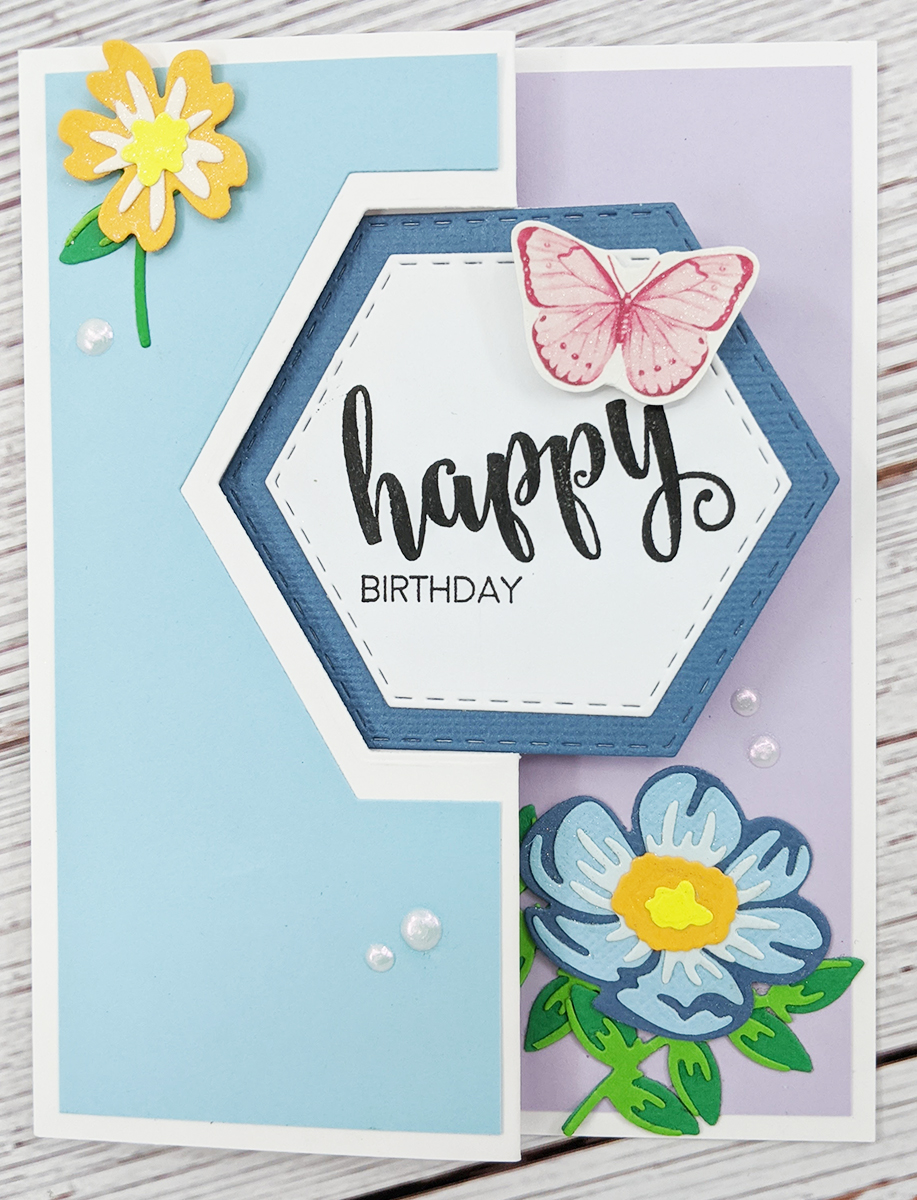
Heart & Hexagon Flip Cards

Custom Flip Card Instructions
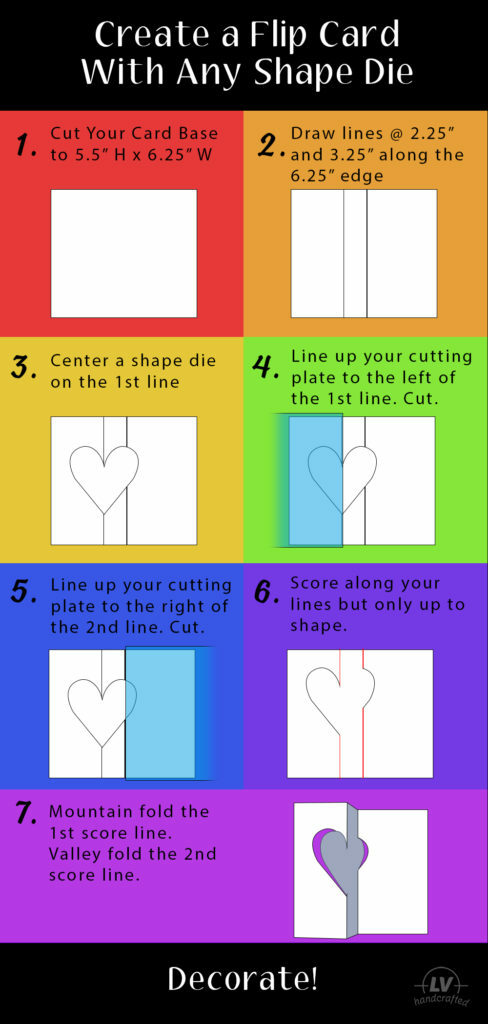
The steps below are how to create an A2 size card (4.25″ W x 5.5″ H) that has a z-fold which flips out a focal image. There are a lot of awesome dies that will do all this for you in one cut, so those are definitely worth the investment. However, if there’s a specific shape you want to use, you can make your own!
Key Considerations For Choosing Your Shape Die
Size
There’s a 1-inch section in the center of this “Z-fold” card. In order for your focal flip panel to work, the right half of your shape die needs to be large enough to span this 1″ gap and cut a portion of the right panel. The left half of your die also needs to fit comfortably on the left panel (which is 2.25″ wide). Ideally, a die that is roughly 3-3.5″ wide will work well. You can always change the dimensions of your card to accommodate your die if there’s something specific you want to use.
Shape
Ideally, you’ll want to use a shape that is symmetrical. The focal flip panel needs to look “correct” from the front and back because you’ll see both sides as it flips. Also, when the card is closed, you may have a visible gap if the right side isn’t the same (or larger) than the left side.
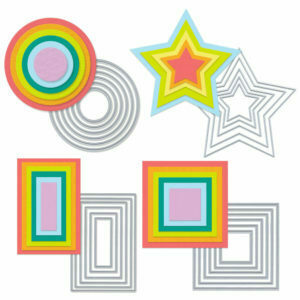
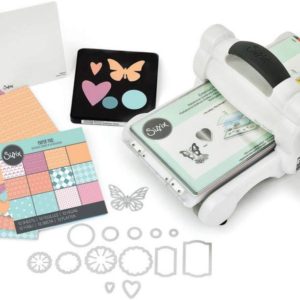
Nested Shape Dies
Nested shape dies are really ideal for these flip cards. I like to choose a die somewhere in the middle of the set. That way I have dies larger and smaller. I can cut mats for both the focal flip panel (using smaller dies) and the surrounding panels (using larger dies).
Decorating
There are a lot of ways to decorate your Flip Card. If you want to create a mat layer, you can die cut some pattern paper or colored cardstock like I did above. In my examples, I show two different way to cut your mat layer — one with a border and one without.
No Border Mat Layer
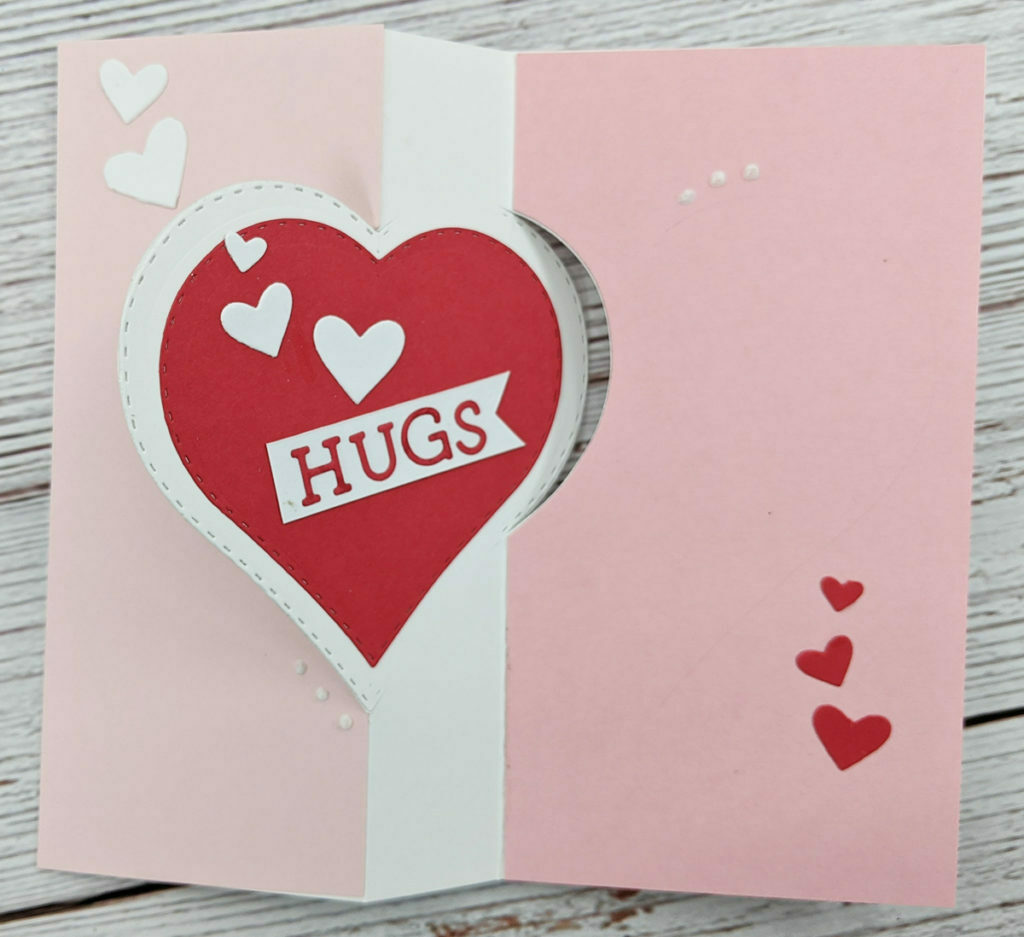
For the heart, I did not leave a border. Because I left a white border around the heart itself, I figured it didn’t need another white border on the surrounding panels. So, I cut the pink cardstock to the exact size of the panel — 2.25″ x 5.5″ . Then I lined that up behind the heart and placed my die over the heart. I taped the die to my pink cardstock panel and then cut it. I did the same thing on the back panel (3″ x 5.5″) in a different shade of pink. Now you have two mat layers to start adding decorations to!
Mat Layer with Border
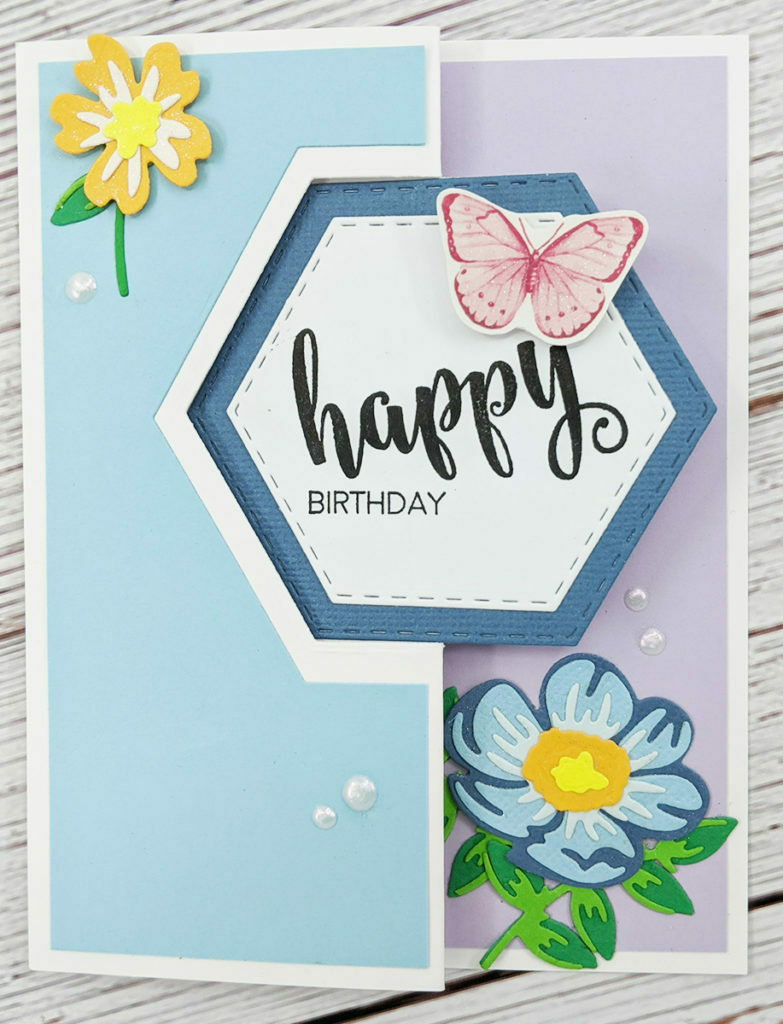
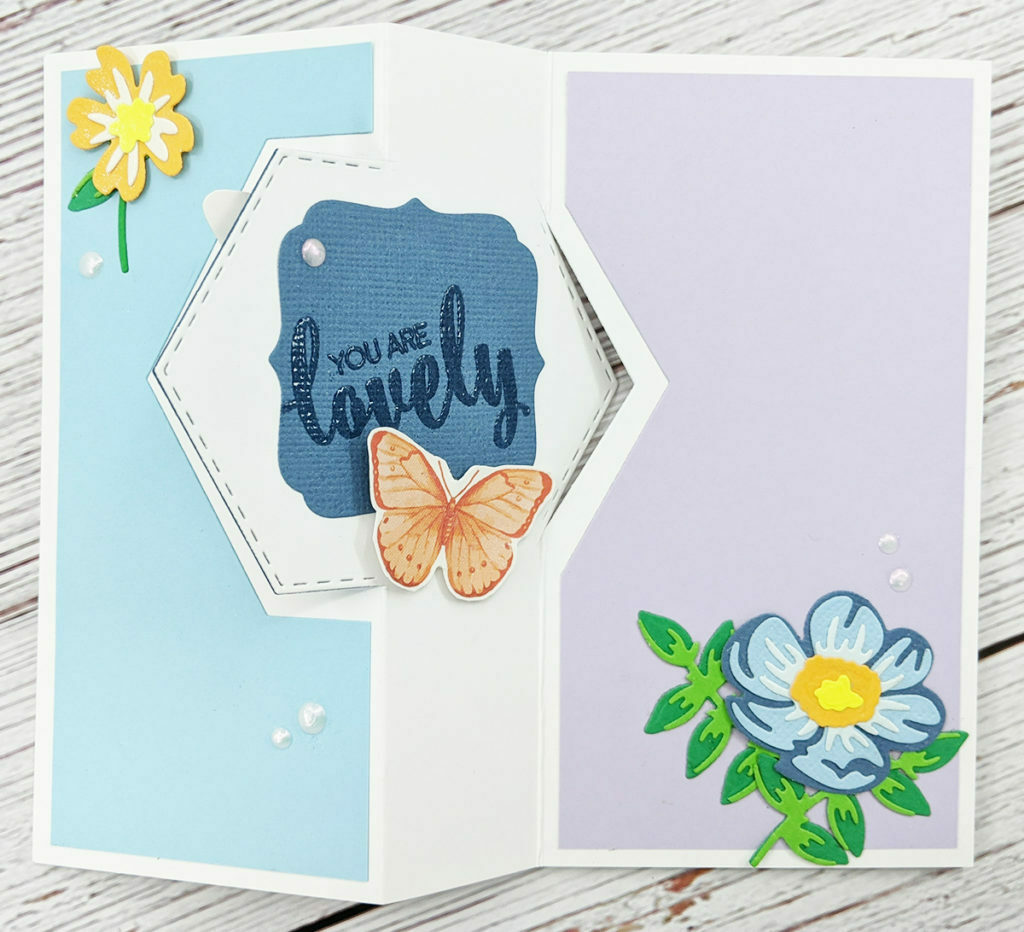
On the hexagon card, I wanted a white, so I cut that panel to leave a 1/8″ border all around — 2″ x 5.25″. Instead of using the same die that I used to create my Flip Card, I used the next size up. Because I used nesting dies in both cases, it gave me a lot of options for mats both larger and smaller than the main flip panel. I centered the larger hexagon die around the main hexagon flip and taped that down to my panel. I die cut that panel and then did the same for the back panel (which was cut to 2.75″ x 5.25″).
Tips
- Don’t forget to erase all your pencil lines. 🙂
- Generally, when you score a line, you want to mountain fold that line. After I score the first line, I’ll actually flip my card to the back and make the second score line. That way I get a nice crisp fold.
- I’ve noticed a small gap to the left of my focal flip panel sometimes. The heart card above shows this well. To “fixed” this, instead of leaving your shape die in the same position when you do your second partial die cut (step 5), I shift the die over a “smidge” to the right. This makes the portion that flips over a little larger so you don’t have a gap from the front. The downside is that your focal flip panel will look a little distorted (stretched) when you open it. In the case of a hexagon, it’s not quite as noticeable. I did try this on the heart and it’s noticeable but somewhat passable as a “stylized” heart. LOL. So, it’s a bit of a trade-off.
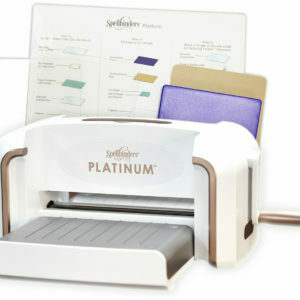
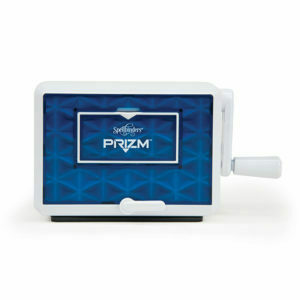
- Use an A4 (large platform) die cutting machine with a standard size cutting plate. In general, I find it easier to do partial die cutting when I am using my Spellbinders Platinum (actually, I have the FSJ Platinum Journey, but it’s the same machine) and my standard plate from my Cuttlebug. It’s easier for me to line up my cutting plate exactly where I need when I have more room to tilt and angle either the plate or the card on the larger platform.
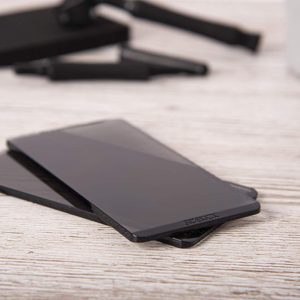
- Use a mini cutting plate with your standard die cutting machine. Before I bought my Platinum, I used my Cuttlebug and the Sizzix Sidekick cutting plate. Because you’re cutting a full size A2 card panel, there’s not a lot of room to tilt/turn your cardstock but the smaller Sidekick cutting panel does help to line it up just over the portion of the die you want to cut.