
I mentioned in my previous post that I submitted an entry to the Time for Tea Designs (T4TD) May Challenge. I decided I’d go ahead and create another card to improve my chances of getting a gift certificate (or even better a guest design spot). This time I wanted to show how you can foil your Digi Stamp to make it even more unique. I am so glad they relaxed the rules a little on this challenge because I don’t have any of their products (yet!). But thankfully T4TD has some free Digi Stamps and they let us use our own dies. So, without further ado, here’s my second entry…
UPDATE – Because I had the negative piece of foil just sitting on my desk, I decided to go ahead and make another card. 🙂 Scroll or Skip down to see my BONUS card.

How I Made It
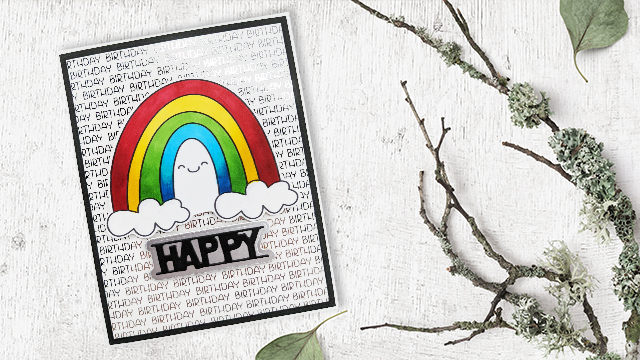
- The two Digi Stamps I’m using are from T4TD – Stay Safe Rainbow and Smitten Kitten
- I loaded the images into Photoshop so I could manipulate them a little before printing
- Birthday background
- First, I scaled the BIRTHDAY sentiment to the size I wanted.
- Using a rectangle that was 4.25″ x 5.5″, I tiled the sentiment enough times to cover it.
- I added a few more sentiments in different sizes. I may as well fill the page afterall. 🙂
- Finally, I printed on cardstock using my laser printer.
- Rainbow
- I created a couple copies of the rainbow at different sizes. I wanted options and extras just in case my coloring didn’t go well. 🙂
- Then I printed on super smooth paper.
- Coloring
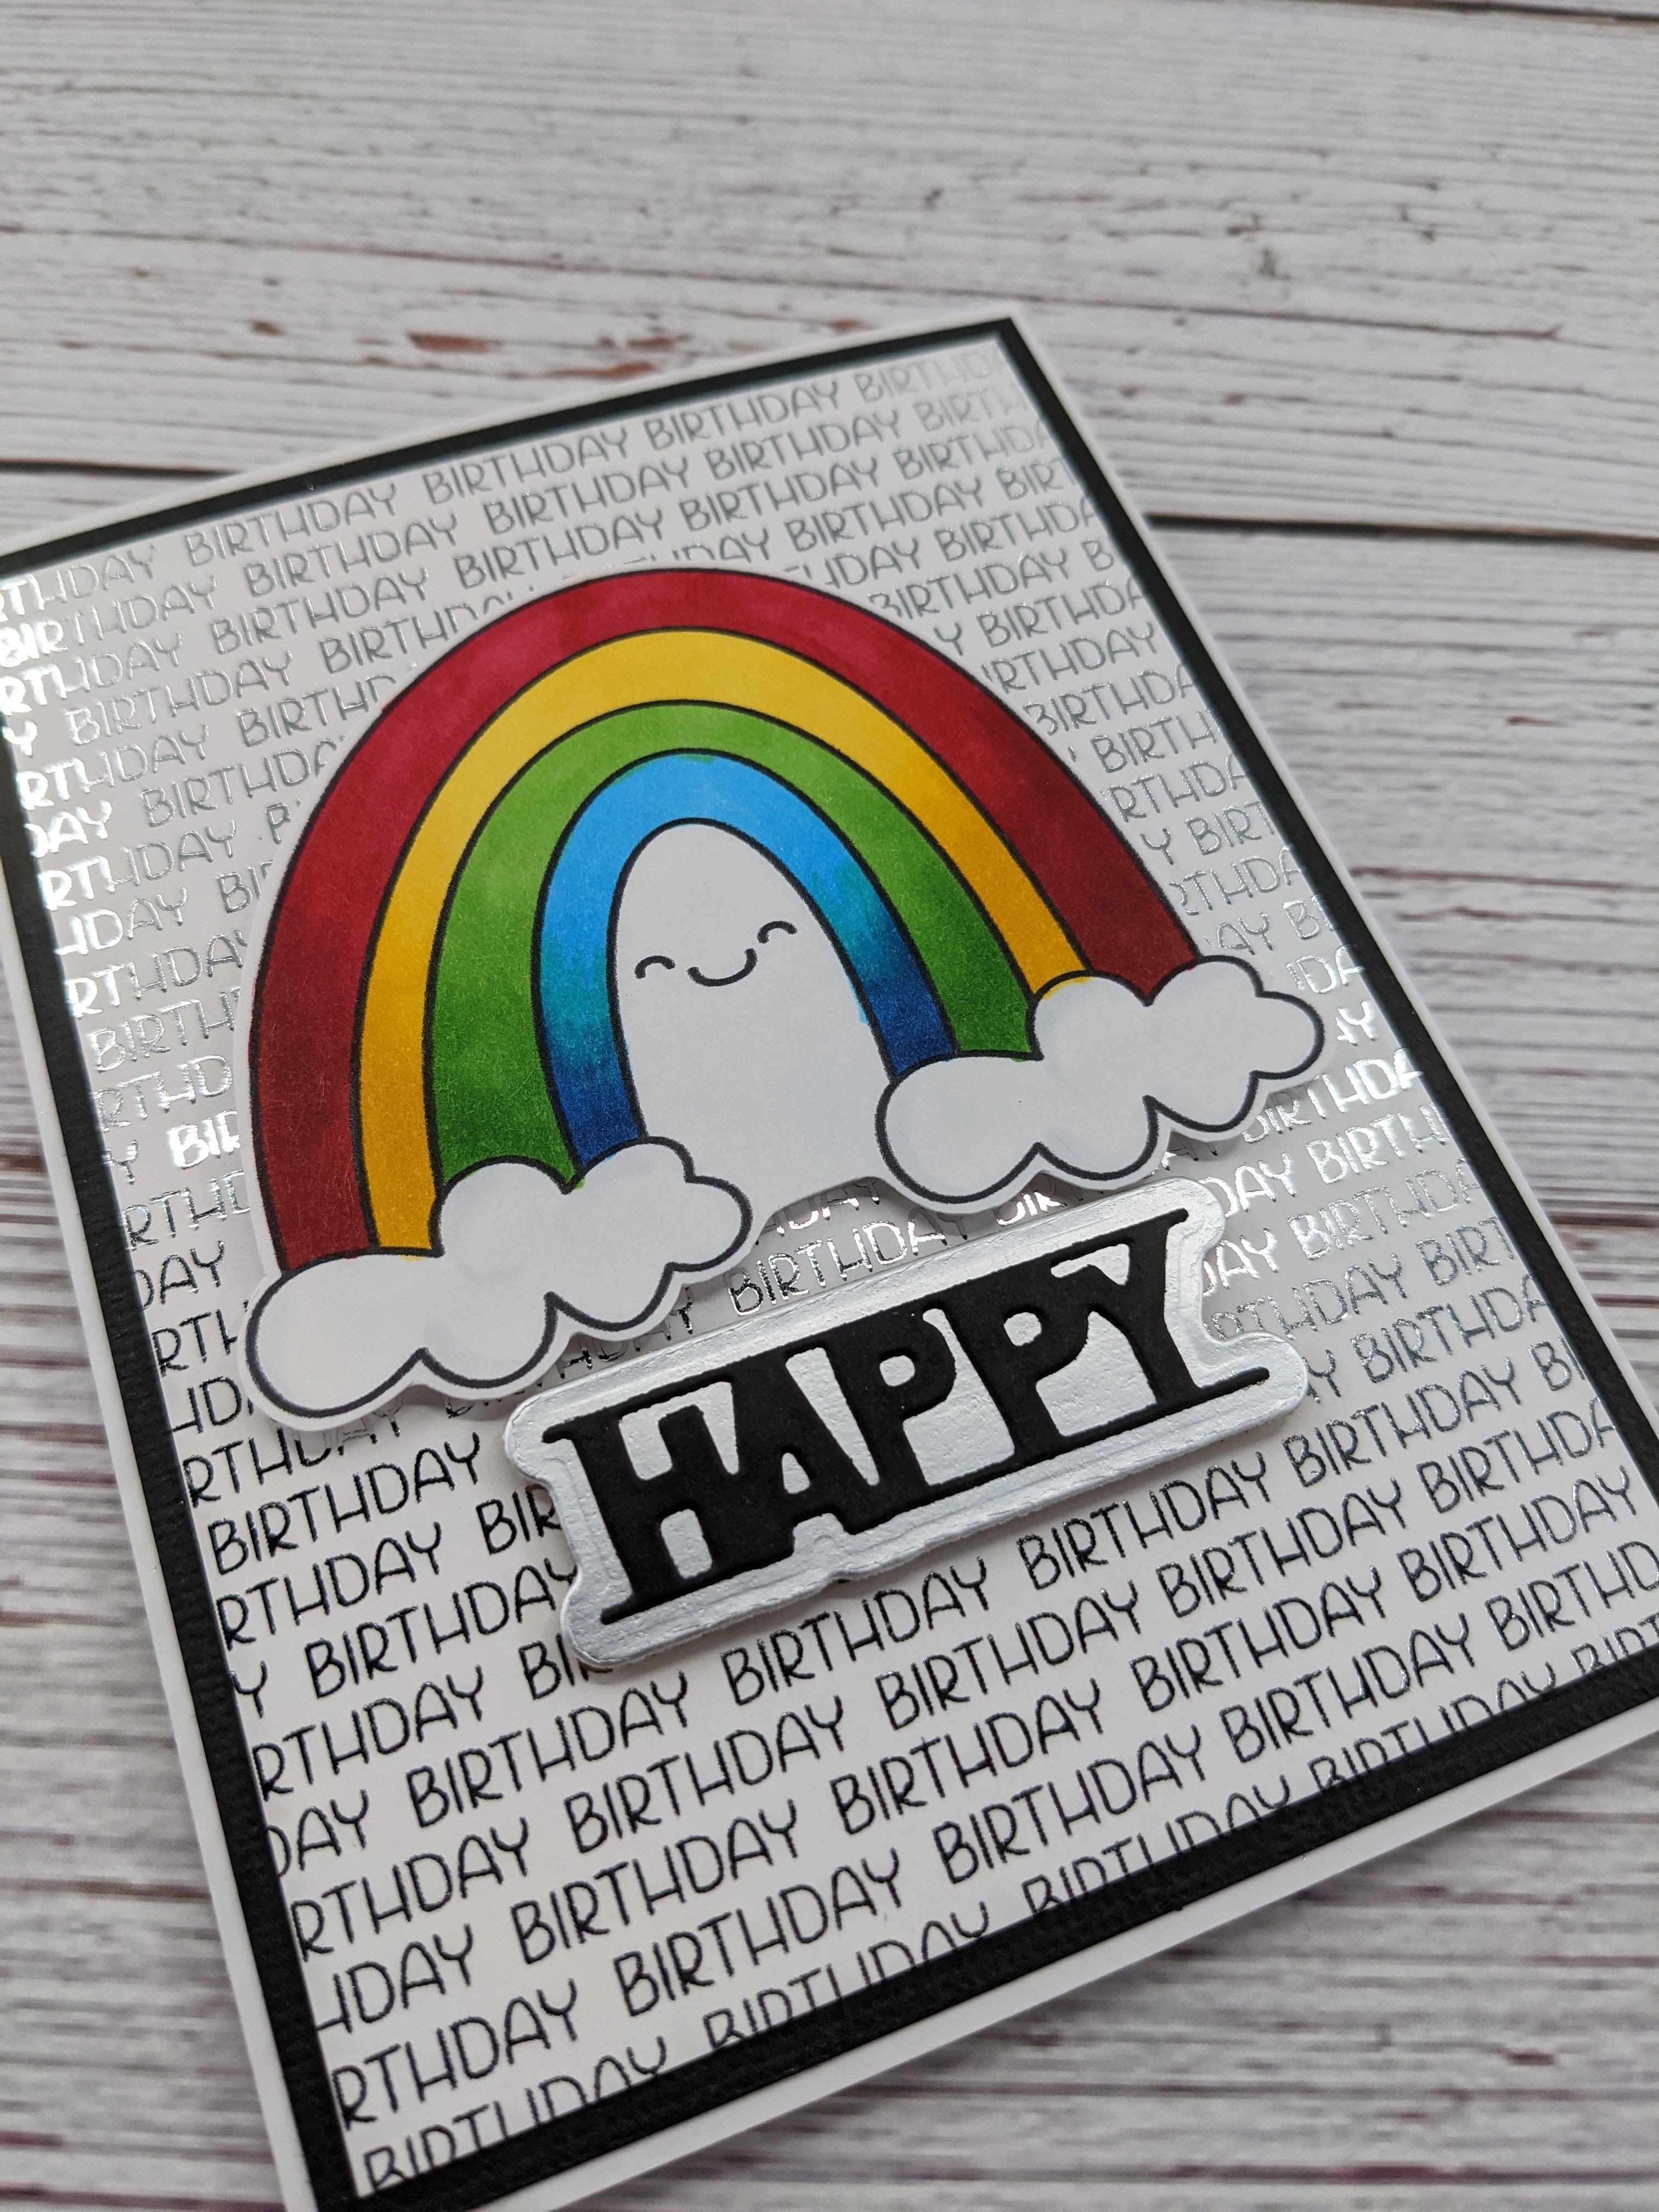
- Using some Ohuhu alcohol markers, I colored in the rainbow.
- Finally, I fussy cut the rainbow (backed by cardstock) leaving a thin white border.
- Foiling
- First, I turned on the laminator. It takes a while to warm up.
- I cut down the BIRTHDAY panel from the rest of the printout.
- I trimmed a piece of silver foil just large enough to cover the panel.
- Next, I sandwiched the BIRTHDAY panel with the silver foil on top between two sheets of plain copy paper.
- Finally, I fed the sandwich through my laminator.
- The HAPPY sentiment is from Tonic’s Three Tier Pull-up Add-on . The die set includes both the shadow and the word die, so I used some silver matte foil and black cardstock.
- Finally, with all the pieces complete, I assembled the card, popping up the rainbow and sentiment on foam!
Tips
- Laminating is an art not a science. 🙂
- It can take multiple passes. Rotate your piece between each pass. The edge that goes through first gets the the full heat, which cools as the panel goes through. By rotating and passing it through multiple times, each side gets the same amount of heat applied to it.
- Thicker cardstock requires more heat. If your laminator has different heat settings (usually for the thickness of the laminating sheets – 3mil vs. 5mil), choose the hotter setting (5 mil).
- Try not to have too much excess foil on your panel. It can lead to over-foiling.
- Not all images foil well. Usually images with thicker lines foil better; there’s more toner for the foil to attach to.
- When you take the foiled panel out, gently press down the foil while it’s still warm. It can help smooth out and adhere the foil to the toner.
- Let the panel cool completely before removing the foil. While it’s warm, you could lift some of the foil.
- Lift a corner of foil to peak at your foiling. You can always run it through again. If you lift the foil off completely, it’ll be hard (or impossible) to line it up again.
- If you’re tiling a background, make it larger than what you think you need. You can always cut it down.
- If your printer can’t take cardstock, print on the best quality paper you have. Then you can use double-sided adhesive to adhere it to cardstock to give it more weight. Do this before you fussy cut so you don’t have to cut twice. 🙂
- If you print using an inkjet printer, your coloring media might make the ink run if it’s water-based. Alcohol markers seem to work just fine.
Bonus Foil Card
Whenever I foil, I always keep what is leftover. With the type of foil that works with a laminator, it’s pretty easy to use up the entire sheet because it will stick to anything that is tacky. For example, you can use double-sided tape to create foil strips. And you don’t need a solid section of foil if you don’t mind a more distress look. You can just lay your foil over the adhesive multiple times until that adhesive is completely covered and your foil is completely used up. 🙂
Another great way to use leftover foil is using toner sheets. These sheets are edge to edge covered in toner, which is the same ink that laser printers use. It’s basically a plastic that’s been melted so it can adhere to your paper. That’s why if you want to foil a Digi Stamp that you print, you need to use a laser printer. Once you run your printout through your laminator, it melts the toner ink, which then allows the foil to adhere to it. You could print out a fully black sheet of paper on your laser printer, but that will use up a lot of toner cartridge. I find toner sheets pretty convenient to have on hand.
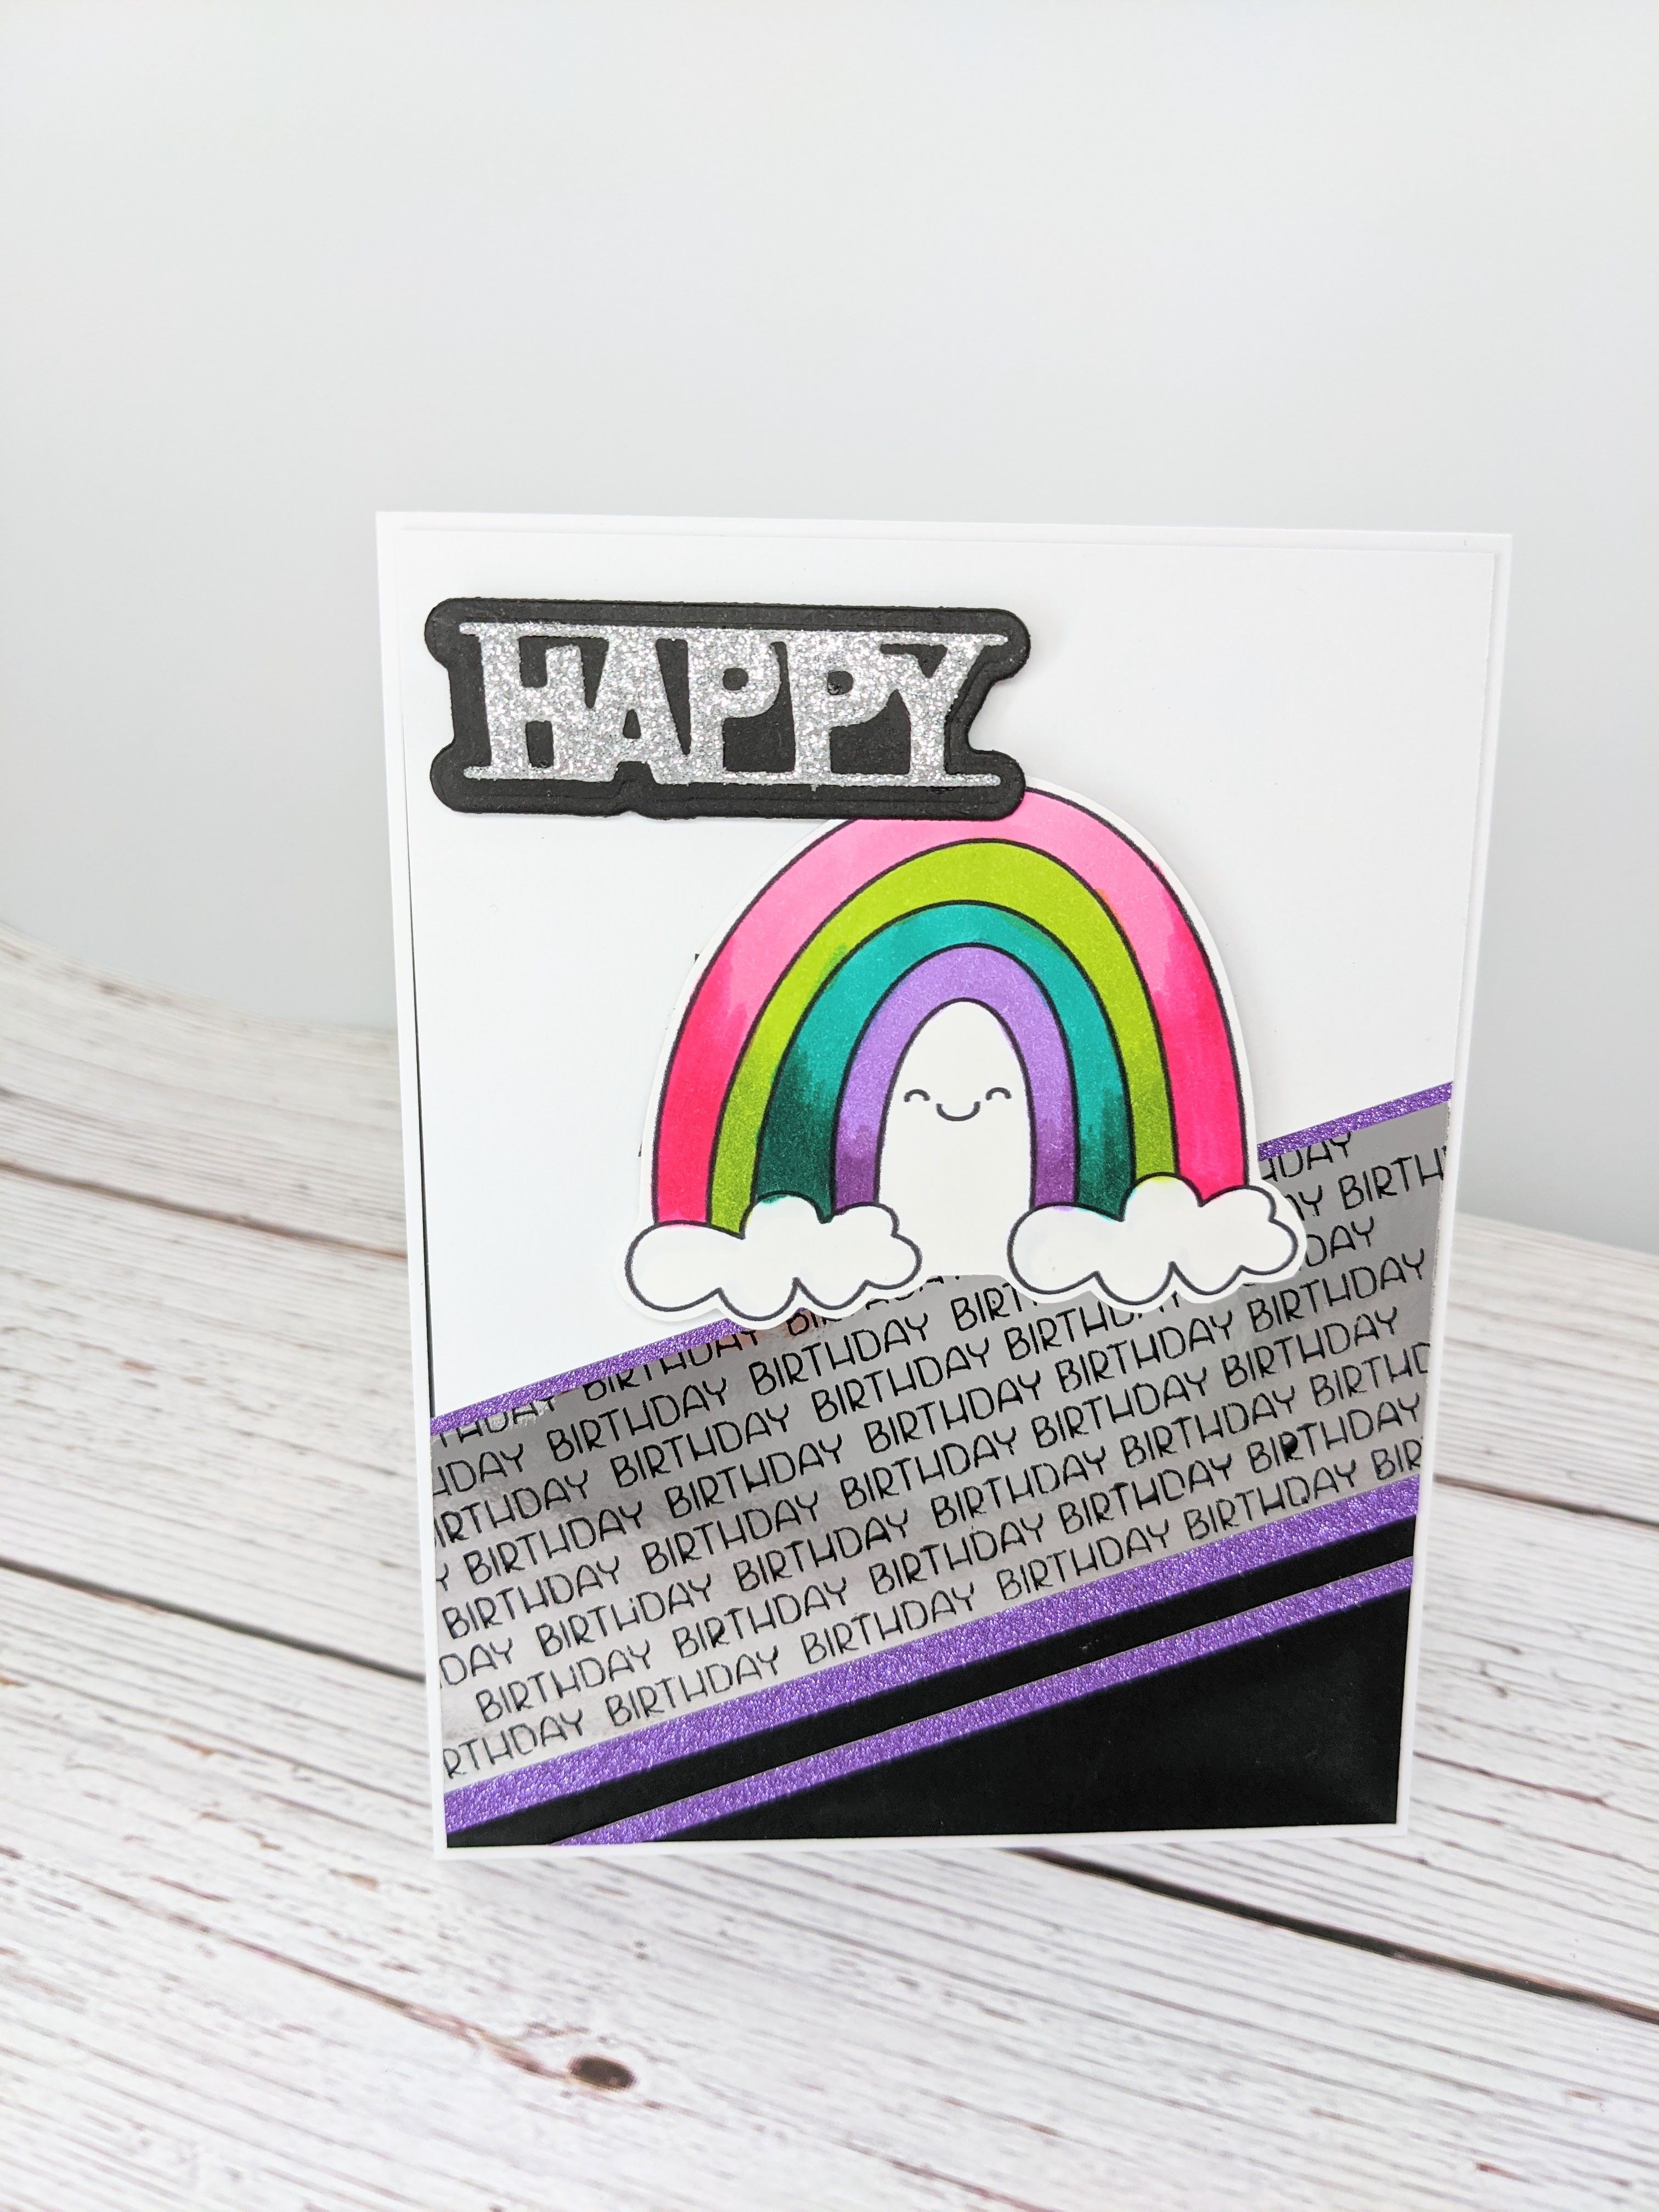

It’s perfect for occasions like these where the negative image — or what’s leftover from my original foiling is just as pretty as the original. So to transfer the entire sheet of foil that’s leftover, I just cut a piece of toner sheet to the size I need and then lay that leftover piece of foil right over it. I run that through my laminator again and voila! I have a second background panel that is the inverse of my first one — black lettering on silver foil background. Instead of using this as a full panel, I thought I’d just cut off a section and use it a little differently to put together this bonus card using my leftover foil! Plus, I still have sections leftover for more cards if I want!
Which is better? The original or the leftover? 🙂
So eye catching, love your bold use of colour. Thanks so much for playing g for a second time at Time For Tea Designs challenge. Stay safe and keep crafting!
Thanks so much, Jane!