
I did a MEGA FLIP using Spellbinder’s amazing Merry Everything Card Kit. This kit has a LOT more than the standard monthly card kit. My goal was to use up as much of the kit contents as possible and I came pretty close to it!
In my FLIP showcase video, you’ll see 39 cards in a variety of styles – Flat, Layered, Interactive and Pop-Up. However, I did create a couple more after I shot the video. Photos of those are below (and in my Card Gallery). I tell ya, this kit was so much fun to work with! There are a lot of different elements, so it’s a lot of fun to mix and match. I did find some elements a bit challenging but sometimes that’s half the fun!
Showcase Video
Be sure to check out my Mini Album using this card kit also! (I’ll update this post with a link once it’s ready.) In that post, I’ll also show you what I have leftover from the card kit. I could probably make another handful of simple cards, but I might include some of those journaling cards in the Mini Album instead of turning them into cards.
Even More Cards
Here are the cards I made after I shot the video! I just had to hit at least 40. 🙂
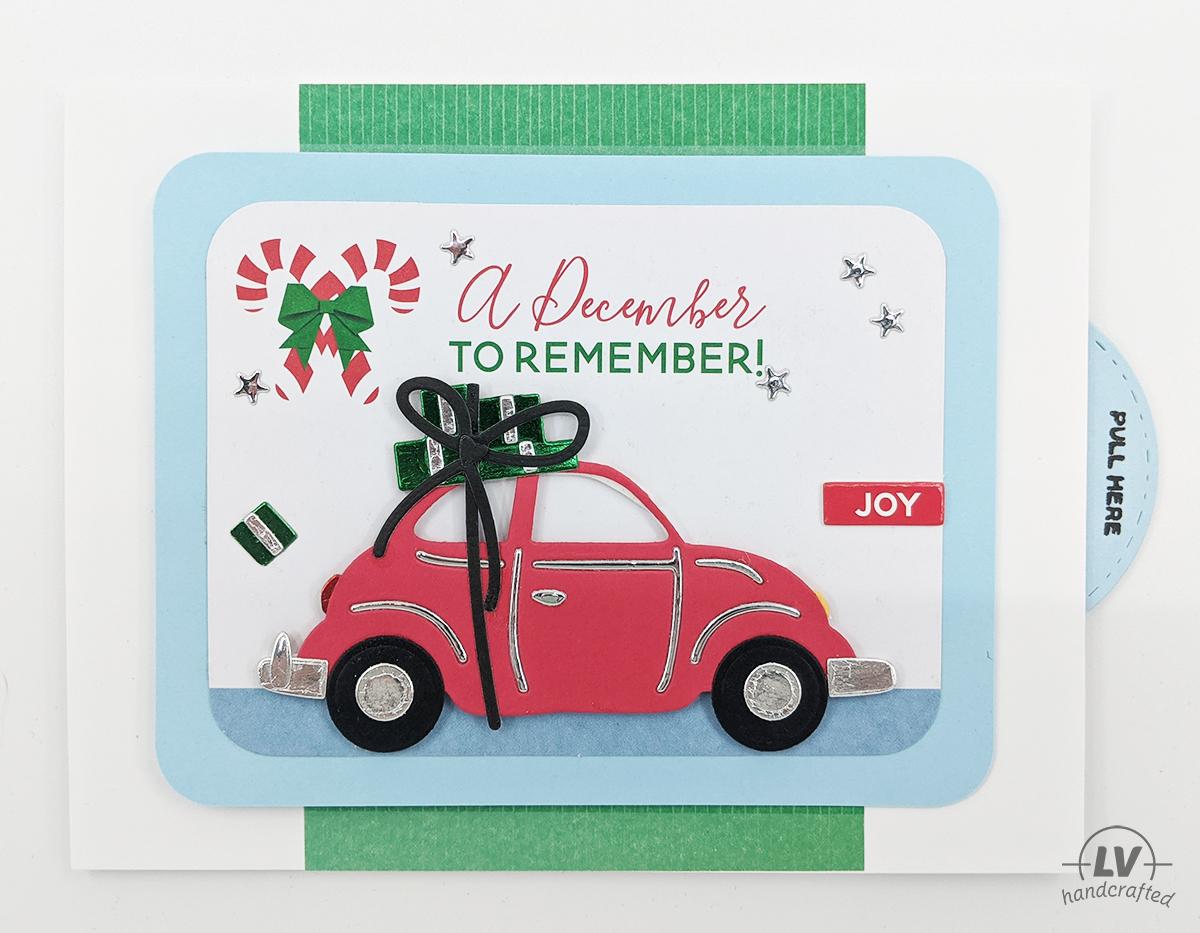
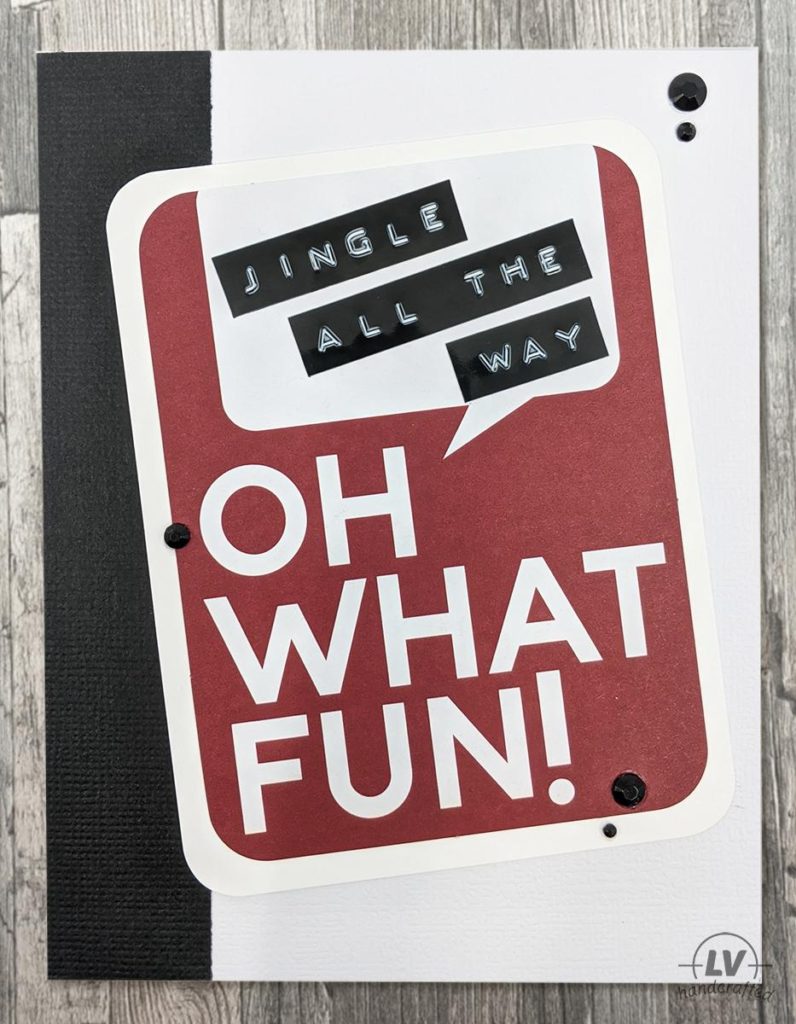
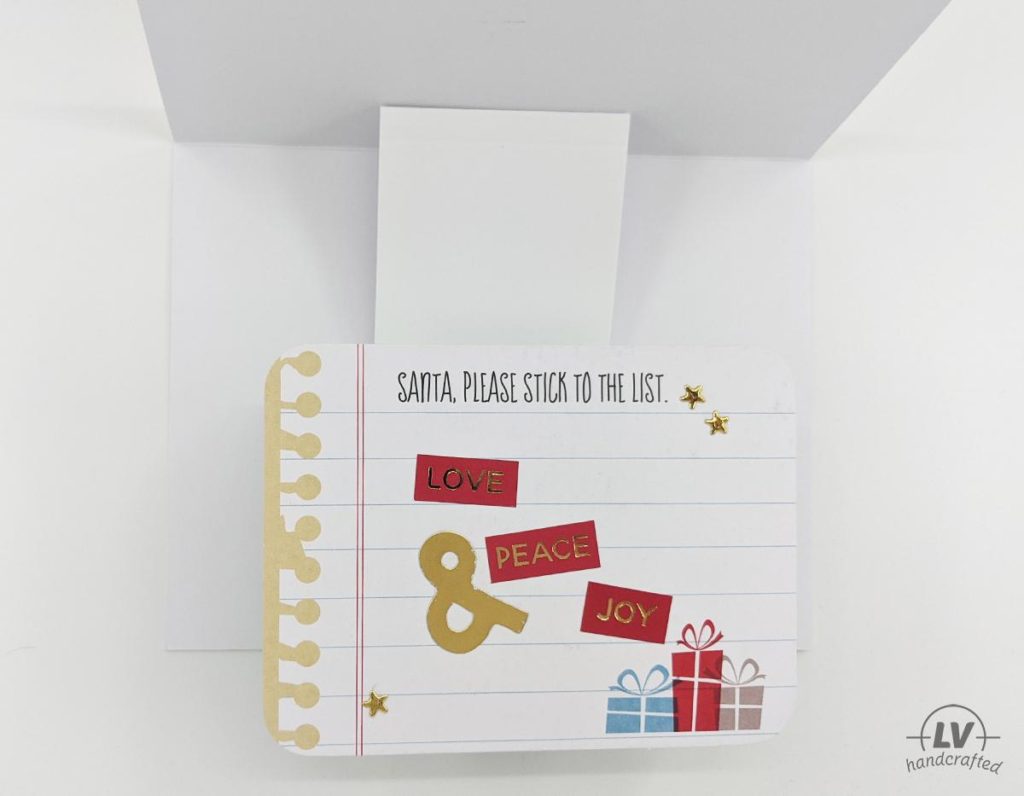
Card #40 – Dymo label and Rhinestones
The below isn’t a new card but I did note that I might add Nuvo drops to this card and in fact I did…
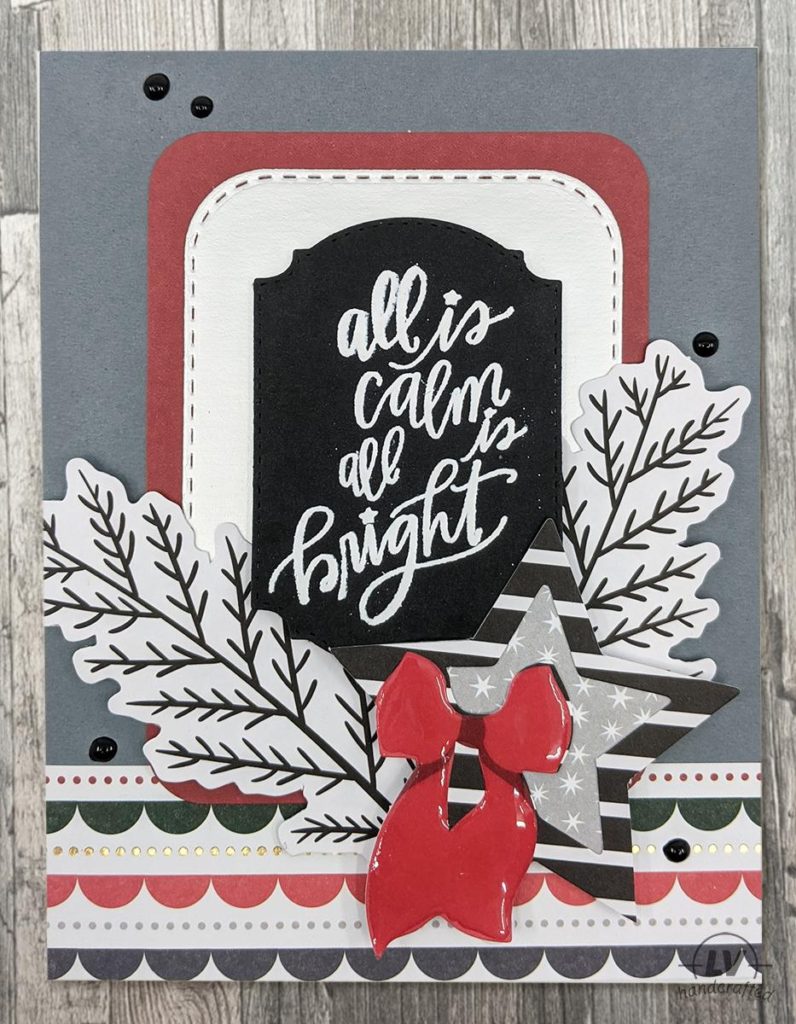
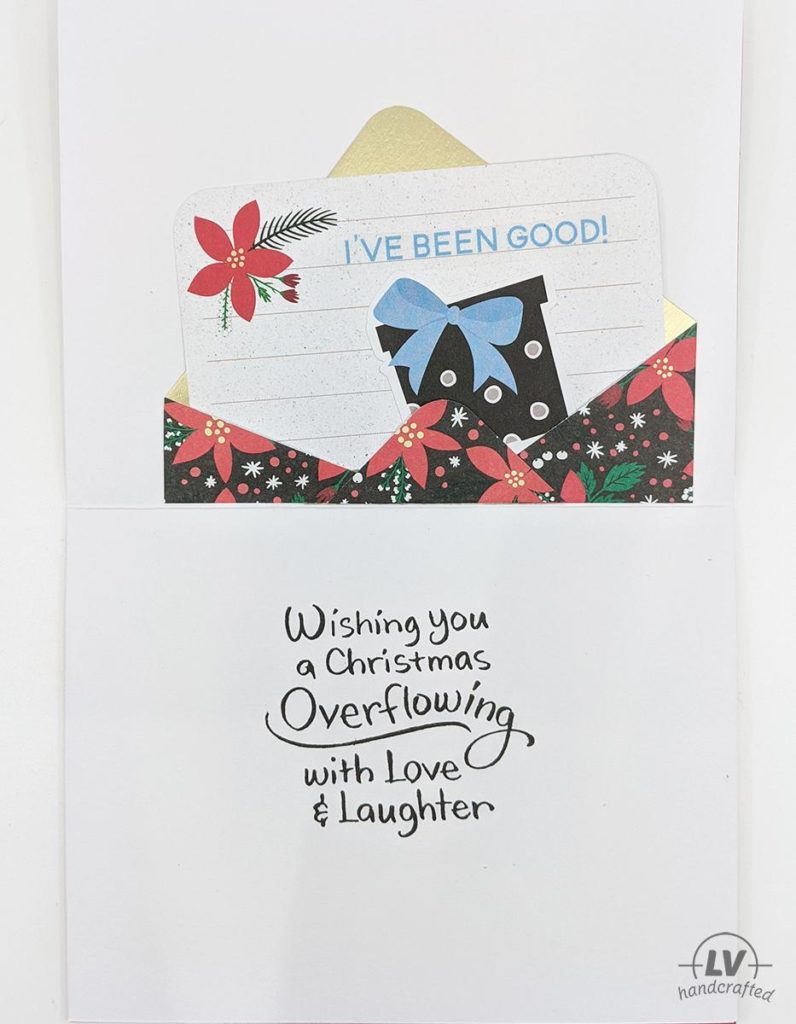
Card #41
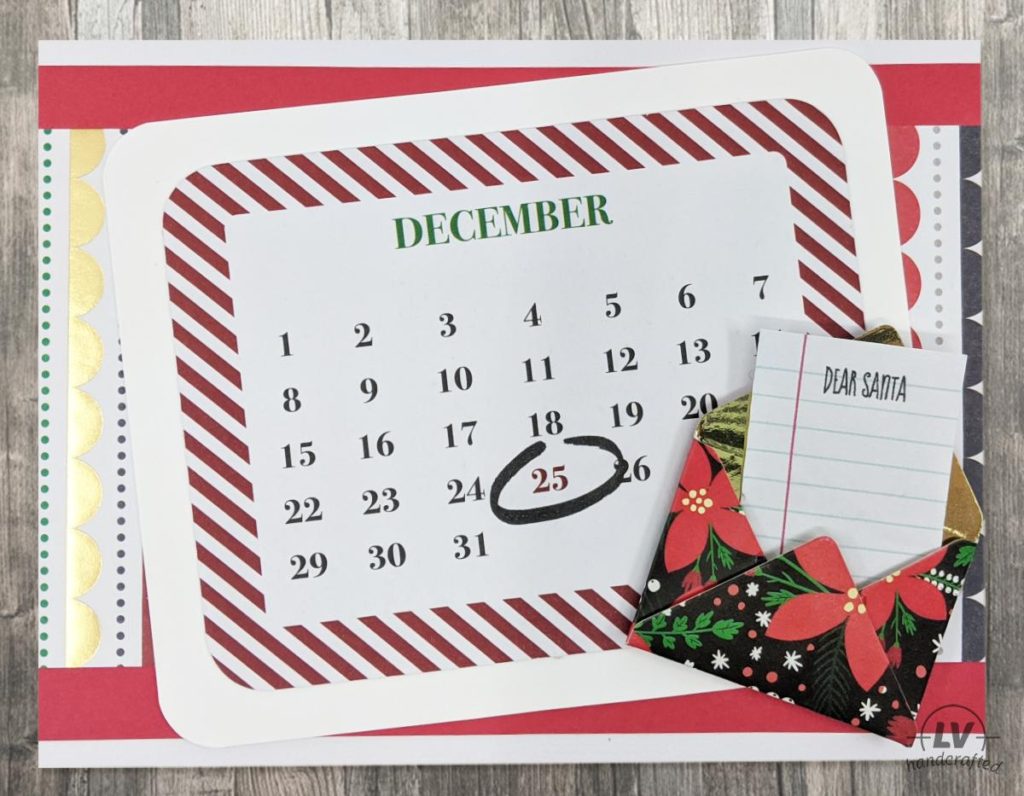
Below is the inside… I had just barely enough of the pattern paper to make a larger version of the envelope. I think it’s cool that the mini envelopes have pattern paper to match! This isn’t a pop-up or anything, but it’s a fun way to bring the front of the card into the inside.
Things to Consider About This Card Kit
Card Bases
The card bases included in the kit are pretty convenient to have. However, they are a little different from the ones I generally use. So, a few things to consider about the card bases in the kit:
- It’s a textured cardstock.
- They aren’t a bright white. It’s almost a more cool grey when I compare it to my smooth, bright white card stock.
- I don’t know the exact GSM or paper weight, but I think it’s maybe around 80 lb cover — possibly less. I usually use 110-120 lb cover — especially for interactive or pop-up cards.
The last point, is probably the most important consideration to factor into your cardmaking. Even if you aren’t creating an interactive or pop-up card, if you use a lot of foam (like me), the front of your card might feel “heavy” compared to the back. Or put differently, the card might feel flimsy. I found myself adding another layer of cardstock (65 or 80 lb cover) to either the inside or the back of the card. That helped to equalize the weight of the card. In the case of interactive and pop-up cards, it was important to have that extra stability. In the case of heavily layered cards with lots of foam, it was optional but it makes the card feel nicer overall.
Adhesives
The roll of double-sided adhesive tape that comes in the kit is actually pretty strong. The way I gauge that is not very scientific. I basically see how easily I can lift up a panel after I’ve put it down crookedly. If it tears the paper/cardstock, I consider it strong. LOL. I wouldn’t say it’s on the level of ScorTape, but it’s pretty good.
The kits also come with foam adhesive. Definitely use up the whole square since it’s all foam and double-sided adhesive. The little squares you can pop out are nice but the whole block can be used so don’t let that go to waste. Even still, I always need more from my stash. I like to be generous with my foam and I always back as much of the die cut or panel as possible. I like having an even, level surface so there’s no potential for anything to cave in.
Sticker Embellishments
Even thought they are stickers, you may want to consider still adding some glue (either the double-sided tape or liquid glue) just in case. I found that some of the stickers stick pretty well, but others not so much. In particular if you handle the sticky side with your fingers that also removes some of the stickiness, so you’ll definitely want to add more glue in that case.
Rhinestones
One thing I didn’t use at all in my cards were the faceted gemstones. They are very pretty but they’re super dimensional. Also, they seem to come to more of a point than other rhinestones I’ve used. Since I send my cards in the mail, I’m worried they may pierce the envelope. If you are hand-delivering cards, these would be really pretty to use!
What I used Outside The Card Kit
Karen Burniston Dies
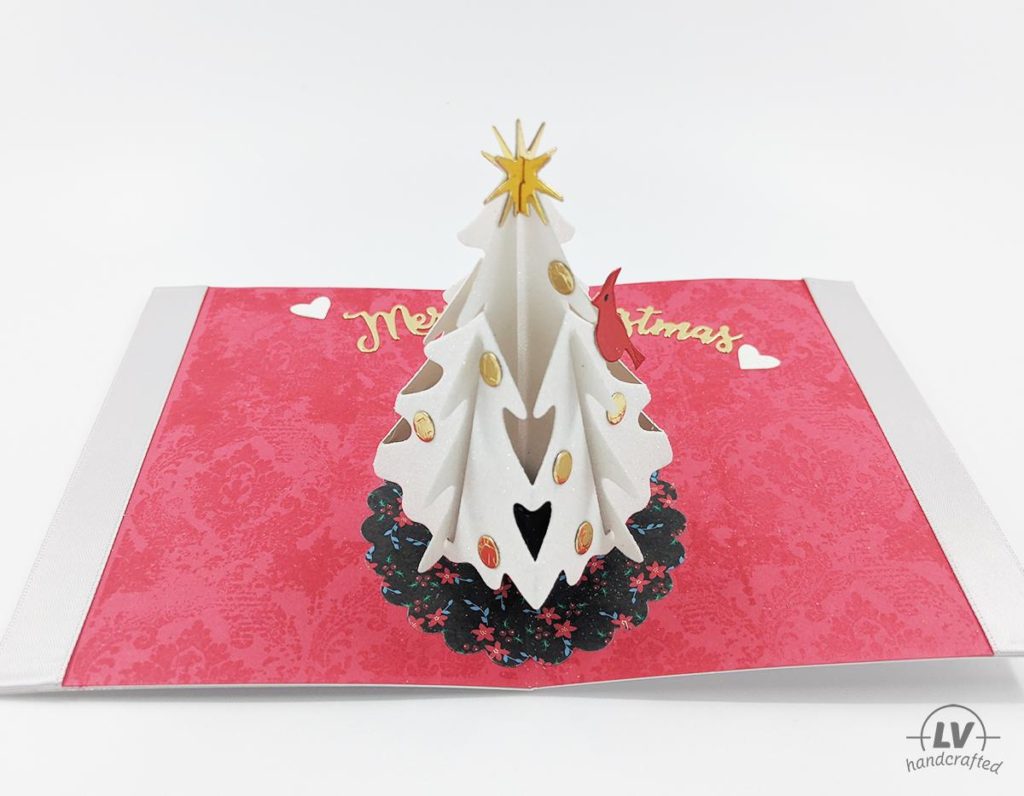
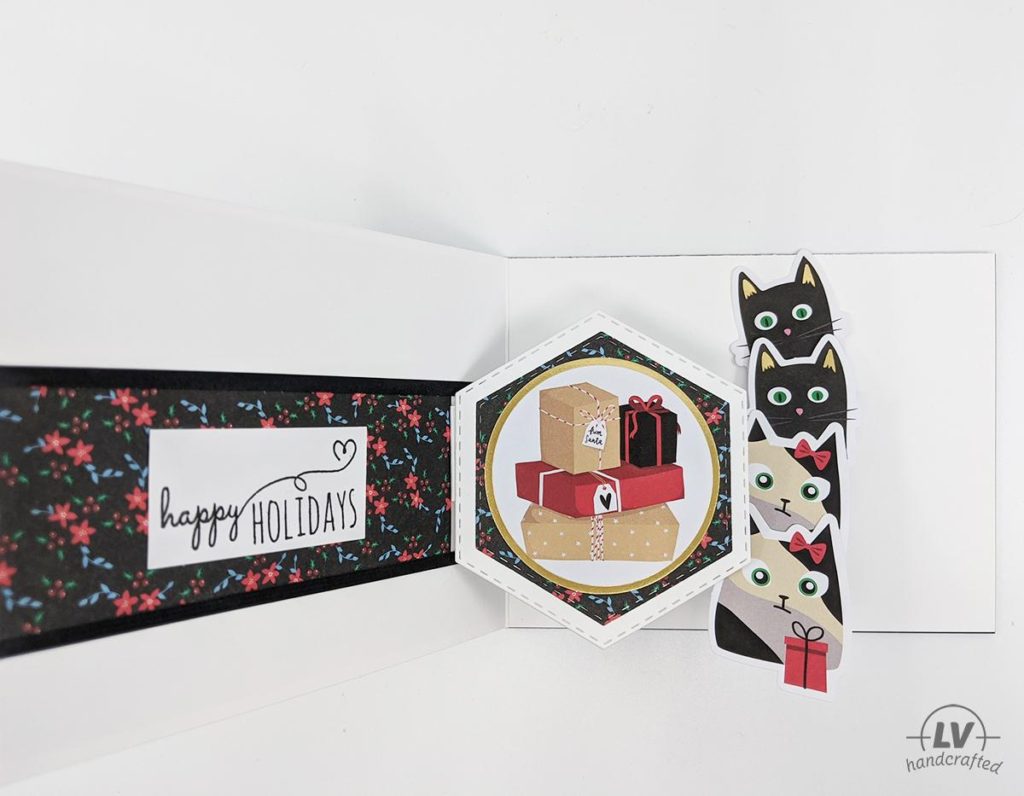
I used or was inspired by a few Karen Burniston’s pop-up dies. I only own a few — including the Christmas tree die set. It was possible to figure out how to do the Rockin’ Rectangle and Spinner Square by hand-cutting the mechanism. In fact, there are a lot of YouTube tutorials from Stampin’ Up demonstrators on a hand-cut mechanism similar to the Spinner Square.
Even though I did figure out how to achieve something similar, I do wish I had the die sets. The advantages of owning the dies are:
- it works every time
- making multiple cards is easy & fast because die cutting is always faster than measuring and hand-cutting
- the die sets come with decorator dies for the panels and fun little elements to dress up your card
- the dies are there whenever you want to make it. Even if you figure it out, you have to record that somewhere or create a template and store it or just figure out again the next time you want to make the same card. It’s a lot more convenient to just have the dies. LOL
So there’s a LOT of value in owning the dies if it’s in your budget.
I don’t sell my cards, but if you do, these dies will definitely add value to your cards. Having the die set is well worth it because it’s easy & quick to make stunning cards. For me, I’ll be waiting for the dies to go on sale and pick up as many as I can. 🙂
I’ve linked to Karen’s die sets in the “Shop This Project” section below. Even though they aren’t affiliate links, they are supplies I love to use and highly recommend.
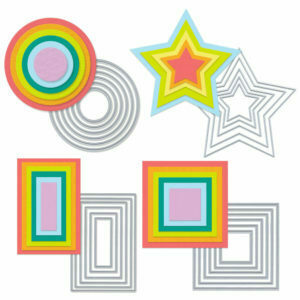
Nested Shape Dies
I’m sure you’ve got various nested shape dies in your stash. I made pretty good use of my shape dies on various cards. Basic shapes – circles, squares, ovals are fantastic. Fancier ones like hexagons, labels, scalloped edge and decorative edge dies are fun as well. They really help anchor collages and create fantastic focal pieces. I also often use these to cut out the interior of a cardstock that’s just being used as a border mat layer. If most of the cardstock is going to be covered, may as well cut out the middle so you can use that elsewhere — especially if it’s nice card stock like mirror, glitter, etc.
Other Miscellaneous
Other items I used from my stash include:
- Nuvo Drops
- Rhinestones
- Corner punch
- Cardstock
- Foam adhesive (I use a LOT of this stuff, so what’s provided in the kit is never enough. LOL)
- Dymo embossing label maker
I just bought a Dymo embossing label maker. These are already sticky labels, so no need for extra glue. I love the embossed look. I haven’t used it for very long and I don’t know how well it sticks to a card. Since it’ll be a while until I need to send these cards out, I’ll have a good idea for whether these labels stay adhered to a card or if they need to be glued down. I don’t have a link to this in my shop yet because I’m waiting to see how much use I get out of it and whether the adhesive on the back holds up over time. Aesthetically, I do like the look you get with it though. It’s a really nice way to personalize/customize your card or just give it that old-timey look.
Shop This Project
-
 Nested Shape Dies
 -
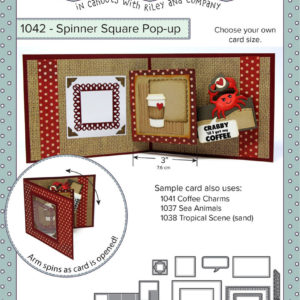 Karen Burniston – Spinner Square
 -
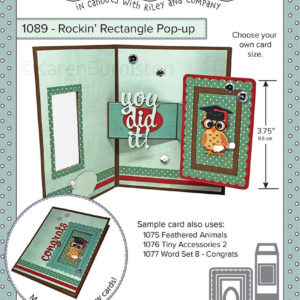 Karen Burniston – Rockin’ Rectangle
 -
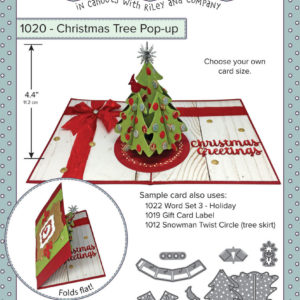 Karen Burniston – Christmas Tree Pop-Up
 -
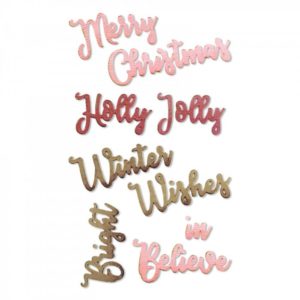 Sizzix: Christmas Phrases
 -
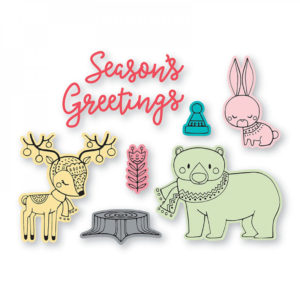 Sizzix: Folk Christmas
 -
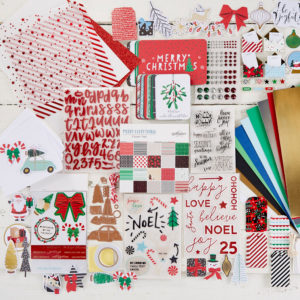 Spellbinders – Card Kit: Merry Everything
 -
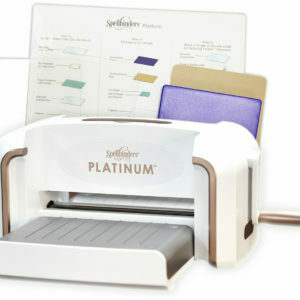 Spellbinders – Platinum Die Cutting Machine
 -
 Spellbinders – Prizm Die Cutting Machine
 -
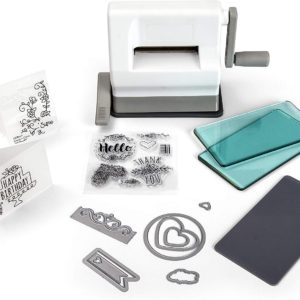 Sizzix Sidekick
 -
 Nuvo Drops
 -
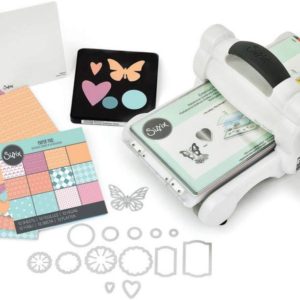 Sizzix Big Shot Starter Kit