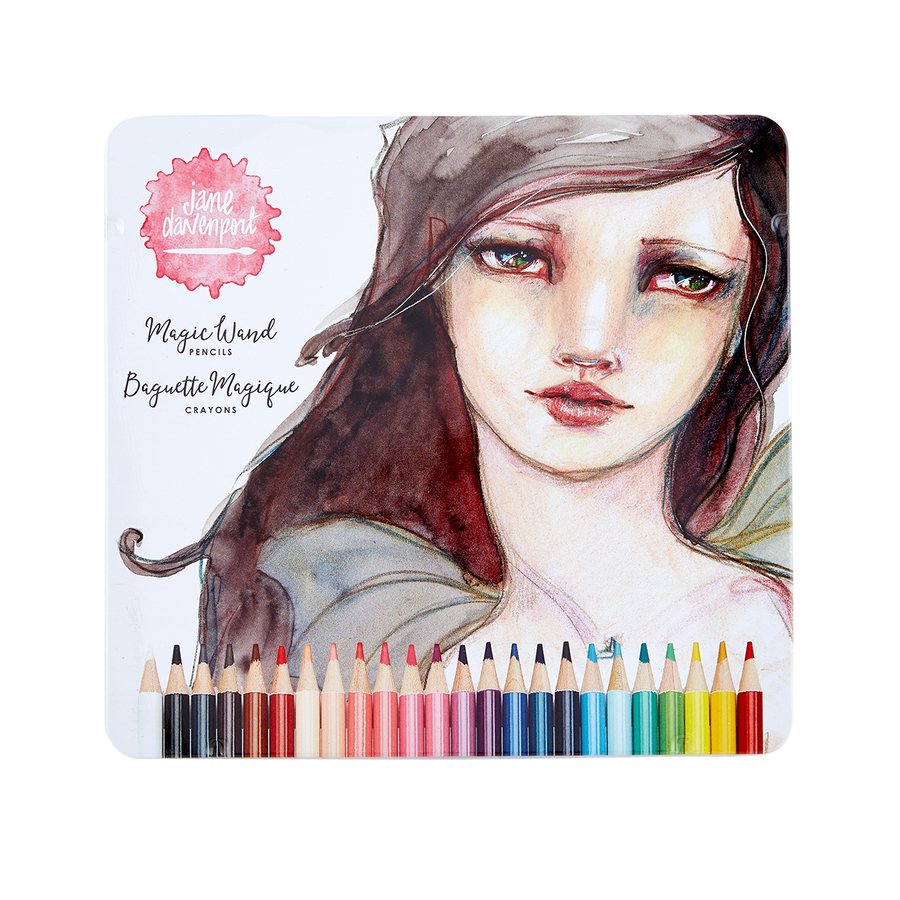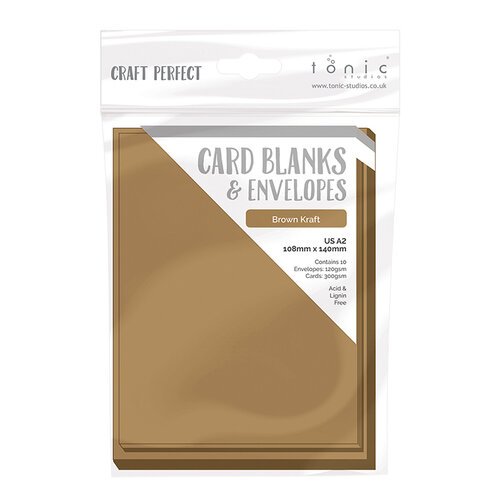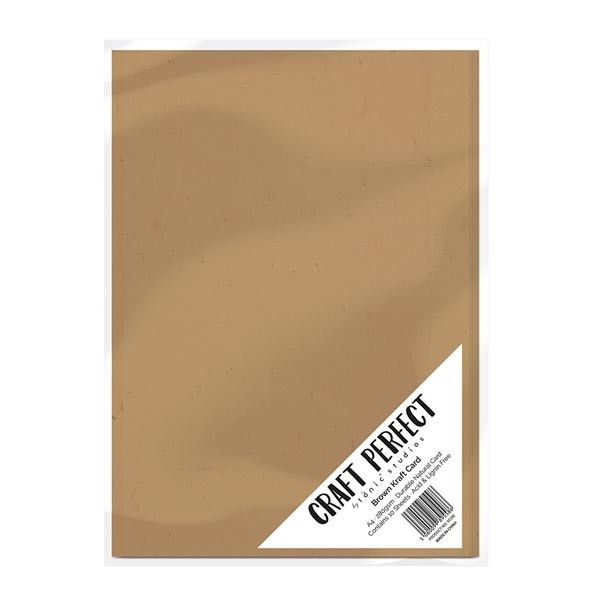

Continuing with my Christmas in July, I have a set of quick cards using Spellbinders new “Be Merry” release. Ever since the Tonic Studios Santa’s Sentiments craft box, I’ve been getting into the idea of kraft card for the holidays. I had never considered it before but I’m really loving it now. I’ve also been getting into colored pencil coloring too, so I created these cards, which I think are really sweet but also so easy and fast to make if you needed to mass make them.
DISCLAIMER: Spellbinders was kind enough to provide me these two stamp sets with which to create inspiration for you.
White, White and more White…
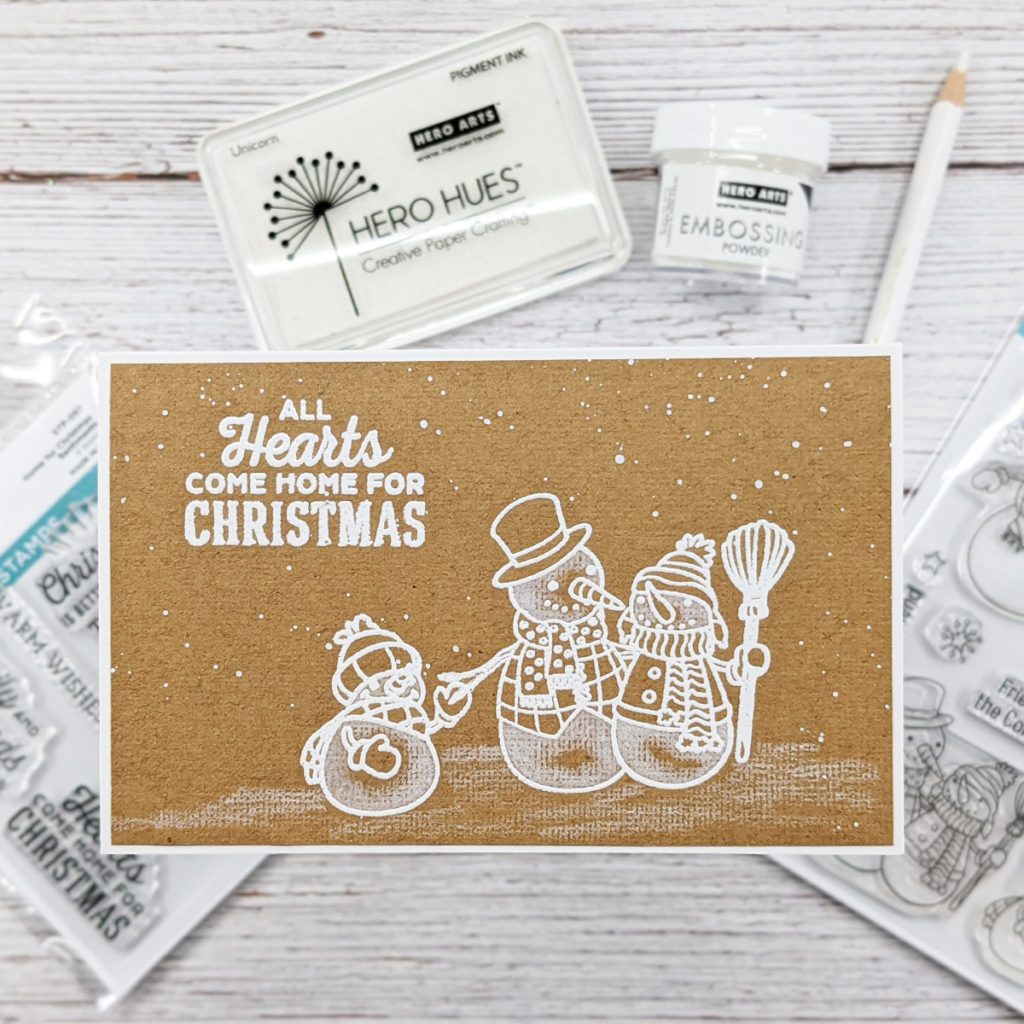
All of these cards were made more or less using the same technique. The first one is probably the easiest because none of the images overlap so you don’t have to worry about masking.
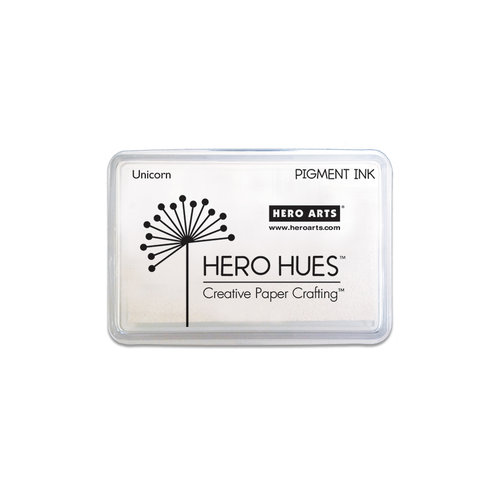
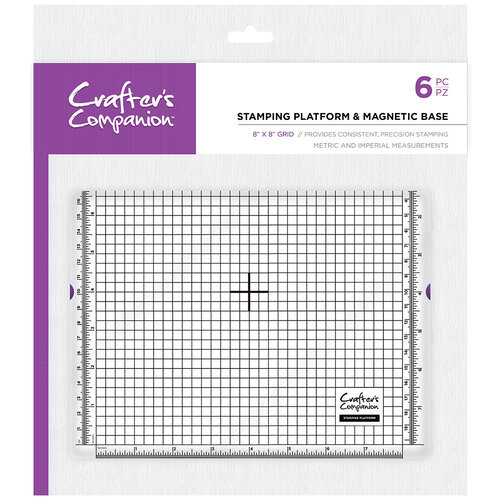
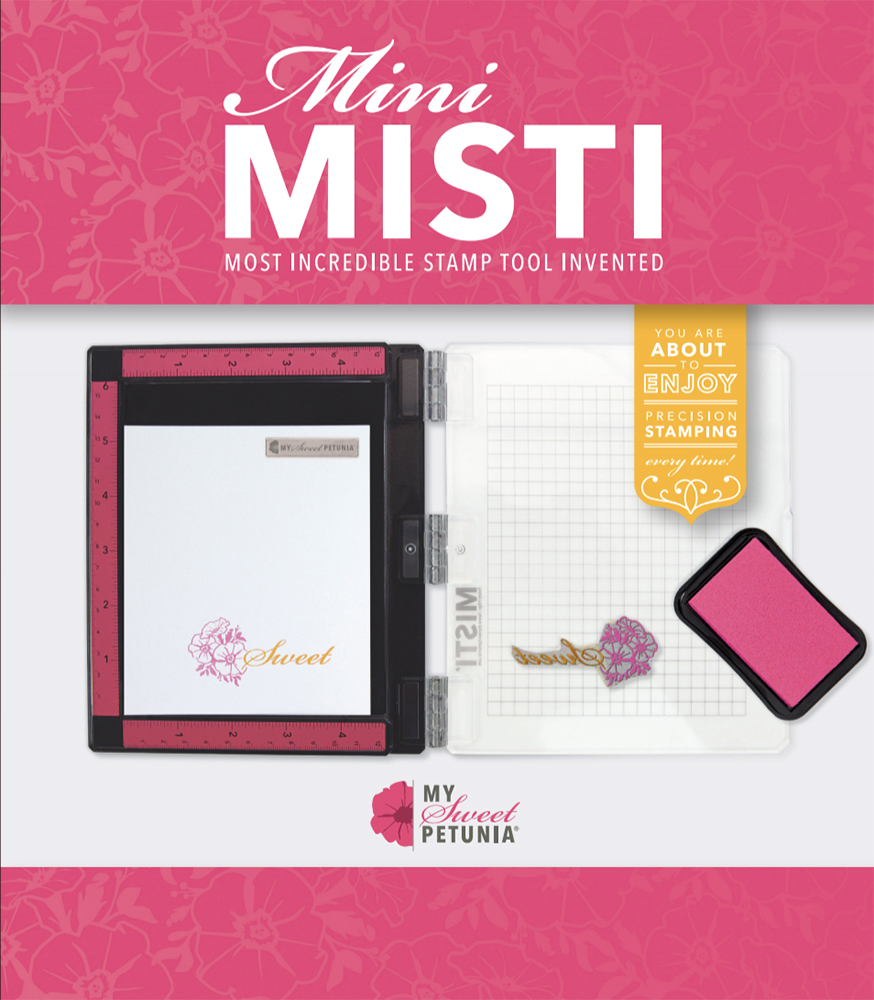
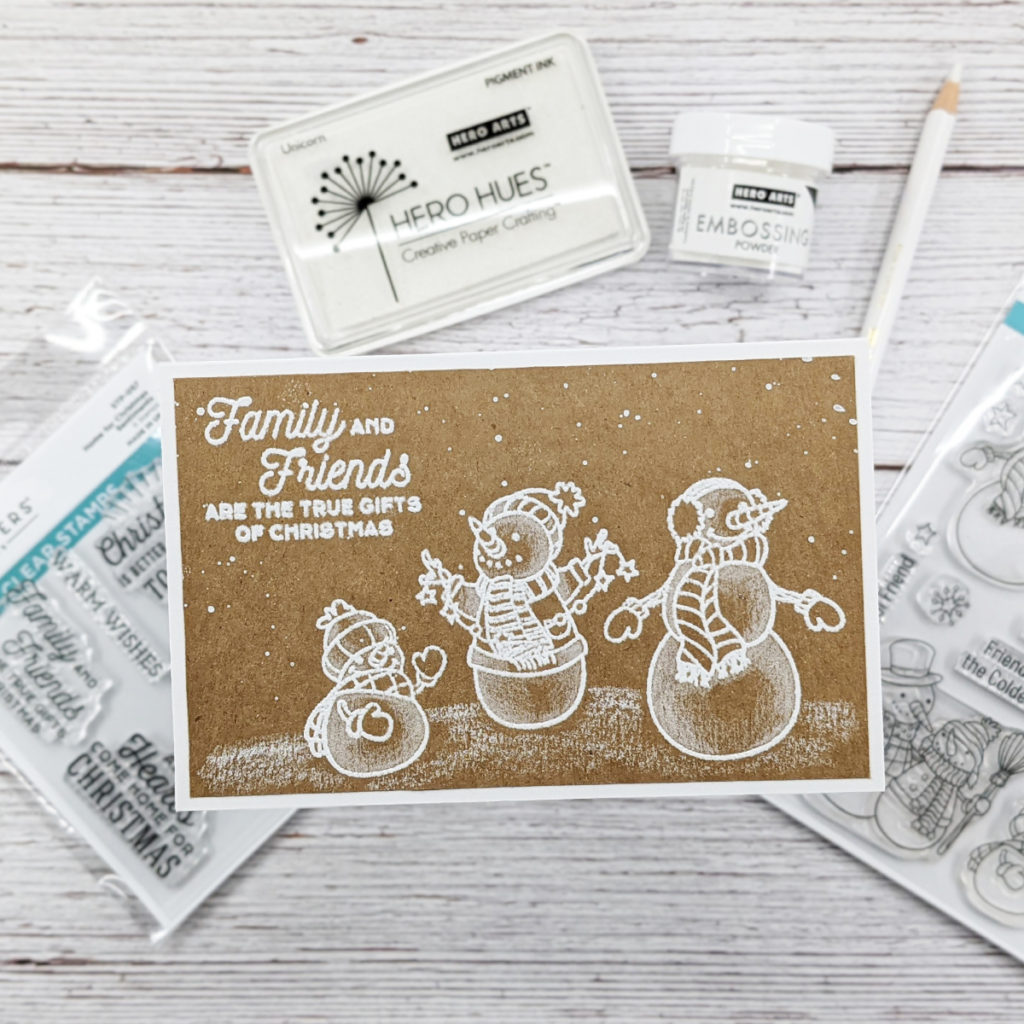
I first stamp the images using Hero Arts White Pigment Ink. The first stamping is usually pretty good, but I like to do it twice to make sure I have good, even coverage. A stamping platform is key to doing multiple impressions. You could probably use a clear Versamark ink, but I like using a white pigment ink just to really make sure it’s bright bright white.
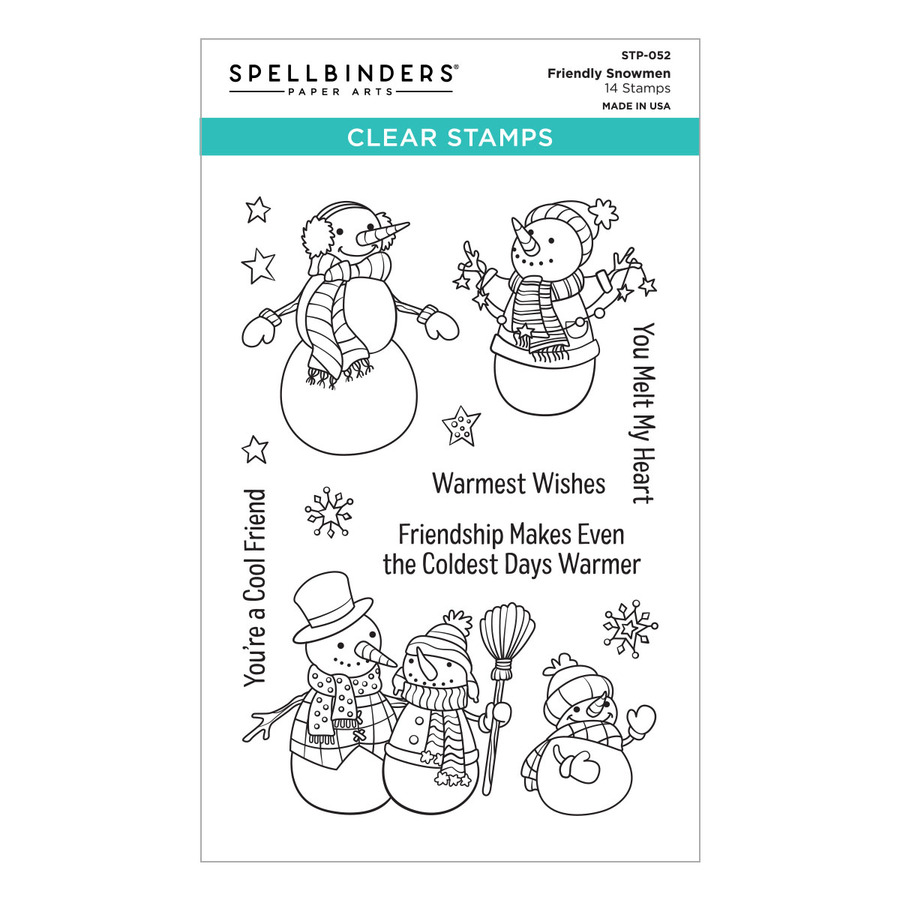
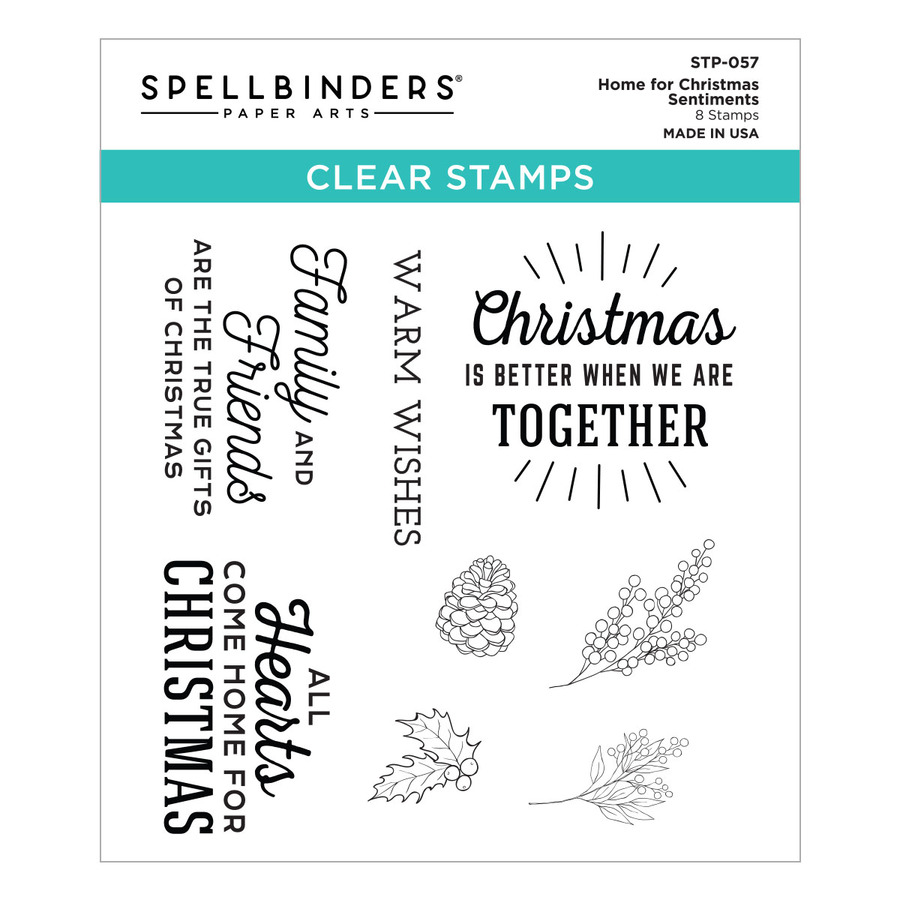
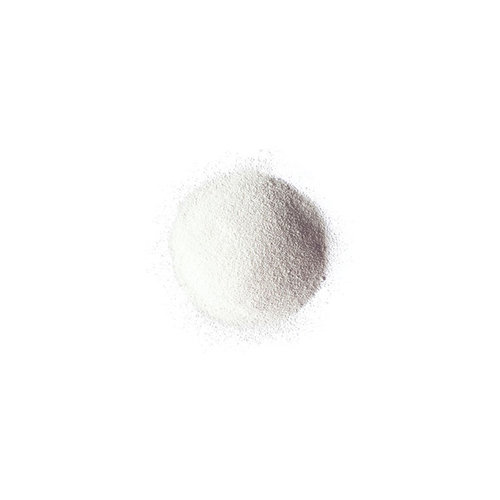
Next, I cover the stamped image, while it’s still wet, with white detail embossing powder. Using a superfine, detail embossing powder is really important for stamped sentiments and any images that have a lot of detail like the Spellbinders Friendly Snowman set.
Pour and knock off any loose powder and then heat set the embossing powder until it melts evenly.
TIP: If you cover your cardstock with anti-static powder (alternatives are cornstarch or baby powder) before you stamp your image, you’ll be less likely to have embossing powder stick where you don’t want it.
Once all the images are stamped and embossed, I just use a white colored pencil to color in the image. Because this is sort of a negative image, the white is actually the outline and shadow layer. After the first image, I decided I like the look of only coloring the snowmen and not their clothing or accessories. I just prefer the look of it better.
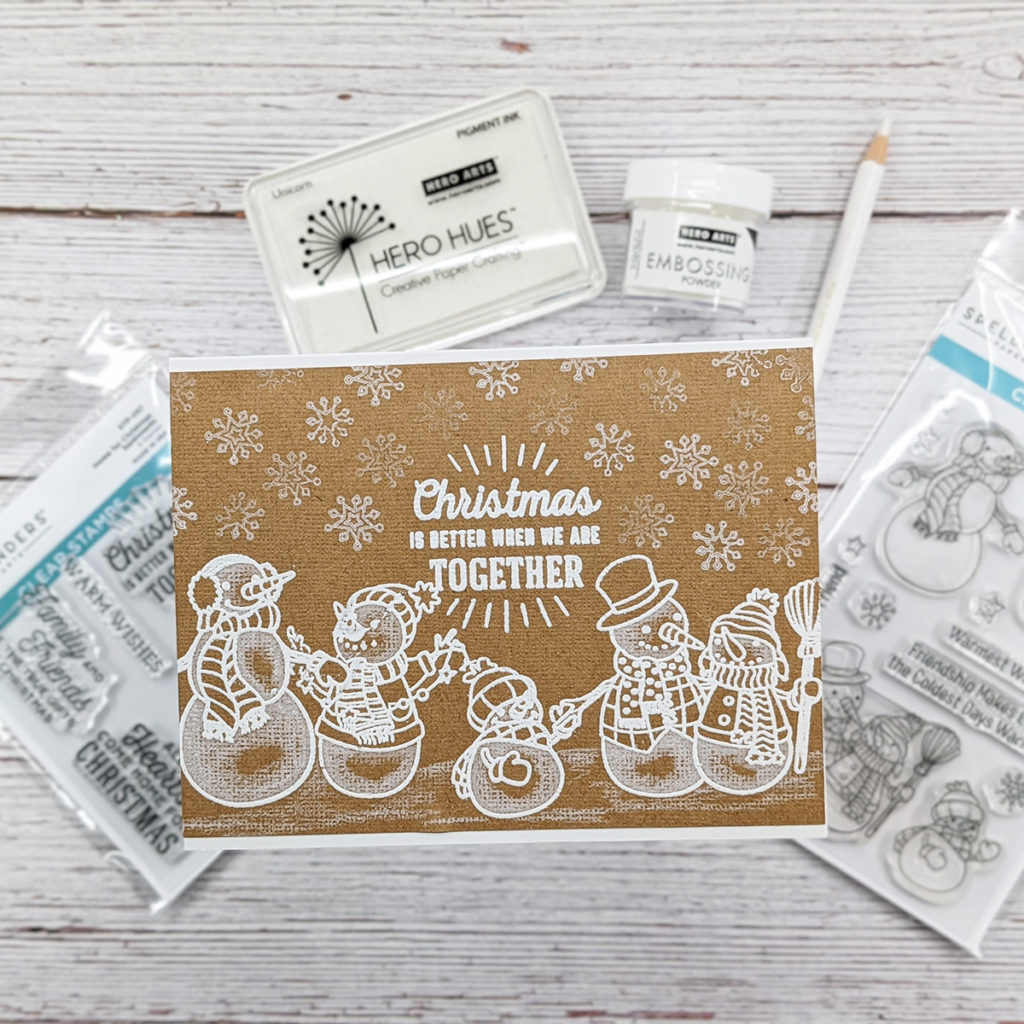
On the second and third one, I did a little bit of masking so I could overlap some of the images giving the impression that some snowmen are in front of others. It also allows you to group the snowmen a little more closely together.
To create a mask, you need to stamp (in black ink) on plain copy paper or masking paper. Then fussy cut around the image on the line. If you’re using masking paper, you can just pull off the paper liner and stick your mask over your stamped image. If you’re just using copy paper, you can use a repositionable adhesive like Tombow Multi-Purpose or Aleene’s Tack-it Over and Over. Apply some glue to the back of your mask and let it dry completely. It will dry tacky but is repositionable and not permanent so you can then place it over your stamped image.
TIP: The rule for masking is to stamp the images in front first. Then mask those images and stamp any images that you want to appear behind them.
For the snow on the first two cards, I mixed titanium dioxide powder with gum arabic and water. I use TD powder in my soap making – it’s just a white pigment powder that is very opaque. The gum arabic is a binding agent, so it’s what enables the pigment powder to stick to the paper. The smaller your water brush, the smaller the “splatter” you’ll get. I also used a piece of paper to block off where I don’t want any snow.
On the last card, I used the cute snowflake stamps from the Spellbinders Friendly Snowman stamp set to stamp a snowy background. I used the same white pigment ink and did multi-generation stamping (stamp multiple times before re-inking) to get effect of some snowflakes looking more faded and in the background.
TIP: You can use a white gelli roll pen to add the snow or even clean up the stamped image if you didn’t get a perfect stamp & embossing.
Products I Used