
This is my first submission to a Waffle Flower challenge. The theme is “Christmas in July”, which is perfect because I’m just now starting my Christmas / holiday crafting. I also purchased the Waffle Flower Christmas Tree pull-tab combo and the pop-up add-on when it was on super clearance on Scrapbook.com and I haven’t used it… until now!
I’ve actually made three cards for submission. They build on each other in terms of complexity, which is what I love about this stamp & die set. You can really go super simple and completely flat or go all out and create interactive & pop-up cards! I’ve provided simple instructions for how I created this card, but you can watch my YouTube tutorial video to actually see me create these cards.
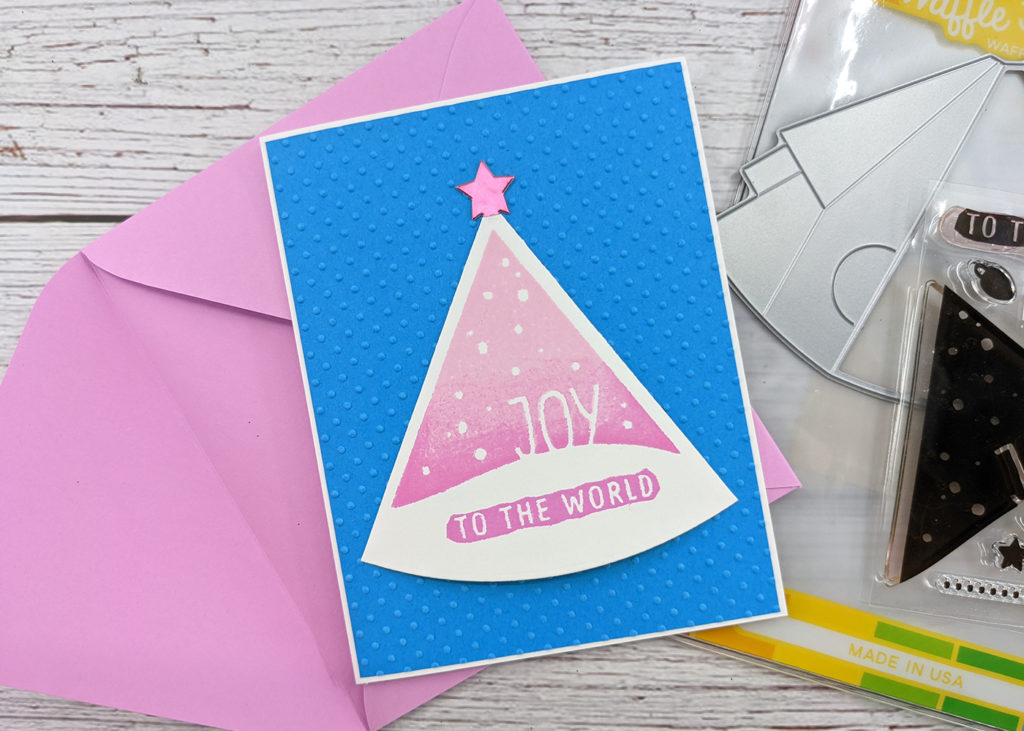
Simple
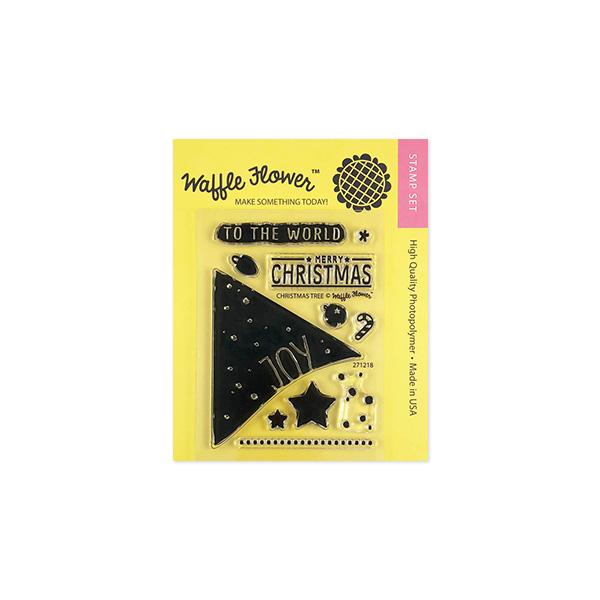
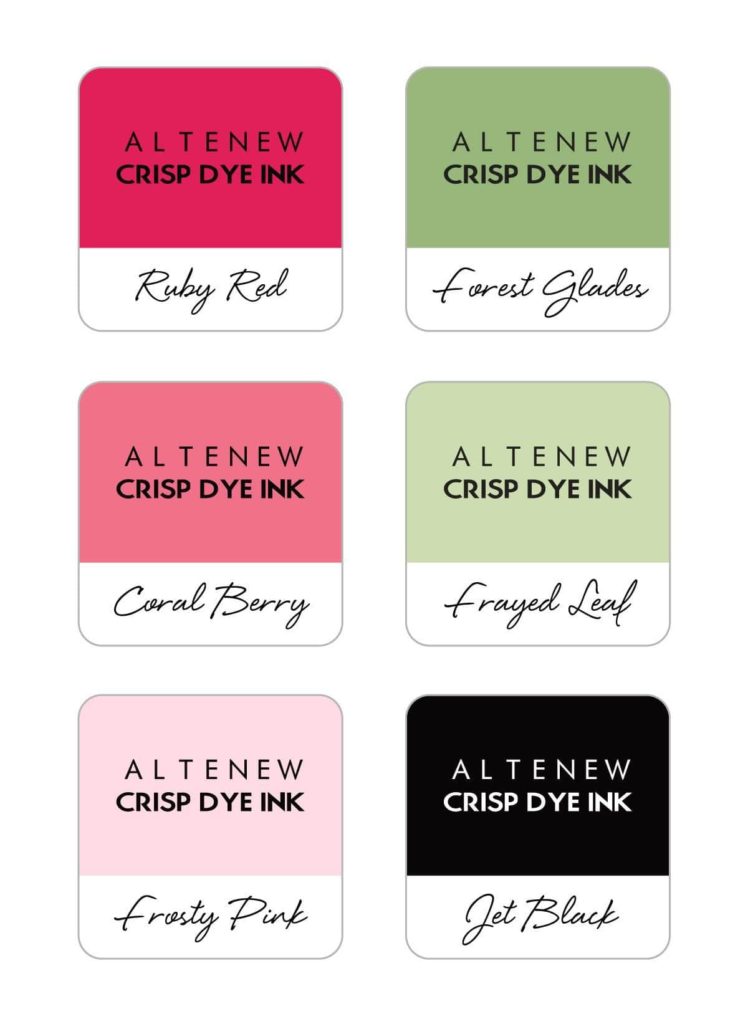
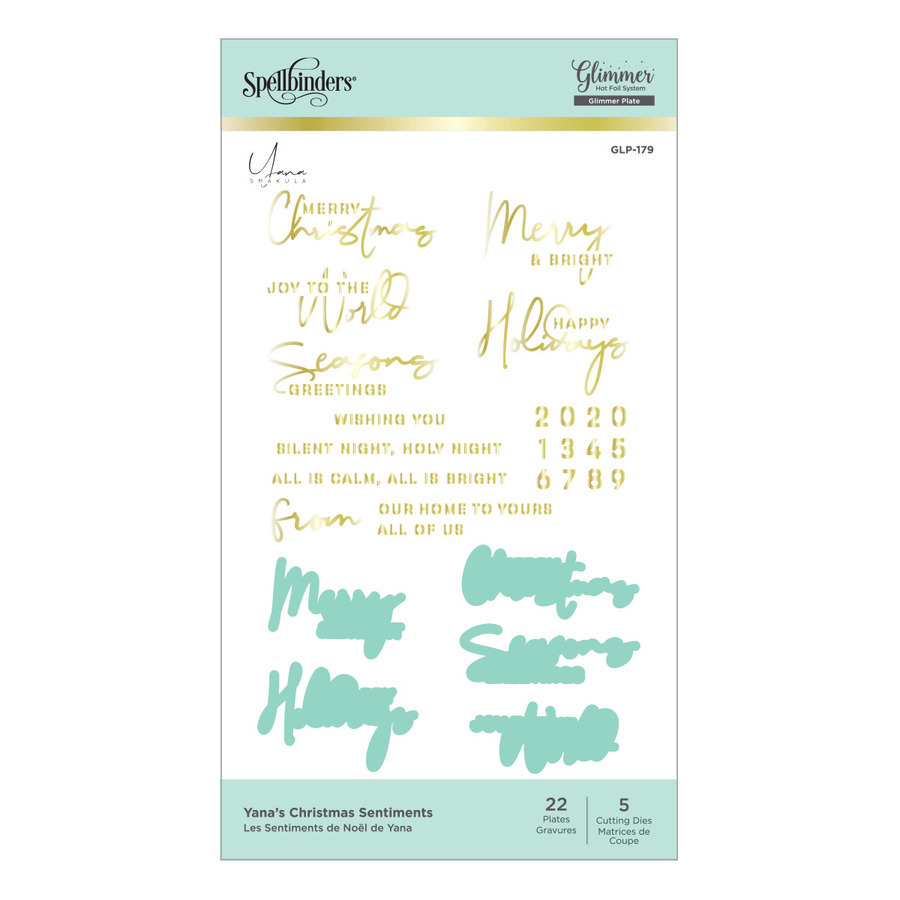
I start by inking an ombre of pink on the modern Christmas tree stamp. The first inking is light on top and dark on bottom — roughly half n’ half. Subsequent ink impressions, I went 90% light and just the bottom edges in dark. I stamped the additional “to the world” sentiment to this panel.
I used the pull-tab main die to cut out the tree but I did leave a white border around the entire stamped image. Then I trimmed off the two sides so I was left with just the tree front.
Some simple layering of mats and layers with an embossed panel and voila! Card complete!
You could just as easily stamp directly on your card base if you want to keep this a completely flat card. I think what makes this simple card so effective is how stylized the tree stamp is.
Interactive
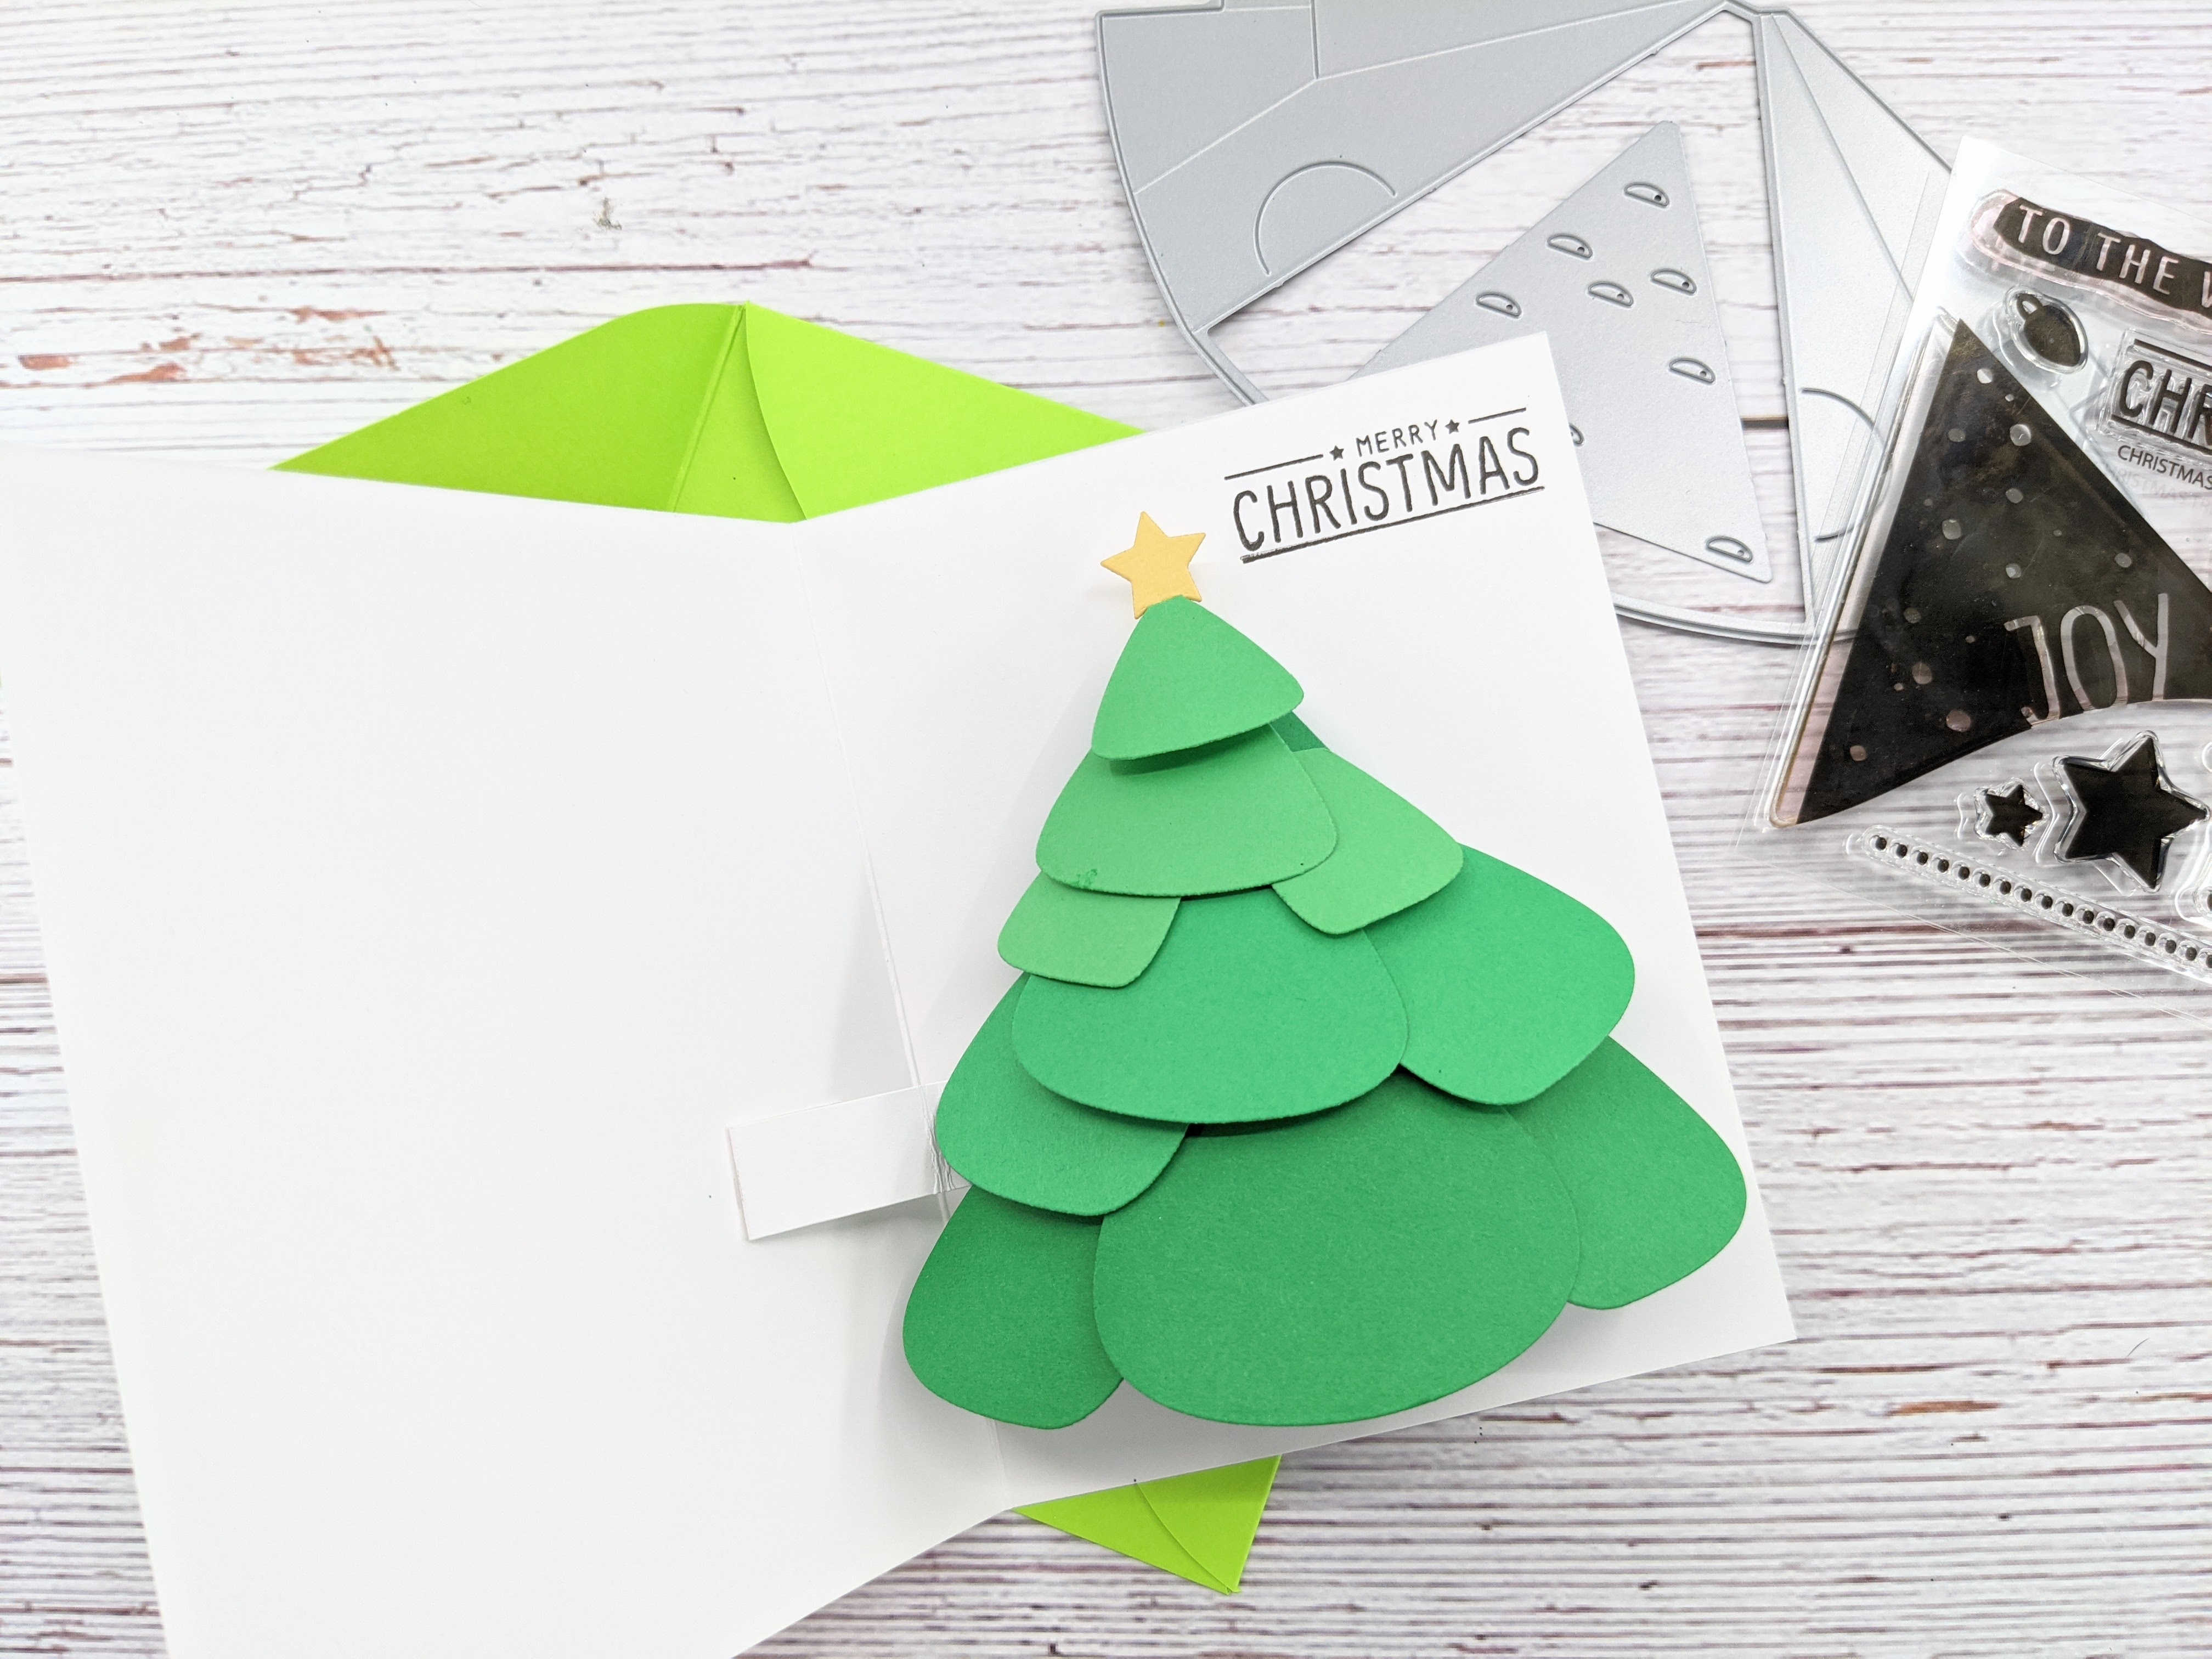
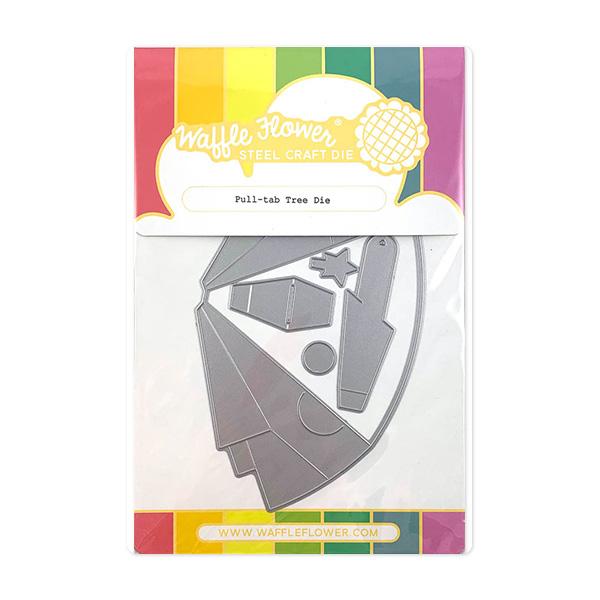
The pull-tab interaction is what this die set was designed for and it couldn’t be any simpler. You can use the stamped image as your tree front and keep it even more simple. But why not take it up a notch with the pop-up add-on for even more dimension! You just need to add the pop-up die plate that cuts the half-moon slits to the main pull-tab tree die.
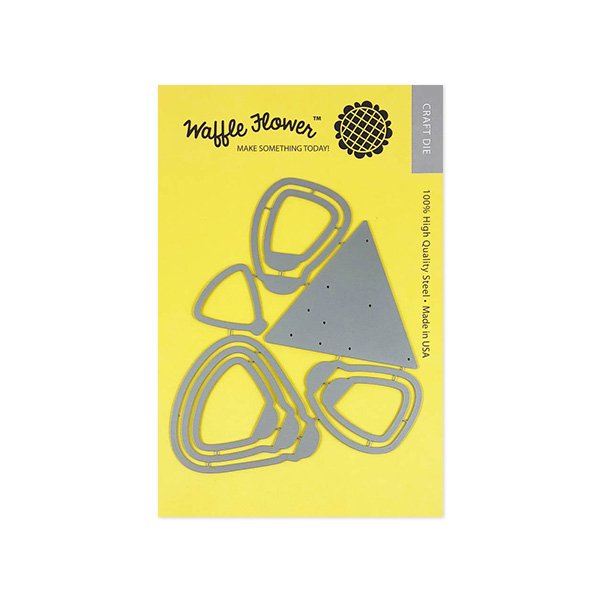
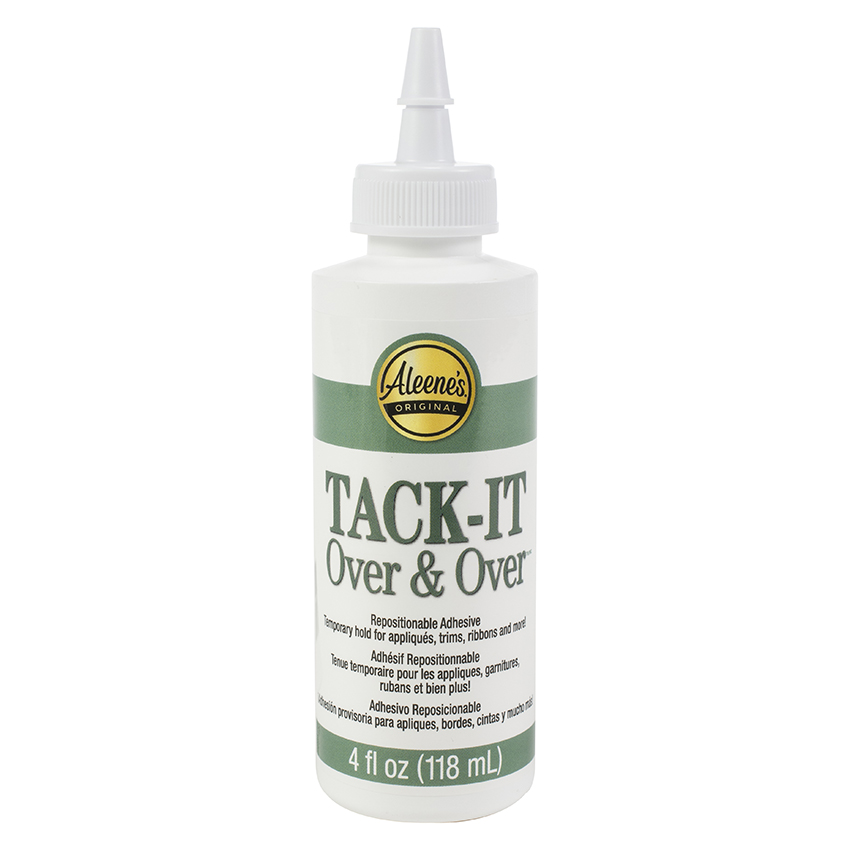
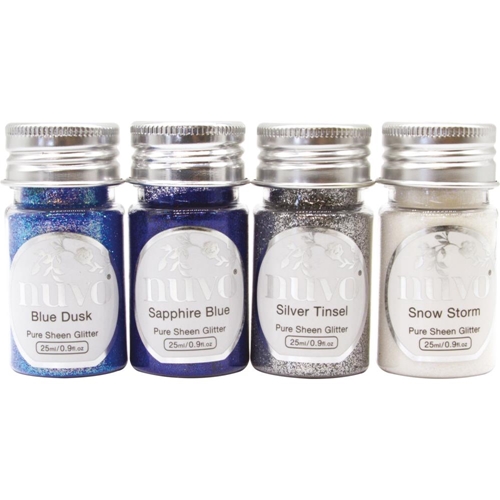
Next, I die-cut all the tree “leaves” and applied some Aleene’s Tack It Over & Over to the bottom edge of each leaf. This glue is permanent went applied wet but if you let it dry completely, then it dries tacky and becomes repositionable. I poured Nuvo Glitter over it to give it that snowy look.
I find it easier to attach all my leaves to the tree front before adding the mechanism. For the mechanism itself, since I’m pulling from the right, I attach the pop-up mechanism to the left glue tab. (You can cut off the glue tab on the right side.) You’ll want to valley fold this piece where the slit is. It should fold away from the side you are pulling from. Then mountain fold the small glue tab that will attach this to the back of the tree. The pull-tab itself will be inserted through the slit and then glued to that pop-up mechanism.
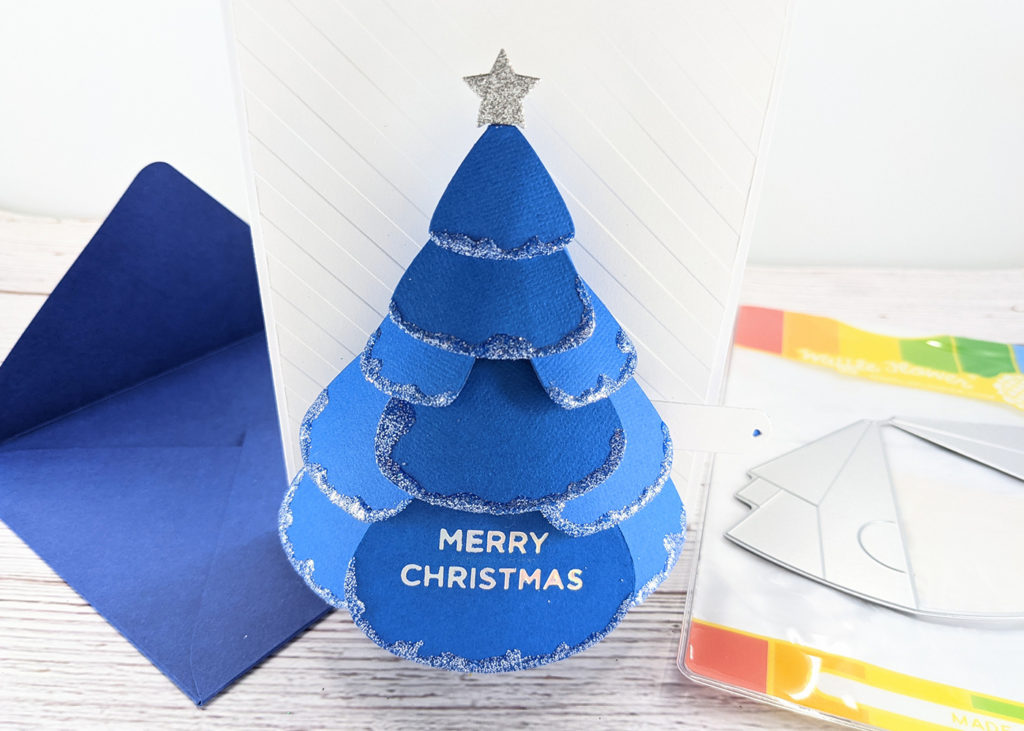
Once your pull-tab mechanism is glued in place, all your leaves are inserted, and your star is in place, you can now close up the tree. You’ll only want to apply glue at the top half of the tree where there are two flaps that overlap.
The last step is to attach the entire tree to your card front. You’ll only want to apply glue to the bottom half section of the tree and only in the middle section within the score lines on the sides of the tree.
There are two very unique features of this pull-tab die set. First, you can have it pull from the left or the right. That’s so thoughtful and how nice would it be for your lefthanded loved ones. The second cool feature is you can “lock” the tree in the “open” position so it stays popped open. Just pull on the tab and push the slit into the side of the tree to lock it.
Pop-up
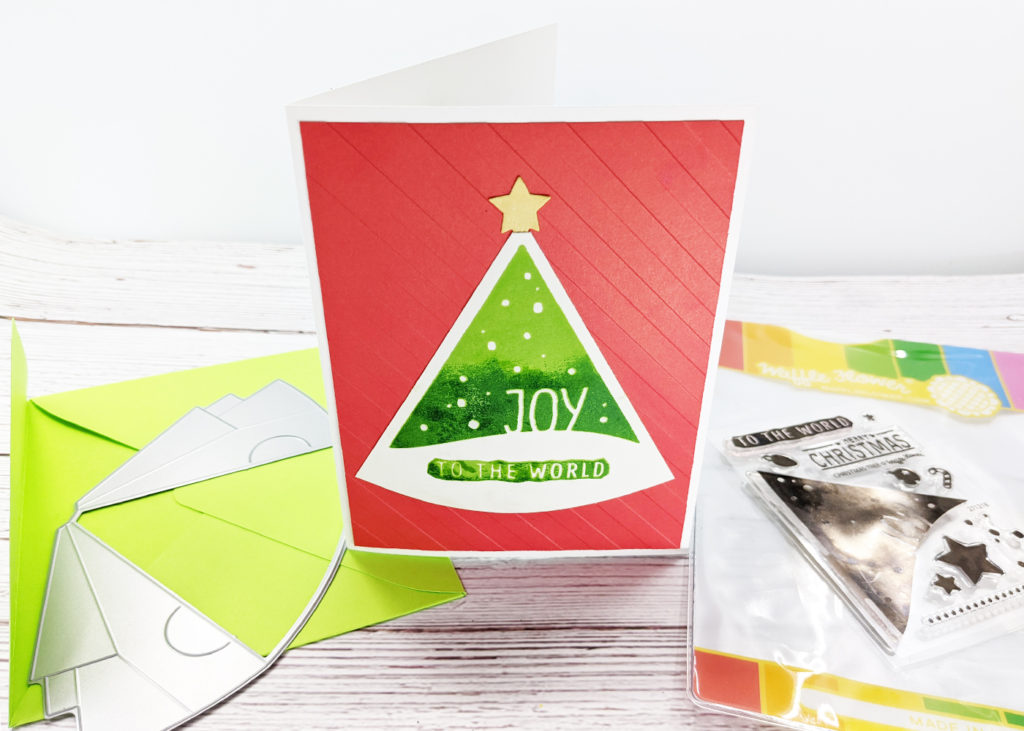
For my final card, I made the front of my card pretty much exactly the same as in the simple card above. I do love to keep the front of my pop-up cards simple, and it’s an added bonus that the card front is a hint to what’s inside.
I created the tree exactly the same as my interactive card with the difference that I attached the pull tab so it will be pulled from the left. Opening the card will be the action that will pull the tree open.
You’ll need to cut a pull-tab extender and attached to the inside left panel of the card. The original pull tab is not long enough to reach that far. I cut this piece around 4″ long. You will need to adjust this depending on your card size. The extender needs to be long enough to attach to the original pull tab, cross over the fold of the card and have a glue tab to attach to the left panel. The key is to measure this length when the tree if fully popped up.
You’ll need a couple of score lines on this piece. The first score line is for the glue tab; I recommend 1/2″ to 3/4″. This tab will fold under and attach to the left panel. To determine the second score line, you’ll need to see how far the extender piece crosses over to the left panel when the card is fully open (and the tree is popped up). You can score the line so it’s close to the same distance that the extender piece goes past the center fold (but not longer).
I recommend attaching your tree to the inside of your card first so you have that position anchored down. Then you can measure and “dry fit” your pull tab extender.
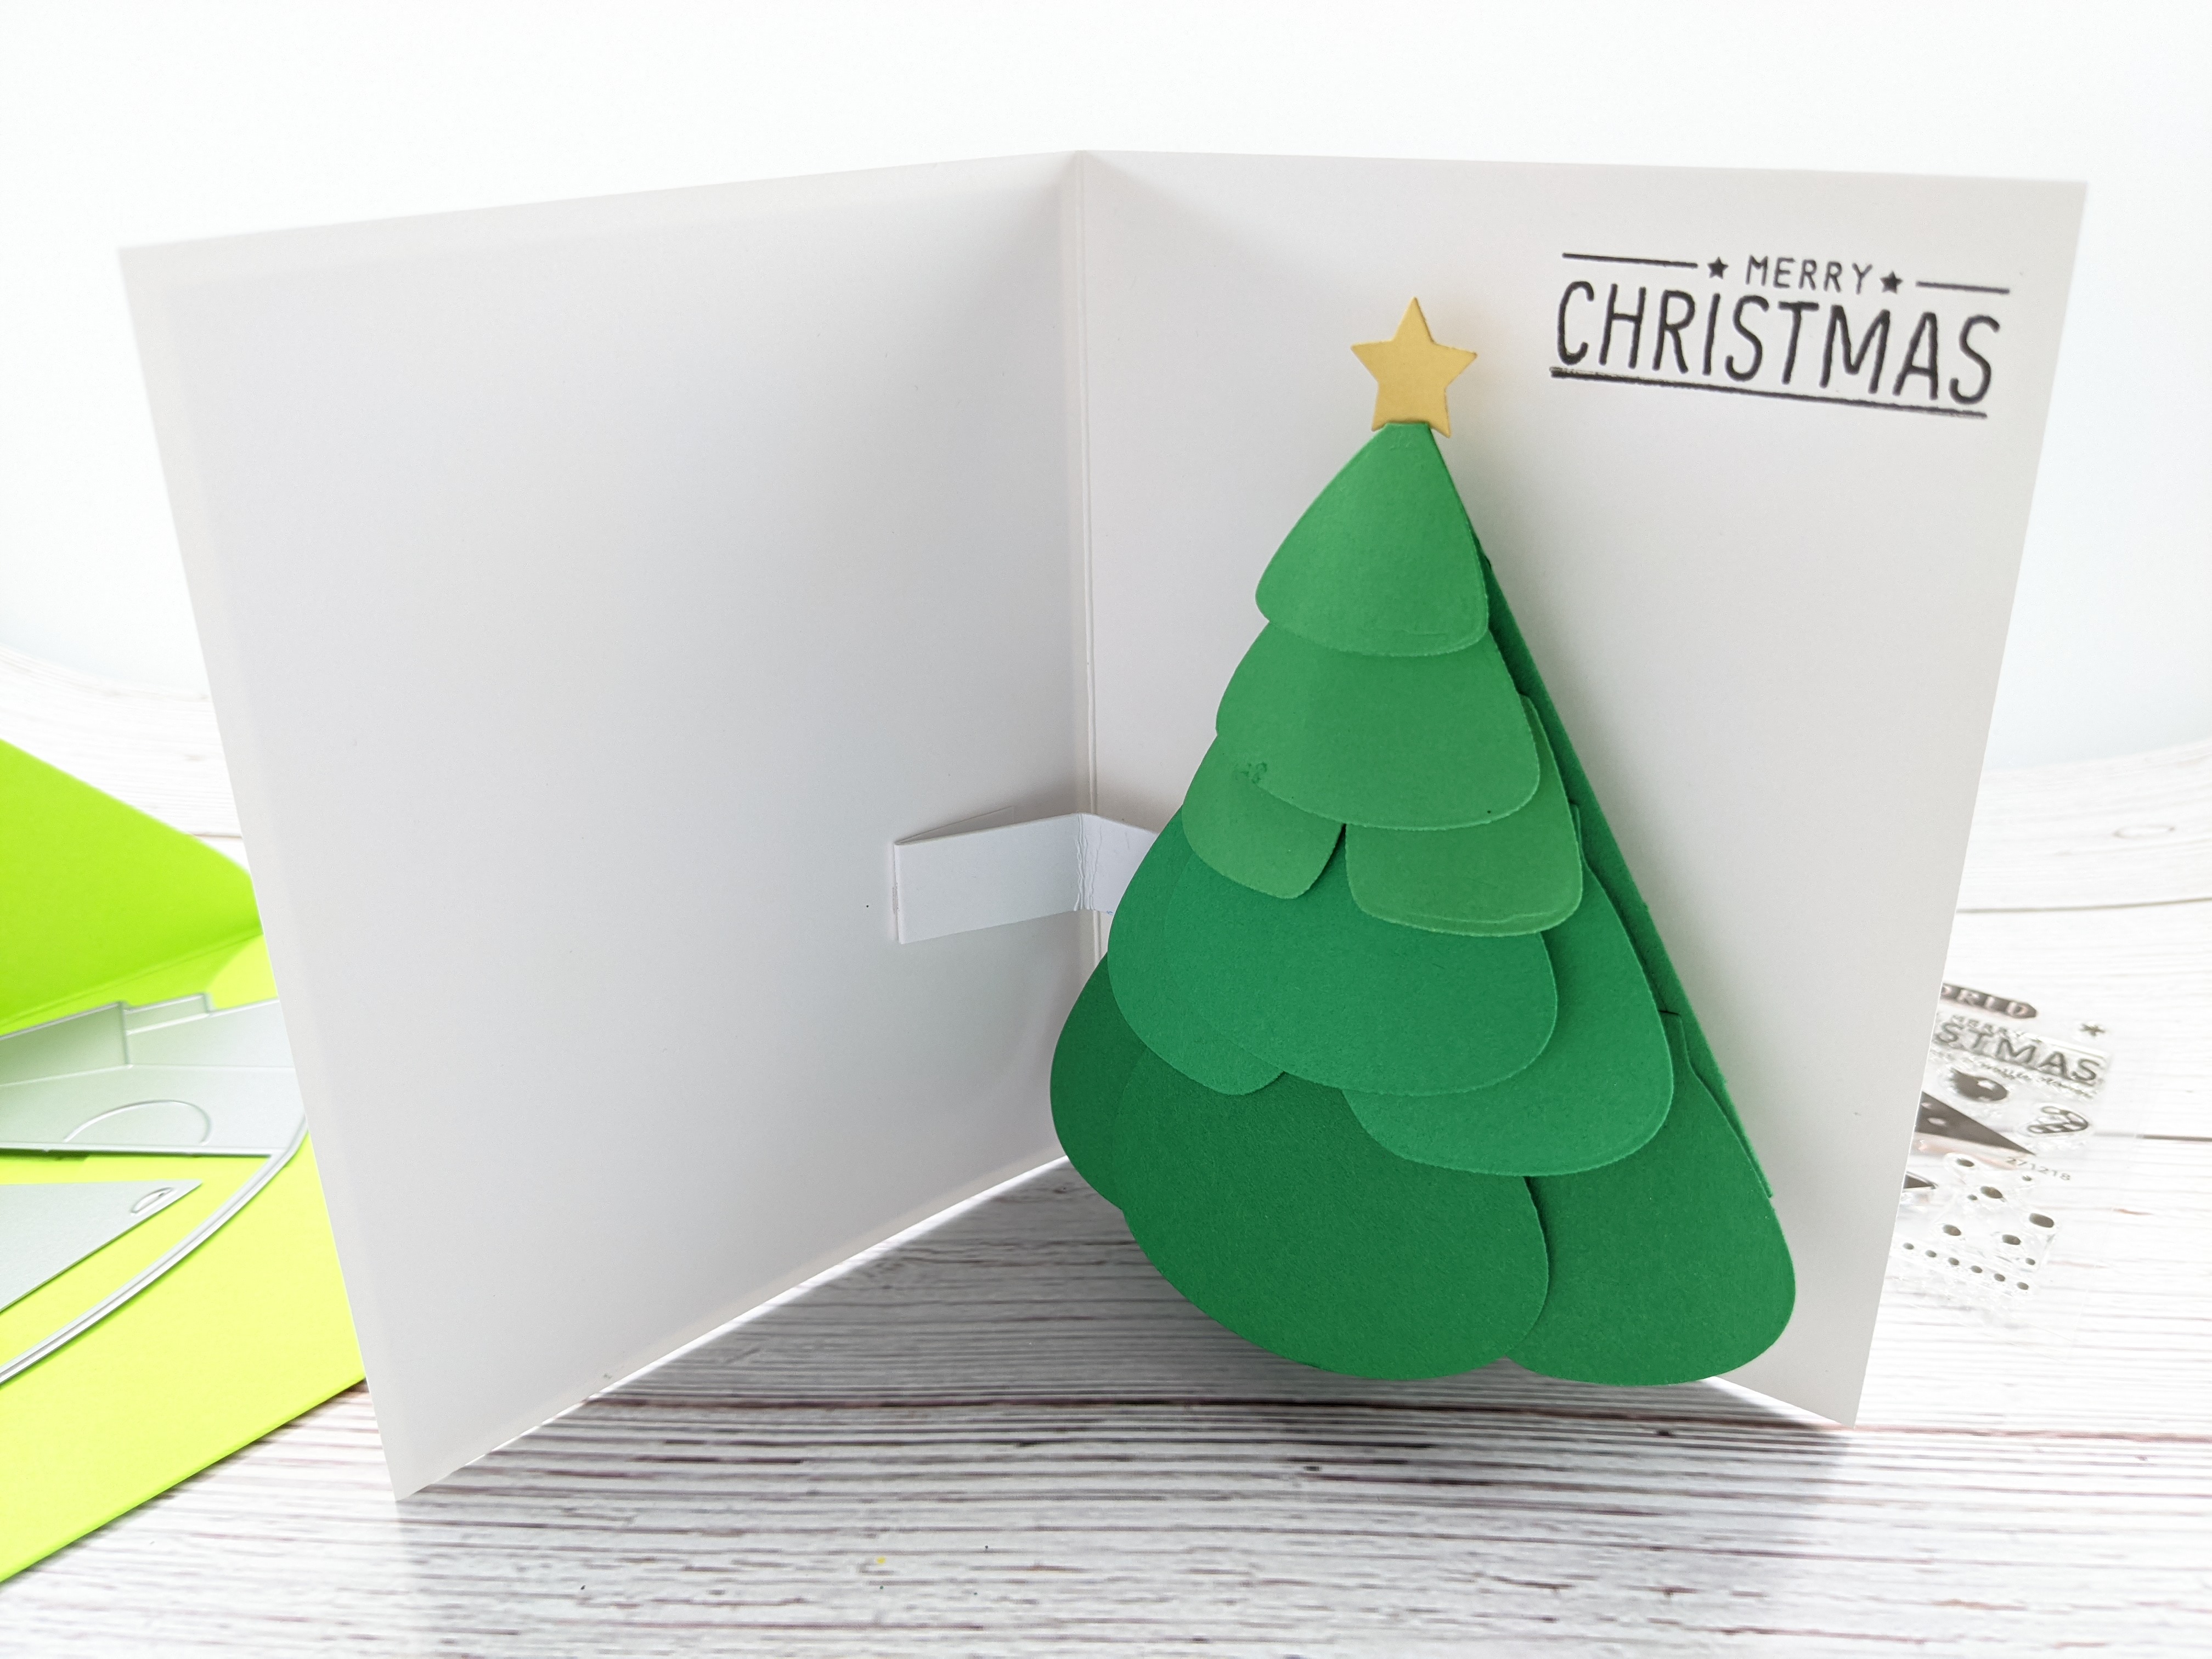
Finding the position of the second score line on our extender might be the toughest part because it really depends on the size of your card and the position of where you glued the tree down. If you want, you can do what I did and glue the extender on both ends and then just slowly start to fold your card close to see where the extender wants to naturally fold. Once you find that position, you can score it as best you can. You won’t get a nice crisp fold, but it may be faster and easier than trying to work out the exact measurements. 🙂
I love how quick and effective these Christmas cards are. Even though the mechanism may seem tricky at first, it’s pretty quick once you get the hang of it!
Products I Used
I purchased the Christmas Tree Pull-Tab bundle which came with a stamp & die set and the pop-up add-on dies. I got it at a fantastic clearance price on Scrapbook.com. But that bundle isn’t available anymore, so I’ve shopped around to try to find everything. It may be available elsewhere, so please do shop around.

Some of my favorite places to shop
DISCLAIMER: This website contains affiliate links, which earn me a small commission at no additional cost to you if you purchase from my link. For more details, check out my Affiliate Disclosure.