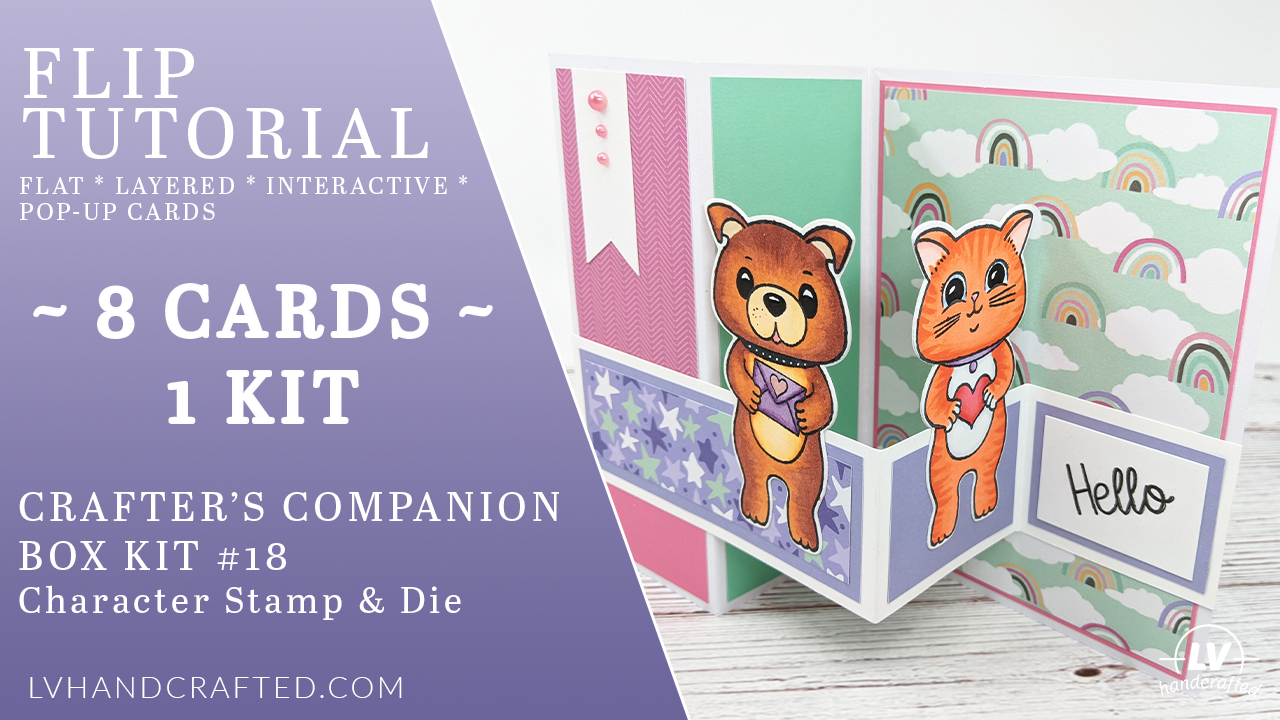
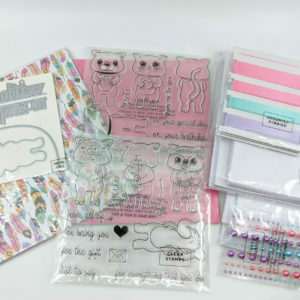
I was really looking forward to this box and it was rather hard to find. In fact, the only place I found that has it available as a one-off purchase is HSN.com. Many of the other boxes you can find on sale on a variety online retailers so you can often get it at a good price if you catch a sale. This amazing box kit has 4 different characters – pig, squirrel, dog and cat. And what’s awesome is you get the stamp image of both the front and the back of each character. And the best part — a single coordinating die will cut out ALL four characters!
My prep work (e.g. die-cutting and coloring) is not in the video. However, scroll past the video and you’ll see instructions for masking the piggie so you can have him holding the flower in front of him (instead of behind his back). I also have a short set of instructions for how to die cut the window aperture and character and use it similar to the peek-a-boo stamp and die sets. I didn’t cover this in the video because it was all part of the prep work I did in advance in order to keep the video short. But I did take photos of each step so I could write up the instructions for you.
Unboxing
Tutorial
Masking The Little Piggie
If you want to have the little piggie holding the rose in front of him, just a little masking is all you need to do. There are several ways you can do this. If you’re doing it many times over, you may want to actually cut out a proper mask template so you can reuse it. But I’ll show you my quick & dirty way of masking. 🙂

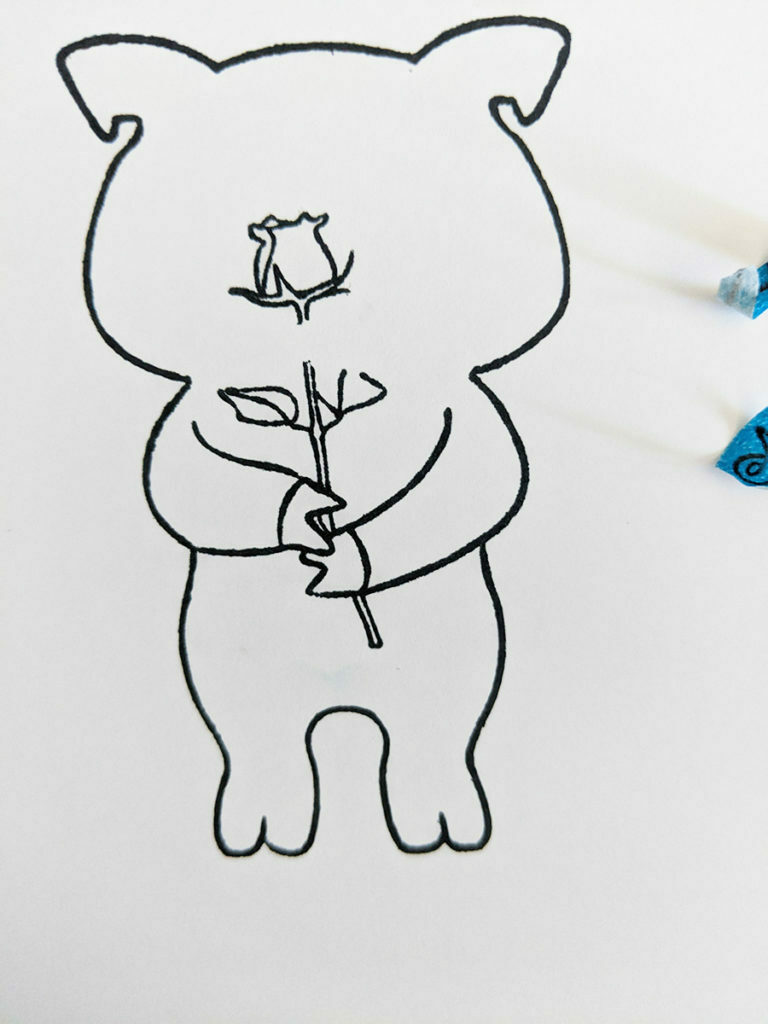
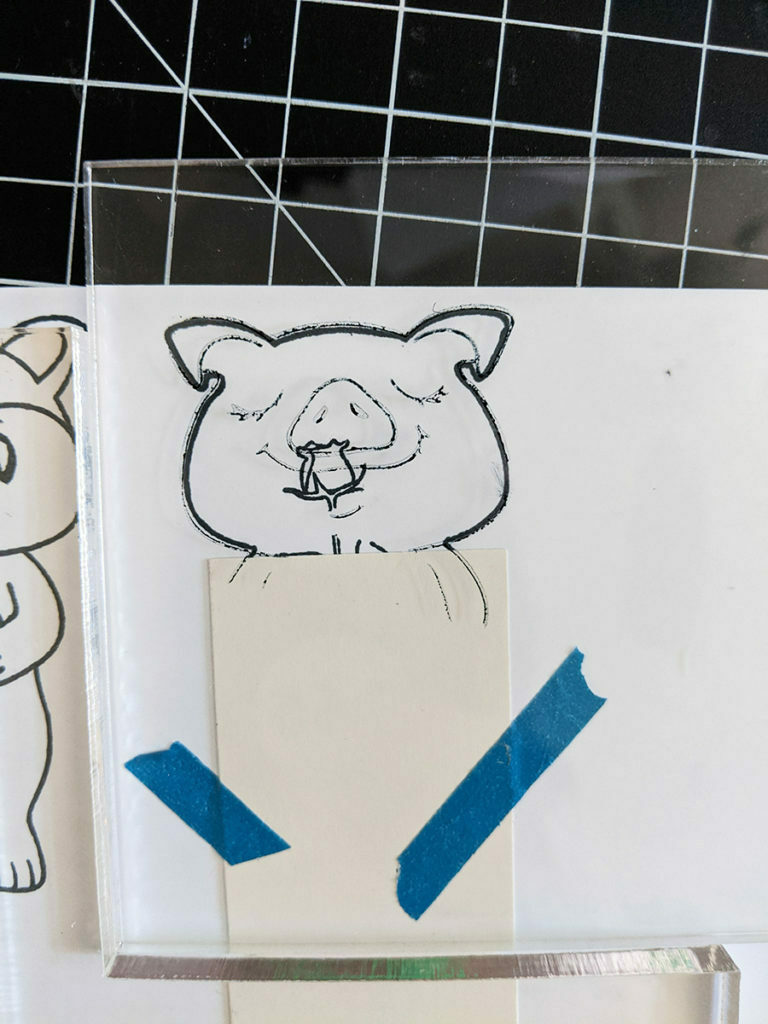
- Mask the back of the piggie that shouldn’t show from the front. Specifically, you want to mask the tail and the shoulders. Then stamp and remove your mask.
I just use a little low-tack tape (the blue portions you see) and tape over those areas directly on the card I plan to stamp onto.
Note: I’m masking a little bit of the flower stem and leaf as well just for ease of masking. Those bits are easy enough to draw back in with a black fineliner pen.


- Now you’ll want to stamp the front of the piggie. But first, you’ll need to mask the portions of the front that shouldn’t be shown. Specifically, you want to mask:
- The flower. I stamped onto a scrap paper and fussy cut the flower. You can use masking paper, post-it or just regular paper with repositionable tape.
- Then mask the body. In particular you want to mask the two lines of the body where it meets the arms. Don’t go too high because you want the curve of the face to still show.
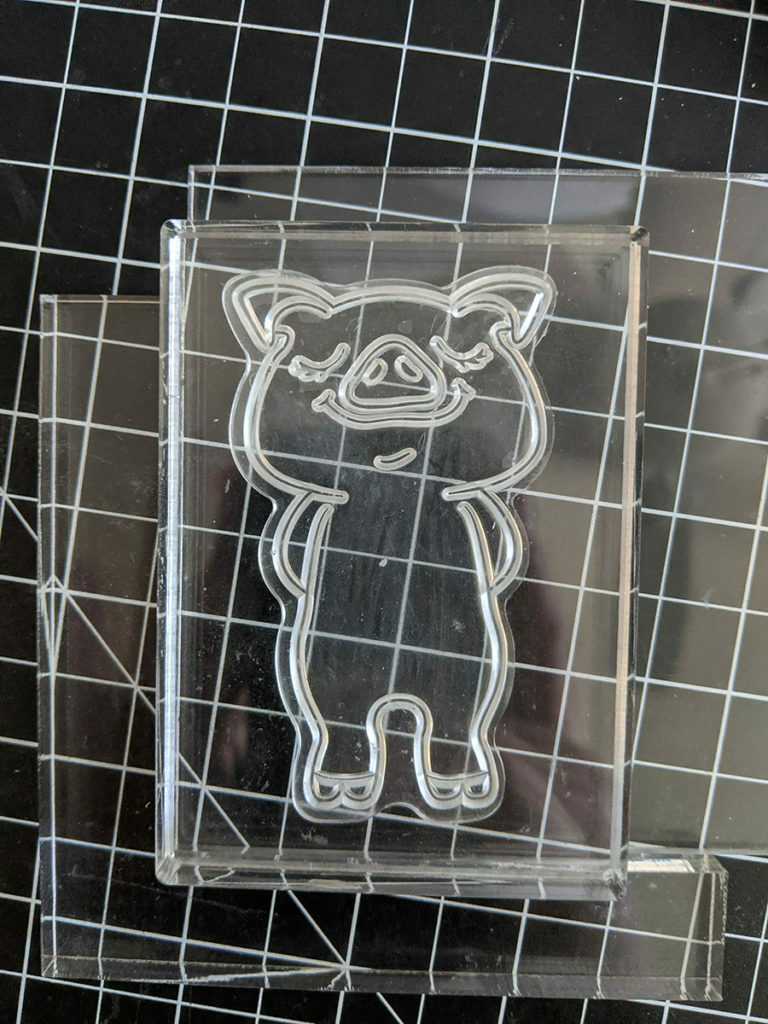
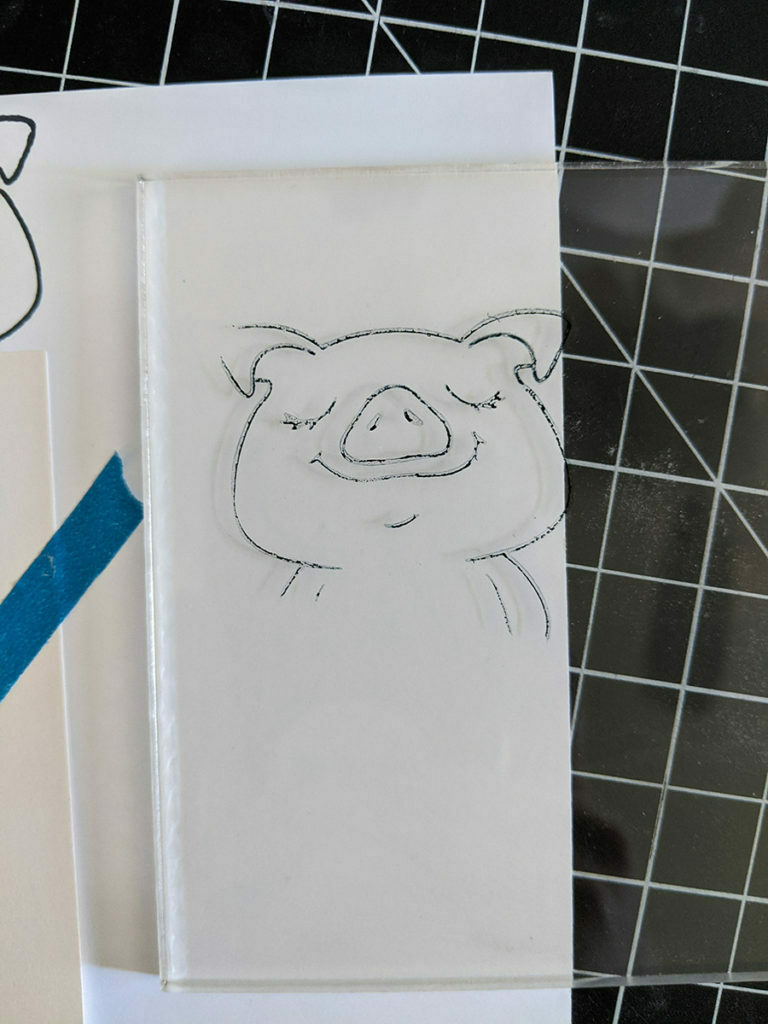
- Now line up the front of your piggie stamp over the image you’ve stamped on your paper. I find using the old school stamp positioning tool easiest, but you may find something like the Misti simpler.
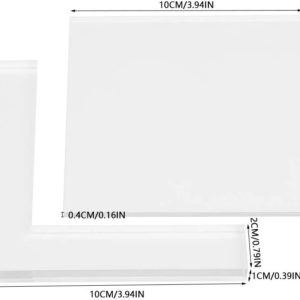
I have a stamp positioning combo that comes in two pieces – an “L” block that you use to “lock” the position of your stamping and a clear acrylic plate to stamp and line up where you want to stamp.
Line up the clear plate into the corner of the “L” block. Line up your stamp block in that same corner and stamp the front of the piggie onto your clear plate. Now you have an image of the piggie on a clear plate. Use that plate to line it up directly over your stamped image of the piggie holding the flower.
When you have your image lined up, put your “L” block in the same corner you lined it up in when you initially stamped it. Now you can remove your acrylic plate (holding the “L” block in place).
Finally, line up your acrylic stamping block into the corner of the “L” block and stamp your image.
You’ll want to stamp the face and the hoofs, so if you want just ink up those portions of your stamp.
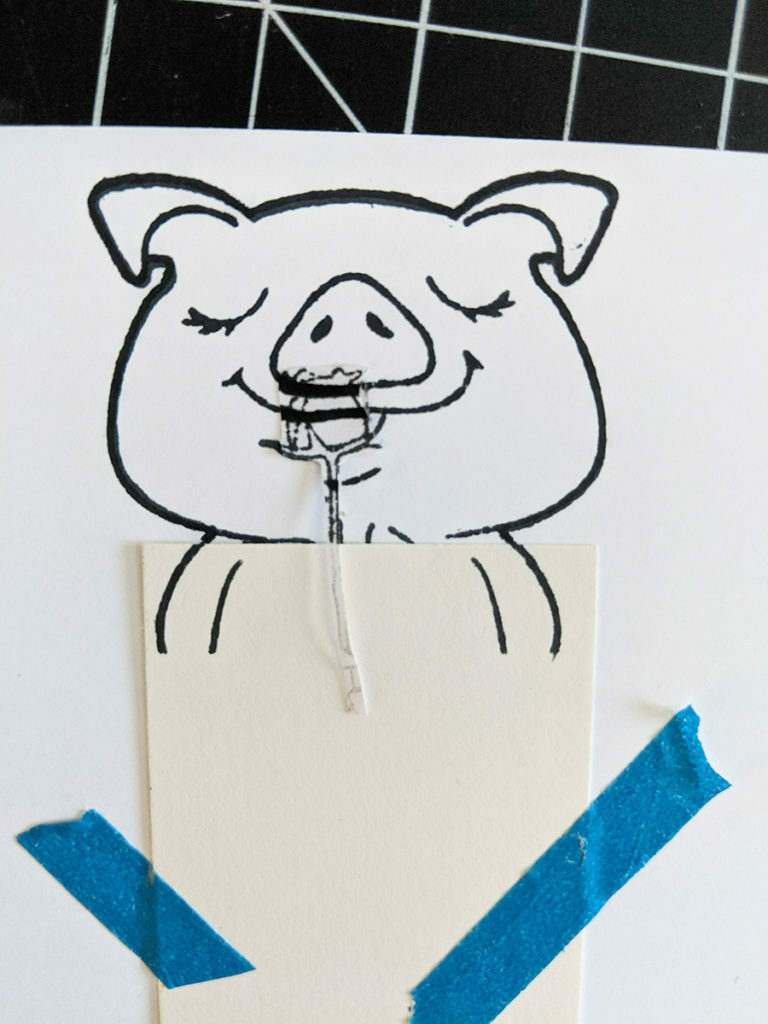

Remove your masks and voila! You have your piggie holding the flower in front of him.
You’ll notice portions of the stem and leaf are missing. I just do all my coloring first and then when I’m done, I go back in with a black fineliner pen and draw in those couple of missing lines. If you have a pen that’s friendly with the coloring medium you’re using, you can always draw the lines in first.
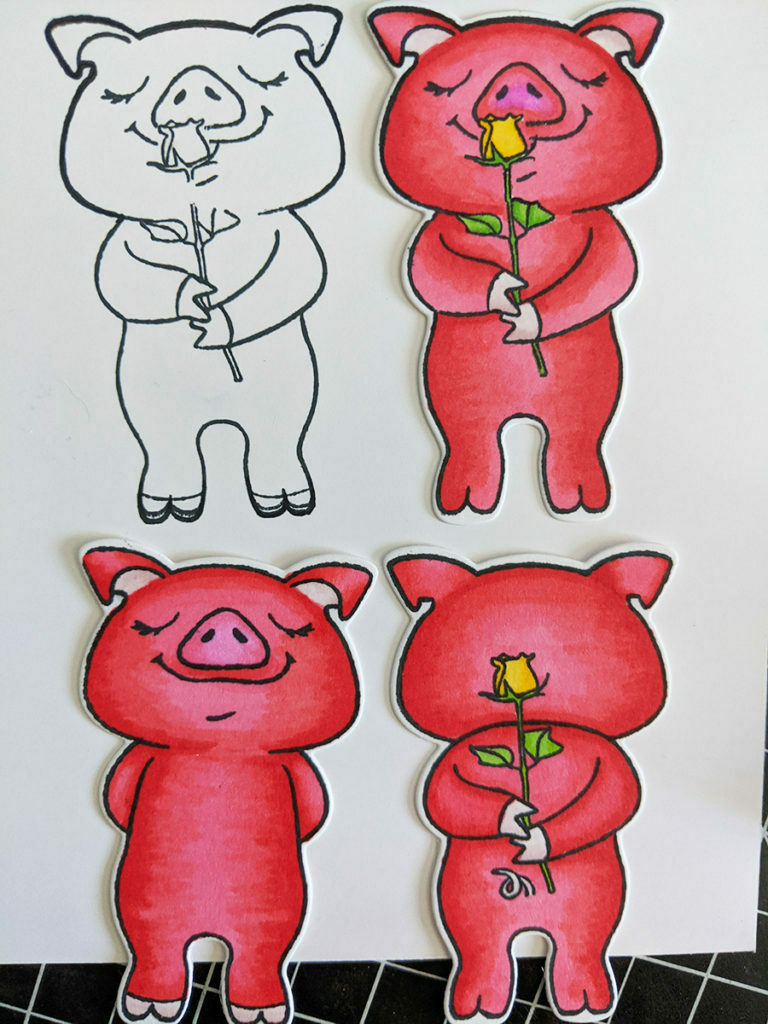
Bottom row: Original piggie front and back (colored)
Without too much work, you now have a different version of the piggie!
Notice the colored version of the piggie holding the flower in front of him is missing his hoofs — I missed this the first time I did this technique, but I think it still looks OK. On the outline version, I accidentally grazed the stamp to the paper on one of the hoofs before I had it in position. To make it look more intentionally, I repositioned my clear plate and stamped a double line on the other hoof to match. LOL.
Using the Character as a Peek-a-Boo
These characters are similar to the peek-a-boo in that you get the front and back of the character. However, the die cuts the character out completely, which I prefer. The peek-a-boo stamp and die set only cuts out the little head that peeks out. I much prefer to have the entire character cut out and do some partial die cutting. It gives you so many options for how to use the characters. (I’m not the best fussy cutter, so coordinating dies are like gold to me. LOL)
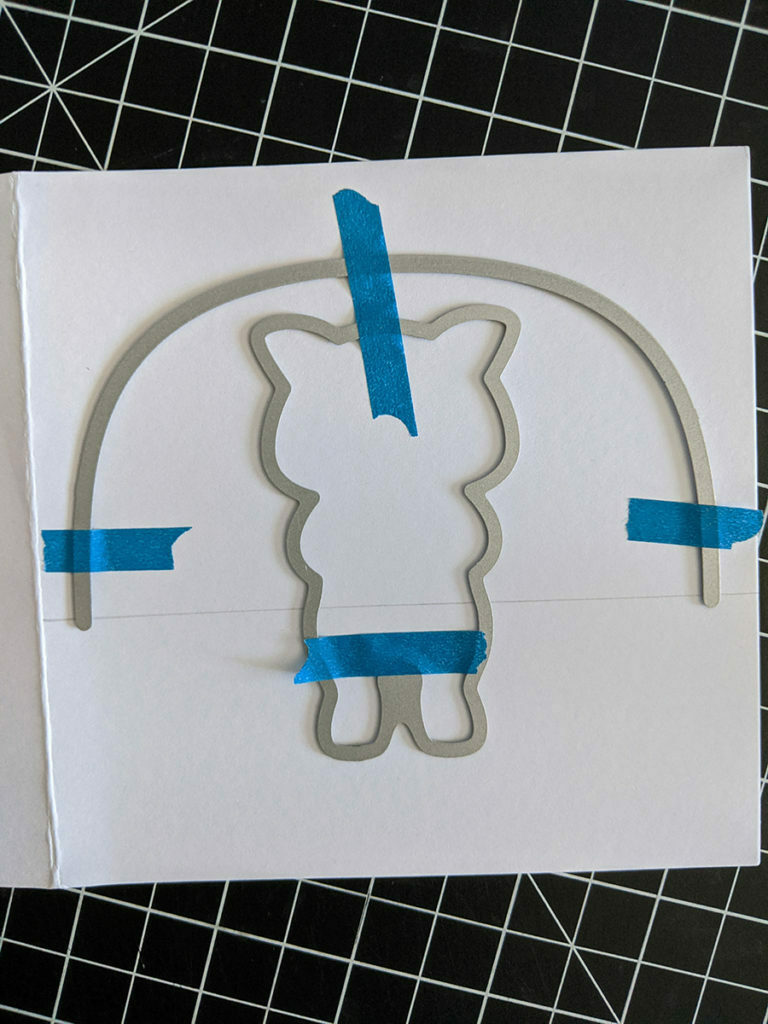
All I do is draw myself a line across the card where I want to cut out my aperture window and character. I use a T-square ruler to make sure everything is level. Then I line up the window frame and the character where I want them.
When I do partial die-cutting, I like to use my Platinum machine but use my smaller Cuttlebug plates. I just line up the plate over the top portion of the dies right up to the line I drew but not over it. This way, it doesn’t cover the bottom portion of the piggie and won’t cut out anything below the line.
Shop This Project
-
 Crafter’s Companion Craft Box #18 – Character Stamp and Die
 -
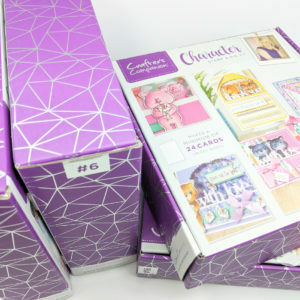 Crafter’s Companion Craft Boxes
 -
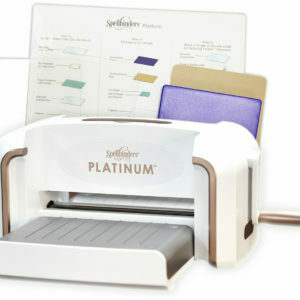 Spellbinders – Platinum Die Cutting Machine
 -
 Spellbinders – Prizm Die Cutting Machine
 -
 Sizzix Sidekick
 -
 Generic Stamp Positioning Tool
 -
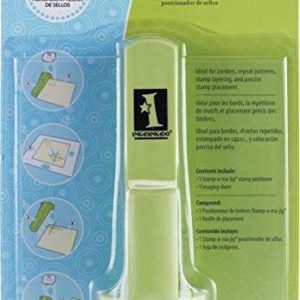 Inkadinkado Stamp Positioning Tool
 -
 T-Square Ruler
 -
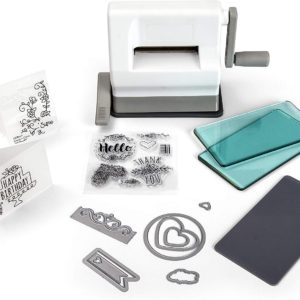
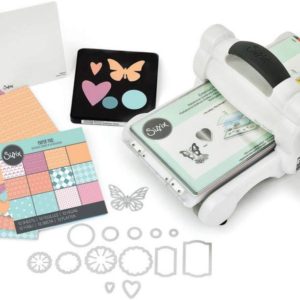 Sizzix Big Shot Starter Kit
 -
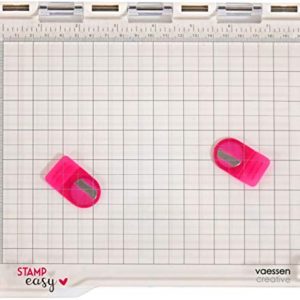 Bira Craft Easy Stamp Platform Tool
 -
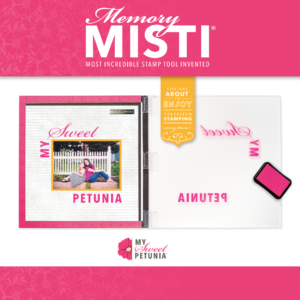 MISTI Memory Stamp Tool