
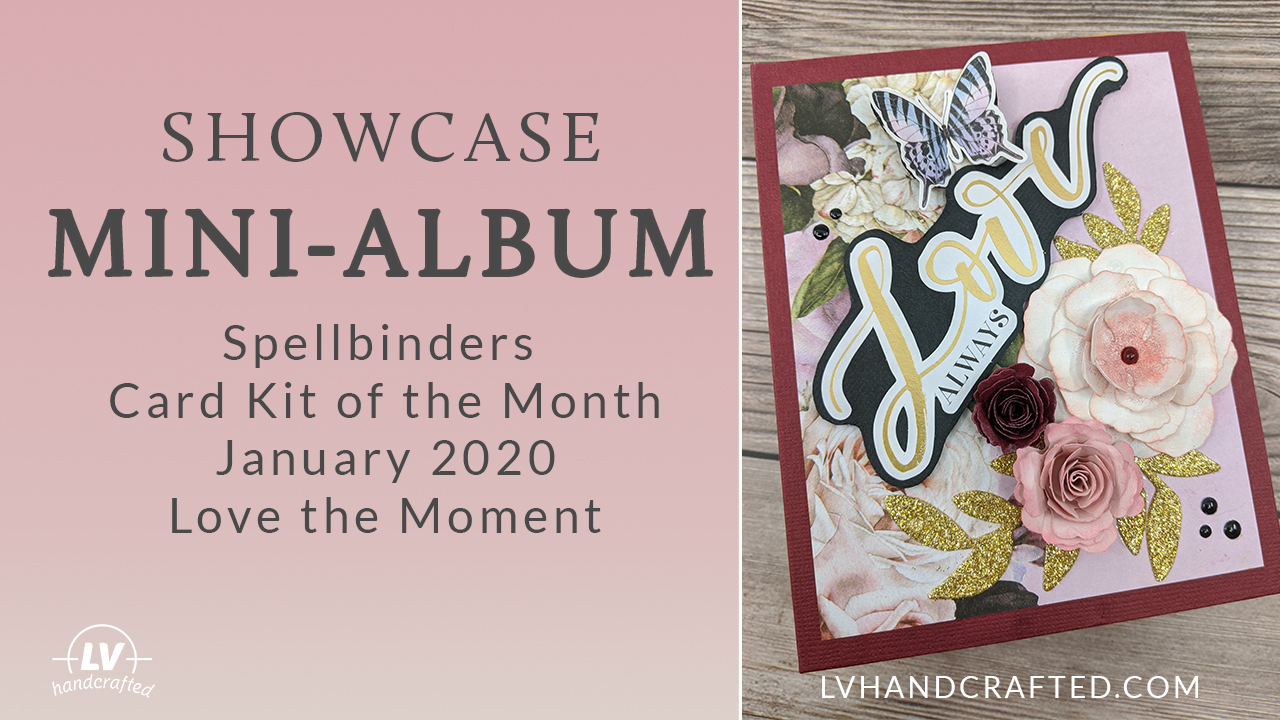
My earlier post featuring the encouragement cards I made using the Spellbinder’s Card Kit of the Month – Hang With Me showcased my first project using a Spellbinders card kit. At the time, I reserved judgment on the Spellbinder’s card kits until I had a chance to use it for more projects. This is my second project using the card kit and I’m really falling in love with the kit! I’ll write up my impressions in a separate post (similar to the one I wrote on the Scrapping For Less card kit).
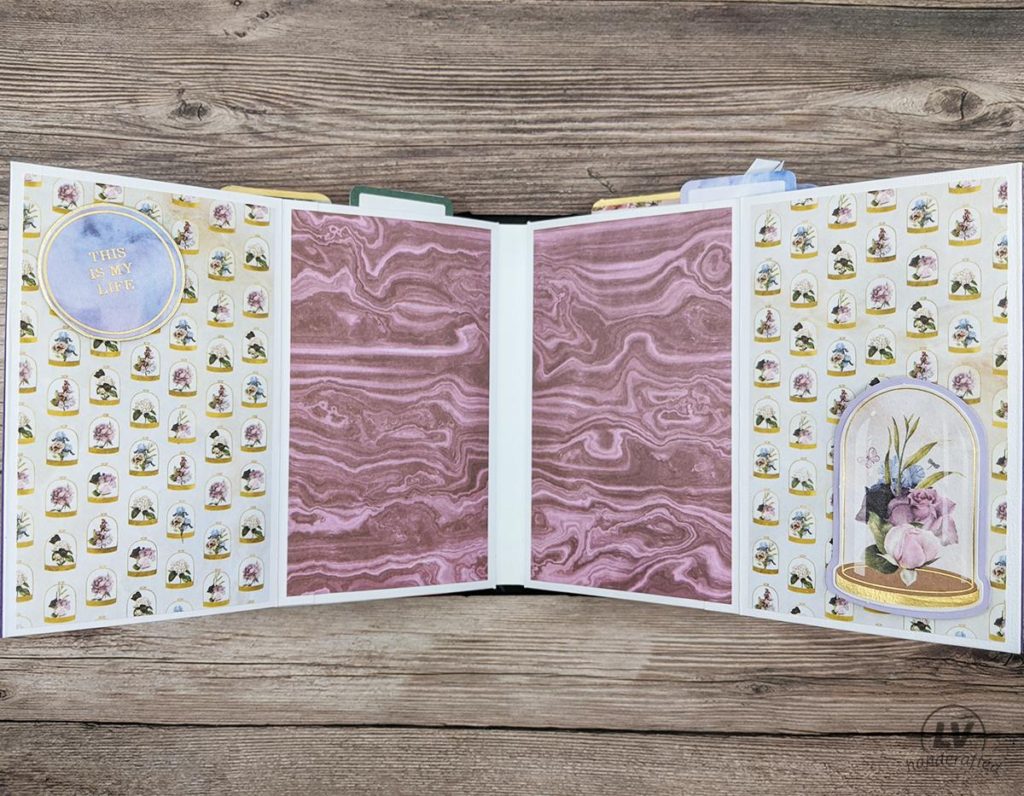
For this post, I want to share my mini album project! One criteria I’m using to evaluate card kits is whether I can use them in different papercrafting projects — cards, mini albums, home decor, etc. So I had the idea to convert the card bases into a mini album. I wasn’t sure if it would work, but I have to admit, I’m in love with this mini album! This was originally supposed to be a gift, but I love it so much I may keep it or make another for myself. I definitely can because there are plenty of supplies from the kit left!
One thing is for sure — I will definitely be making more mini albums with the Spellbinders card kits!
Showcase
Tutorial – Part 1
Tutorial – Part 2
Tutorial – Part 3
Tutorial
My tutorial video series shows how I created this mini album, but I’ll highlight some of the main steps in this post if you want a rough idea.
One nice thing about an album this size is it’s a little easier to decorate because the pages are smaller. If you’re used to creating beautiful A2-sized cards, this won’t be much of a stretch at all.
This size album also makes a great gift. Since the albums are small and hold maybe a dozen photos, they are easy to fill. I can give the same person an album or two every year. I started creating mini albums for my nieces on their bday’s so they can commemorate that age. Imagine having an entire series of these albums for each year of your life. How fun!
Page Construction
I took the 10 A2 size card bases that come in the kit and converted those to 5 pocket page signatures. I was looking to minimize waste and make the most efficient cuts possible, but of course, your imagination is the only limit to what you can do. Below is what I happened to do this time.
5 card bases converted to pocket page signature. I wanted to make these top-loading pocket pages so the fold is the outside edge of the page. The opening is where the spine will get attached. I ran a line of adhesive tape along the bottom edge from the fold to ~3/4″ from the open edge (to leave room for the hinge to slot in).

2 card bases converted to Gate Folds
- Along the 8.5″ edge, score at 3.25″
- Along the 8.5″ edge, cut at 3.75″ and 6 3/8″
- Fold and burnish at the 3.25″ score line you made. That should create a 0.5″ hinge to attach it to the page.
- You should have 3 gates per card base (6 gates in total – 4 used for the double gate and 2 used for single gate):
- 3.25″ wide gate with 0.5″ hinge
- 2 1/8″ wide gate with 0.5″ hinge
- 2 1/8″ wide gate with NO hinge
- Take the 1″ strip leftover from the Z-fold off-cuts and score, fold and burnish at 0.5″. This will be the hinge for your half gate with no hinge. Attached half of the hinge along the long edge of the 2 1/8″ gate with NO hinge.

2 card bases converted to Z-Folds
- Along the 8.5″ edge, score at 4.75″ and 7.5″
- Along the 8.5″ edge, cut at 1″ and 8″ — set aside the two off-cut strips (1″ and 0.5″ wide)
- Fold and burnish at the 7.5″ score line you made. That should create a 0.5″ hinge to attach it to the page.
- You should have 1 Z-fold flap per card base (2 Z-folds in total)
1 card base converted to top flap with bottom pocket
- Cut the card base in half along the fold
- Along the 5.5″ edge, score at 3″
- Along the 5.5″ edge, cut at 3.5″
- Fold and burnish at the 3″ score line you made. That should create a 0.5″ hinge to attach it to the page.
- You should have 2 top flaps and 2 pockets
- Top flaps should measure 4.25″ wide and 3″ tall
- Bottom pocket should measure 4.25″ wide and 2″ tall
- Take the 0.5″ strip leftover from the Z-fold off-cuts and score, fold and burnish at 0.25″. This will be the bottom hinge for your pocket. Attach along the bottom edge of the 2″ x 4.25″ piece. (NOTE: the off-cuts from the two 0.5″ strips are the only waste from the card bases.)
Final Page Layouts
With the cuts above, you should have:
- 2 Z-fold page layouts
- 2 Double-gate fold (one gate is 2 1/8″ wide and the other is 3.25″ wide)
- 2 Single-gate fold (2 1/8″ wide)
- 2 Top flaps with bottom pockets
The 5 pocket page signatures will yield 10 book pages. (NOTE: two of the ten pages will not have any flips or flaps.)
Of course, you certainly don’t need to follow my cut list above. I like it because it has some nice interactive elements, uses only the card bases in the kit and generates very little waste (just two 0.5″ x 1.25″ strips).
Cover & Spine Construction
I typically use chip board as the base of my covers and spine. As luck would have it, the paper pad that comes in the kit has a piece of chipboard on the back! So glad they still include that. I know many paper pads are converting to loose sheets (no glue at the top) and no chipboard backing board. The piece of chipboard for the 6×6 paper pad was enough for one cover and the spine.
I cut the covers to be 5.75″ tall and 4.5″ wide — basically a quarter of an inch taller and wider than the page bases. The leftover 1.5″ strip of chip board was just enough for my spine!
Materials From Outside the Kit
Here’s where I did have to introduce materials from my own stash. The chipboard in the kit was only enough for one cover and the spine. But you need two cover pieces. So I used two pieces of heavyweight card stock (120 lb cover). Doubling up the card stock made it a similar weight to the chipboard. I used this as my back cover since my front cover was going to have some dimensionals so I wanted to use the sturdier/thicker chipboard there.
I do have chipboard but thought most people have heavyweight card stock. Until I got into mini-albums and mixed media, I didn’t have a need for chipboard. You could also use cereal boxes or other similar packaging. And if you do have chipboard, by all means, use that.
I also used some Tyvek wristband strips to reinforce where the cover & spine meet. That helps everything stay together since Tyvek is tear resistant.
Wrapping the Covers and Spine
In my tutorial, I used cardstock out of my stash that were similar in color to the ones you’ll find in the kit. (I happened to have scraps that matched.) However, you can definitely use what’s in the kit. However, because I didn’t use the kit cardstock, I can’t comment on how well it takes a fold and whether you might get any cracking. The cardstock feels like it’s 80lb cover. I generally use 65lb cover when I wrap because it’s less likely to crack. However, the black cardstock scrap I used in my video was 80lb and it held up just fine.
Hinge Construction
I’m not going to detail out how I created the hinge. I think watching the video (part 3) is probably easier to follow along so you can see what I’m describing. However, I did use 65 lb cover weight card stock from my stash. The white card stock in the kit feels like a heavier weight and it’s also prettier than the cardstock I use for my hinge (which is hidden so doesn’t need to be pretty :)).
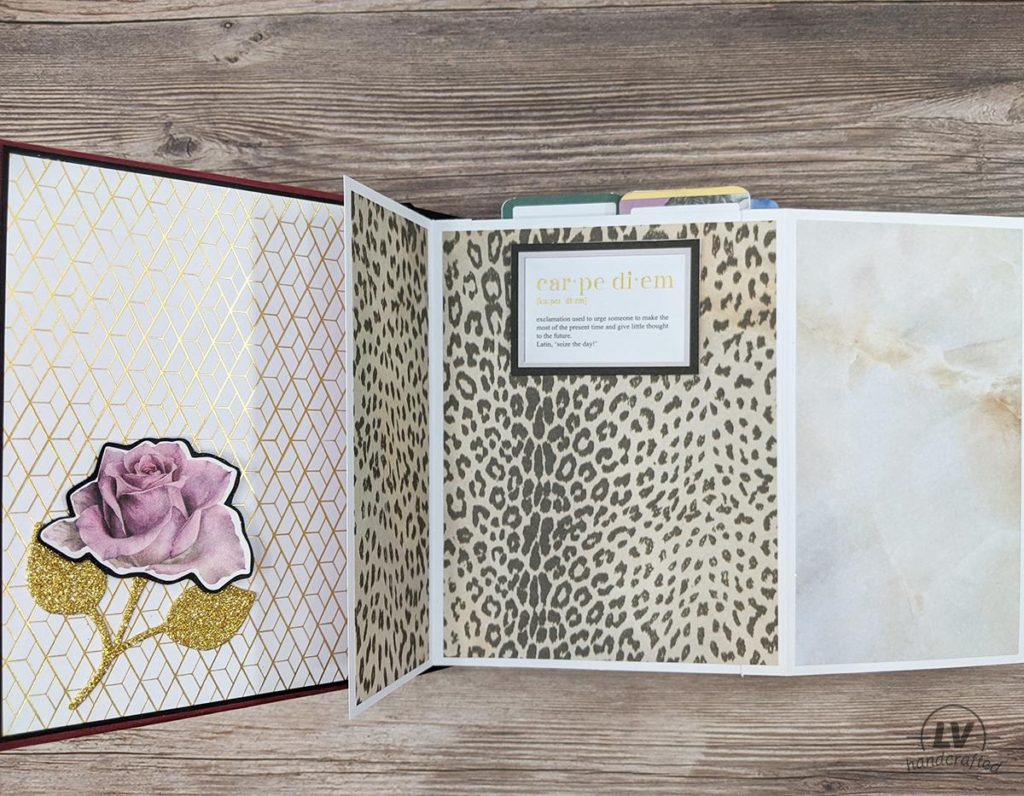
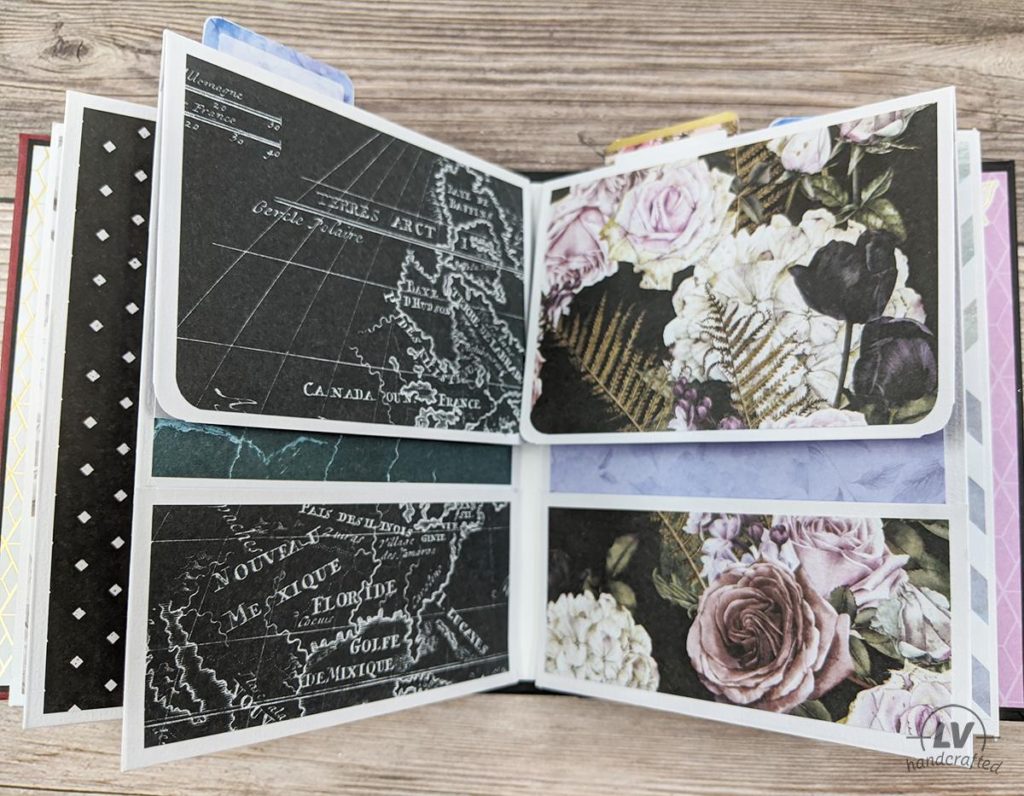
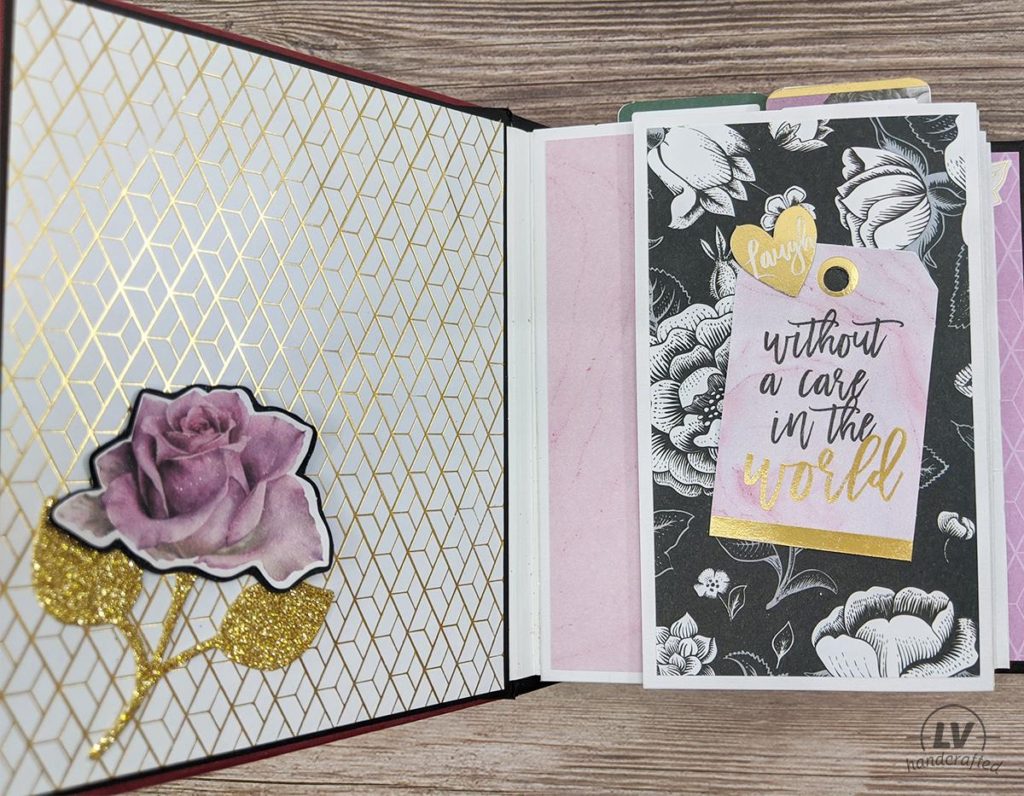
Decorating the Pages
This is where your creative genius can bloom. Definitely don’t feel compelled to do what I did because I had some specific goals in mind.
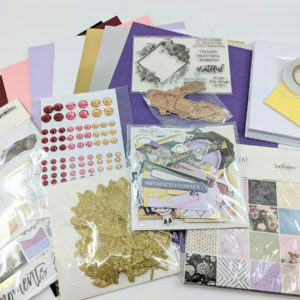
My goal was to limit myself to just half of the paper pad. By the way, the paper pad is 40 single sided sheets with 20 unique designs (you get two of each). That’s very plentiful! I wanted to use each of the 20 unique designs and make the most efficient cuts as possible to minimize waste. I also wanted to keep it rather simple — lay down a matting layer onto each panel & page base. And then add embellishments with the die cut ephemera and stickers from there.
Here’s a rough guideline for how I made my cuts of the decorative pattern paper.
Main Cuts
FIRST CUT: 8 of the 10 book pages requires mat layers that are 5.25″ tall. So, my first cut out of most of the 6×6 papers was at 5.25″ leaving a strip that’s 3/4″ x 6″. These strips came in handy for some paper piecing and is the exact size for one of the z-fold panels too. So, save these! From there, I made the rest of my cuts.
SECOND CUT: 4″ and 2″ strips that are 5.25″ tall. I needed 8 sheets cut such that you get a 4″ x 5.25″ and 2″ x 5.25″ panels. The 4″ panels layer on the full pages. The 2″ panels layer on the gate fold panels that are 2 1/8″ wide. Technically, you should get the 2″ panel down to 1 7/8″ if you want to keep an even 1/8″ border all around your matting layer. But I didn’t bother with that extra cut. It didn’t bother me too much to have that very slight difference.
THIRD CUT: 3″ and 3″ strips that are 5.25″ tall. I used 7 sheets that were cut in half to yield two 3″ x 5.25″ strips. These were used to layer onto the Z-fold panels and the 3.25″ wide gate fold panel.
Special Cuts
FOURTH CUT: 4″ x 4″. Out of two sheets, I cut a these 4″ square pieces out. These are the back panels of the Top Flap with Bottom Pocket pages. The off-cut wasn’t used.
FIFTH CUT: 2.75″ x 4″ and 1.75″ x 4″. Out of two sheets, I cut these pieces to layer on the top flap and the bottom pocket. The off-cut wasn’t used.
SIXTH CUT: The front, back cover and inside covers (front & back) were cut to A2 size (4.25″ x 5.5″) since the cover itself is a quarter of an inch wider and taller. Three sheets were used and the 6×6 paper pad cover itself was cut for the back cover of my album. Nothing goes to waste!
Embellishing with Die Cut Ephemera
The card kit comes with SOO many die cuts. I barely put a dent in it. The die cuts were backed with heavyweight cardstock to give them more durability. That’s totally optional or you could just use cardstock in the kit.
For that extra bit of shine, I used my DIY mica shimmer pen, but you could use Wink of Stella or something similar.
Decorating the Cover
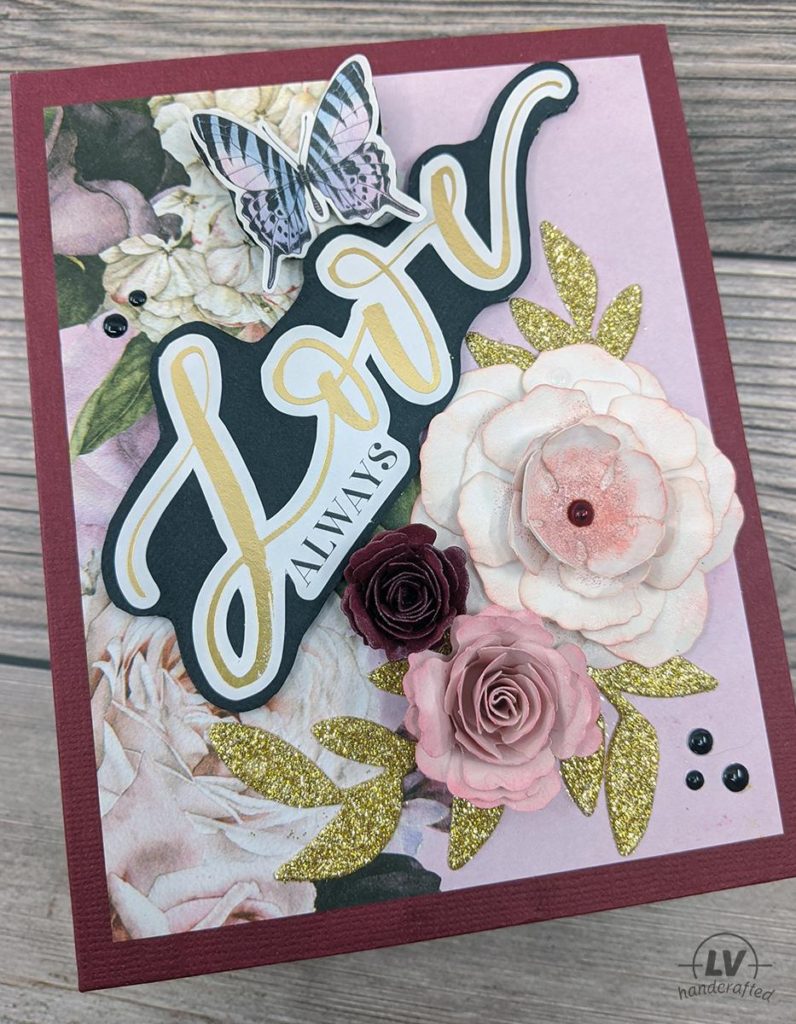
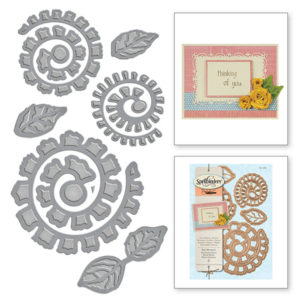
This is another place where I went outside the kit. I used two flower making die sets from Spellbinders (see the Shop This Project links below.) I did use the cardstock in the kit though. The used some Distress / Distress Oxide ink to ink the the edges. I used my shimmer pen on all the flower petals too.
If you didn’t want to make your own flowers, you could use die cuts from the kit. There are a LOT to choose from.
Things I used Outside the Kit
I’ve already mentioned most of the items I pulled from my stash. Most of the time, they were close representations of what’s provided in the kit — like the card stock used to wrap the album covers and gold foil kraft card.
Here’s a list of everything I can remember that I used that isn’t really in the kit. About half of it was for the 3D flowers on the cover though, so if you skip that, there really isn’t much you need outside this kit to complete this project!
- Heavyweight cardstock – this was mostly for the cover and to line the die cut ephemera pieces.
- Glue Dots – technically, you could use the foam adhesive in the kit but that’s a LOT more dimension than a glue dot
- Tyvek strips – this just provides extra durability and reinforcement to the cover. You could skip this if you didn’t want to invest in this.
- Black foam sheets – I did back some of the die cut elements (mainly on the cover) with black foam. I like to cut my foam to as close the size & shape to the die cut as possible. Also, I think black stands out less particularly given the colors I was using. But I guess you could technically use the foam adhesive squares provided.
- Paper trimmer – Of course, you can always use a ruler, pencil and scissors. The guillotine trimmer is just faster for me.
- 5″ roll of tape – I used both Scor and regular double-sided adhesive on 5″ rolls. It makes lining the cover generously with tape more economical and easier/faster.
- Scor tape – I used both 3/8″ and 1/4″ scor tape for things like hinges. I like to use strong adhesive for the structure of my albums.
- Liquid glue – I used 3-in-1 beacon to attach the paper flowers and LineCo phNeutral for some die cuts (e.g. when I lined the die cuts with heavy weight cardstock)
- 3D flower dies – totally optional. You could skip this altogether or buy premade flowers if you like the look but don’t want to make your own.
- Die cutting machine – this was only to make the flowers.
- Ink – this was only to make the flowers. I didn’t ink the edges of the die cuts at all.
- Shimmer pen – I make my own mica shimmer pen (similar but more subtle than a Wink of Stella pen).
- Nuvo drops – I did add some drops to the cover, but the kit comes with rhinestones, so you could always use that.
- Flat back pearl – just the one pearl for the open flower I made. I could have used a rhinestone from the kit but I wanted the more pearlescent look since my shimmer pen was pearlescent.
Shop This Project
-
 Spellbinders – Bitty Blossoms
 -
 Spellbinders – Card Kit: Love the Moment
 -
 Fiskars – Bypass Trimmer (12″)
 -
 Tyvek Wristbands
 -
 Spellbinders: Rose Creation Die Set
 -
 Sizzix: 3D Flower Bigz Die
 -
 Lineco pH Neutral
 -
 Scrapbook.com Chipboard – 12×12 (heavyweight)
 -
 Distress Oxide
 -
 Nuvo Drops
 -
 Scor Tape (Sookwang) – 1/4 inch