
There are a few “big ticket” items I’ve invested in that I use quite often in my card-making. These won’t necessarily break the bank, but they are $100+, so they aren’t cheap either. You don’t necessarily need all of these, but they are certainly worth it depending on what kind of maker you are and how many cards you create.
DISCLAIMER: This website contains affiliate links, which earn me a small commission at no additional cost to you if you purchase from my link. For more details, check out my Affiliate Disclosure.
Embossing / Die Cutting Machine.
One of my first big ticket items was a Cuttlebug (it’s discontinued now). The Big Shot is a similar machine (and probably the one I’d get if I were in the market now). These machines really open up a whole new dimension of cardmaking. These machines open up two major techniques – embossing and die cutting (as the name suggests). Embossing adds a raised texture/design to your card stock while die cutting allows you to cut various shapes, words, patterns with precision and ease. New embossing folders and dies come out all the time so your crafting design possibilities are infinite.
There are several different machines on the market and they can definitely range in price. The manual ones that you have to hand-crank have the benefit of working all the time and from anywhere since you don’t have to plug it in. However, there are electric ones that are faster and hands free. I may find myself upgrading to an electric one when my budget allows.
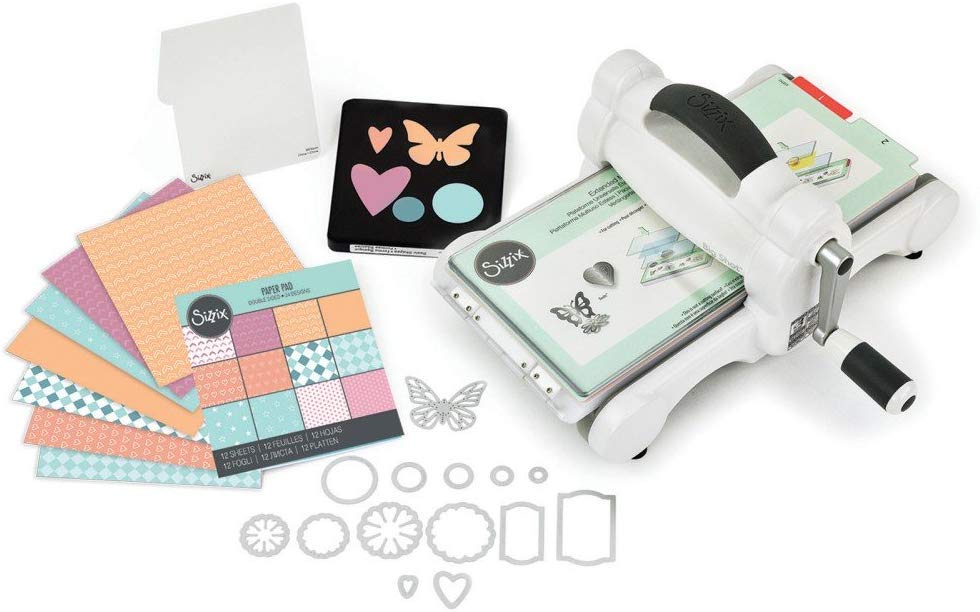
What’s great about these machines is crafters are always coming up with new and creative ways to stretch your materials and supplies, so you don’t necessarily need a lot of embossing folders or dies to start. Getting a starter kit like this one is perfect for some basic shapes that will definitely take your card making up to the next level! It’s a nice sampling of different products so you can see the different types of things you can achieve and familiarize yourself with the different product lines that are compatible. Sizzix has a variety of different starter kits that vary in price, so definitely check them out and see what feels like it might fit in best with the style of cards you want to make. They aren’t the only brand out there either. Some of the other brands have different features and functionality that might appeal to you, so definitely shop around!
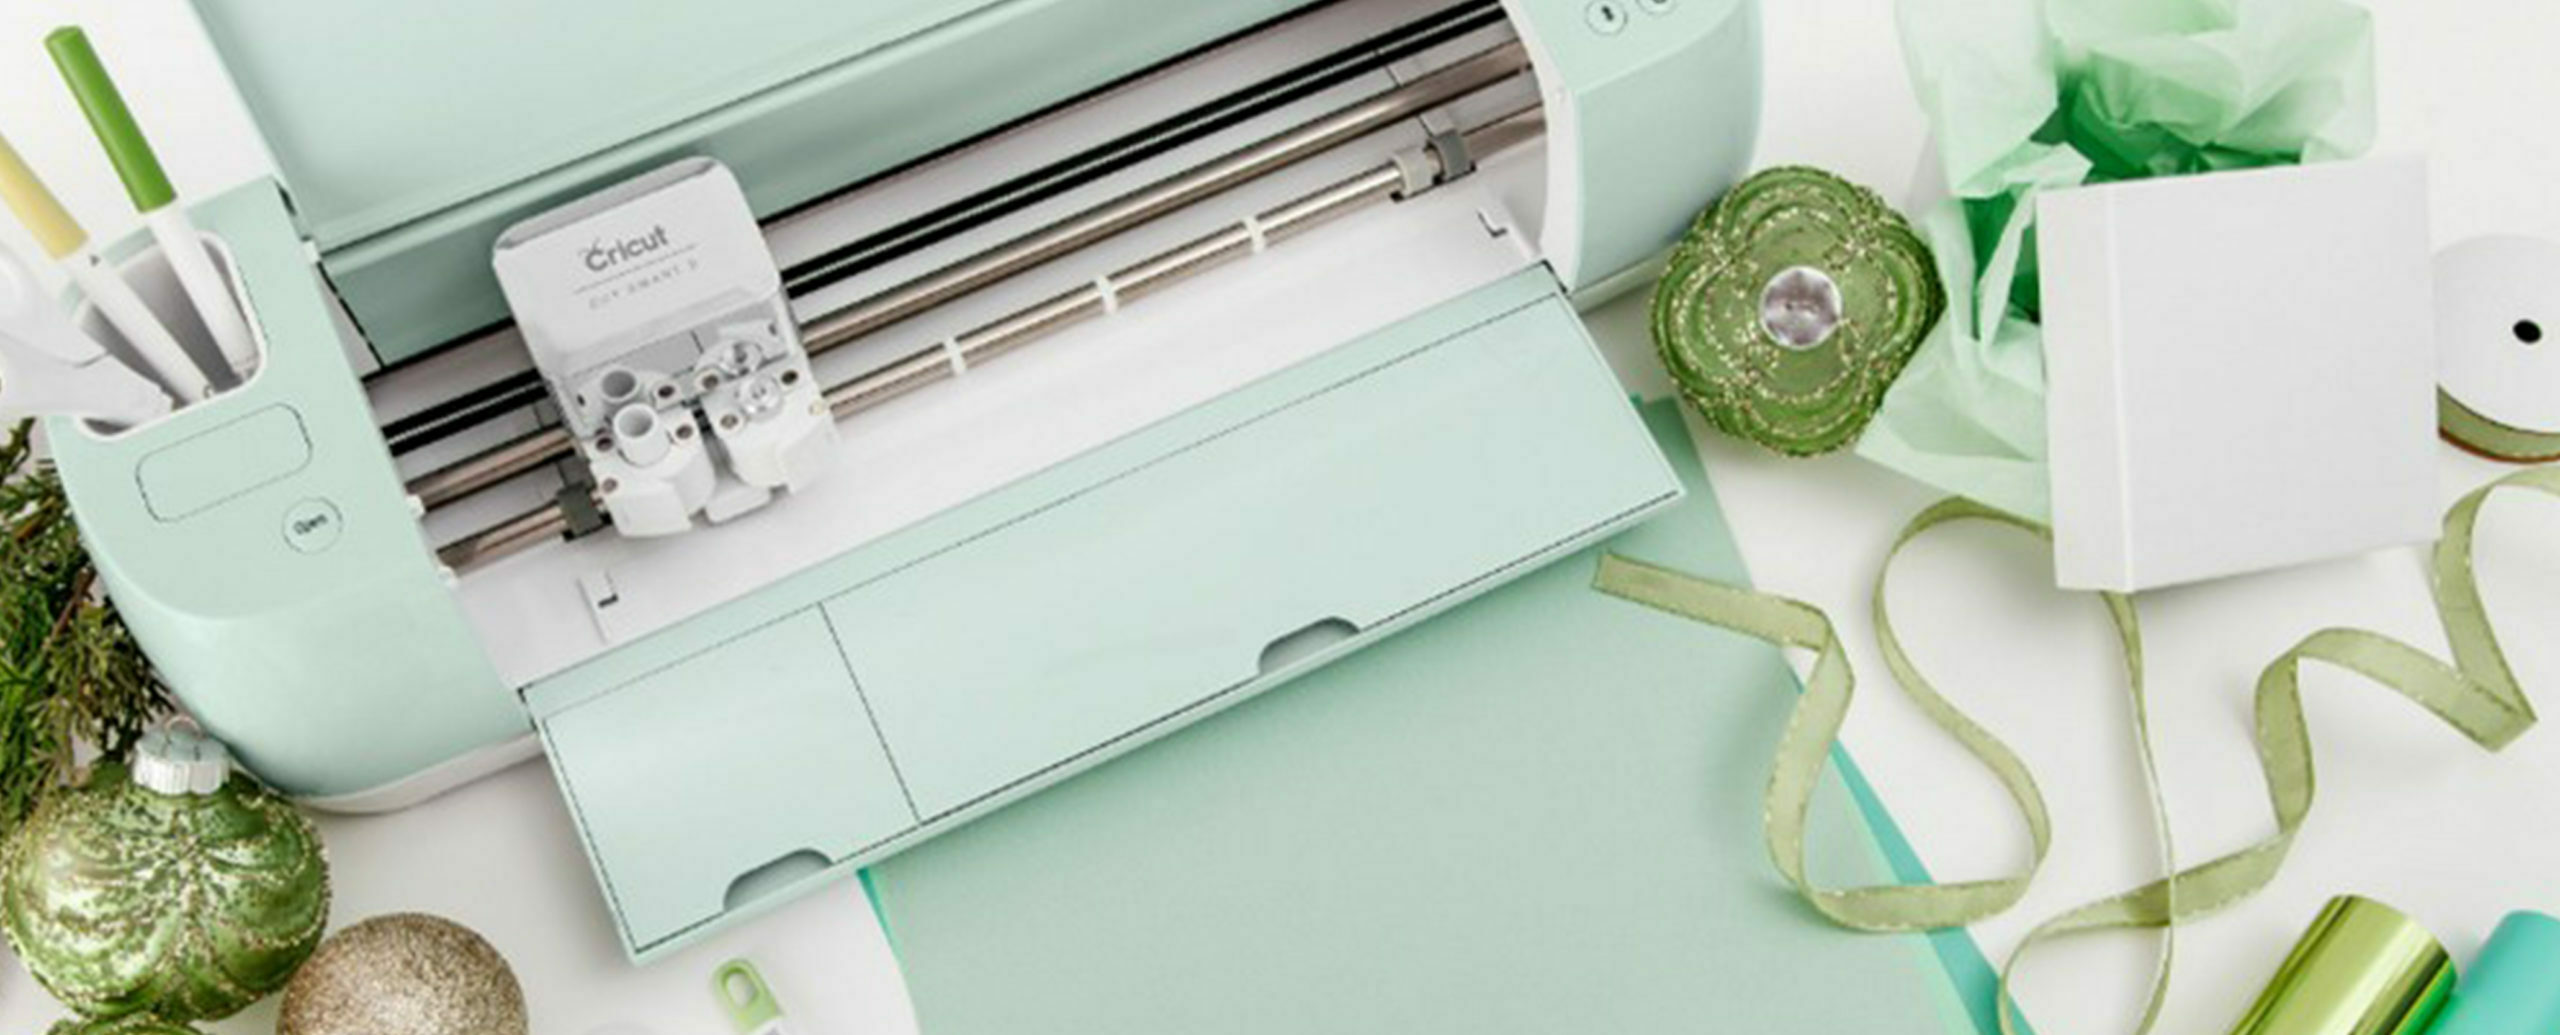
Cricut
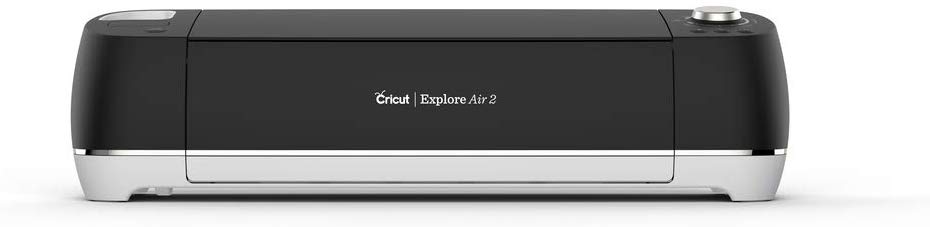
I actually got the Cricut Explore Air 2 so I could make custom stickers and holiday presents. I add vinyl designs to t-shirts, tea towels, etc. If you’re interested, I also highly recommend getting a heat press , which I also use for applying interfacing to fabric when I sew purses. Getting back on topic… I’ve found lots of use for my Cricut in my card making. To name a few: custom lettering, “die” cutting, cutting out masks, cutting out card templates, etc. A lot of times, I either can’t find a die to fit my need so I’ll just design one. Or I want to die cut a name or a word that doesn’t come sold as a die, so the Cricut is perfect for that. Also, there are some interactive or fun fold cards that require more than just the basic 4.25 x 5.5 panel, so I’ll use my cricut to cut those out. It’s so much easier/faster than buying a die because I can cut out all the pieces in one go and I can do it multiple times very easily.
I don’t know if I would necessarily get a Cricut for just card making — I certainly would not have thought to. However, I’m glad I already had one because I’m finding all sorts of use for it in my card making. It’s really an awesome tool and has really saved me a lot of money on buying dies. I do have to create my own designs and figure out all the measurements, which is a little work. However, once I’ve done that, I can easily load and cut it out whenever I want. I can also custom cut things like names to add to my cards, which you can’t buy a die for even if you wanted. Since I don’t sell my cards, they are mostly for personal use, the customization is really beneficial to me.
Laser Printer & Laminator

It took me a while to commit to buying a laser printer & laminator. I’m a business consultant by day and I work from home, so I already have a home office all-in-one inkjet printer that works great. It was hard to justify buying a second printer just for my craft hobby. And I have zero laminating needs, so it was REALLY hard to convince myself to make this purchase.
But when I decided to make my own wedding invitations that were gold foiled, I started exploring ways to add gold to a card. The laser printer / laminater combination was the last option I explored mainly because it involved two pieces of equipment I basically had no other use for. However, to achieve consistent foiling and also custom gold foiled lettering, there really isn’t a better option, so I bit the bullet.
I decided on the Brother printer because all the reviews from consumer and tech magazines rated it really highly. In some ways it outperforms more expensive printers. The fact that it’s monochrome works in favor foiling since you just need black toner. Also, since I already have an all-in-one color printer, I didn’t need the scanning and copying features. However, this particular printer went on super sale and was less than the model that didn’t have those functions, so I went ahead and bought this one.
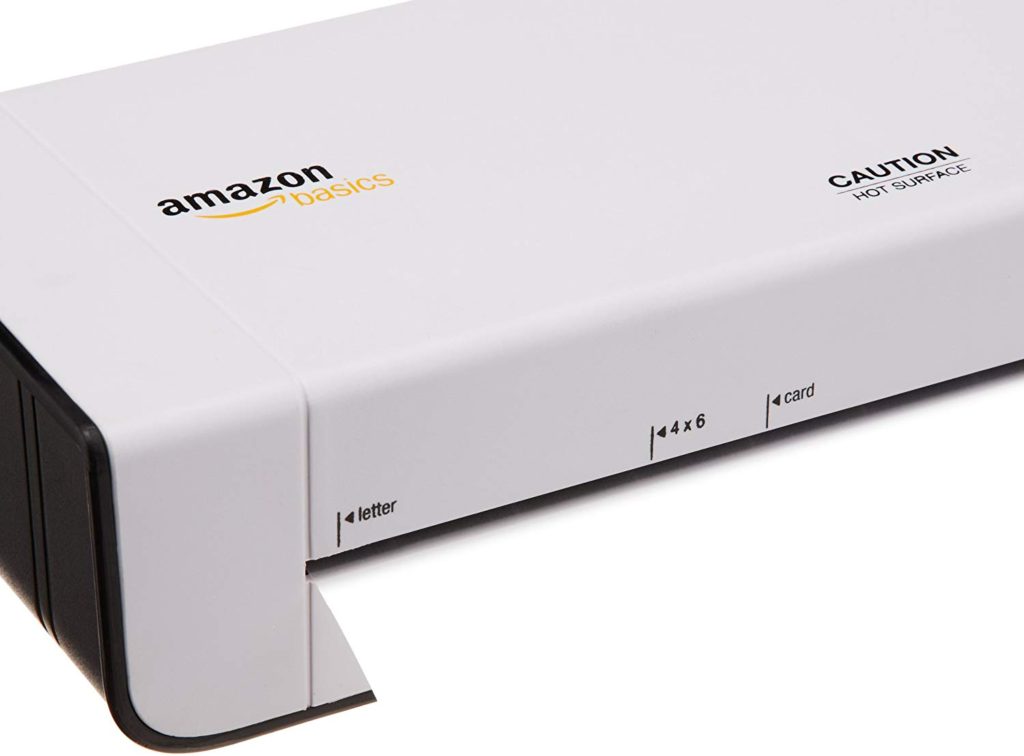
I decided on the AmazonBasics brand laminator because it was affordable. I’m pretty sure the more expensive ones created for the purpose of foiling (like the Minc) will likely be better and perhaps last longer if you’re doing higher volume, but for my very basic needs, I’m hoping the one I got will suffice.
I don’t regret it at all! Not only do I use it for foiling, but I sometimes get digital stamps, so I print those out as coloring pages or card panels. It’s getting used quite a bit more than I thought (plus I got it on sale), so I’m pretty pleased.