
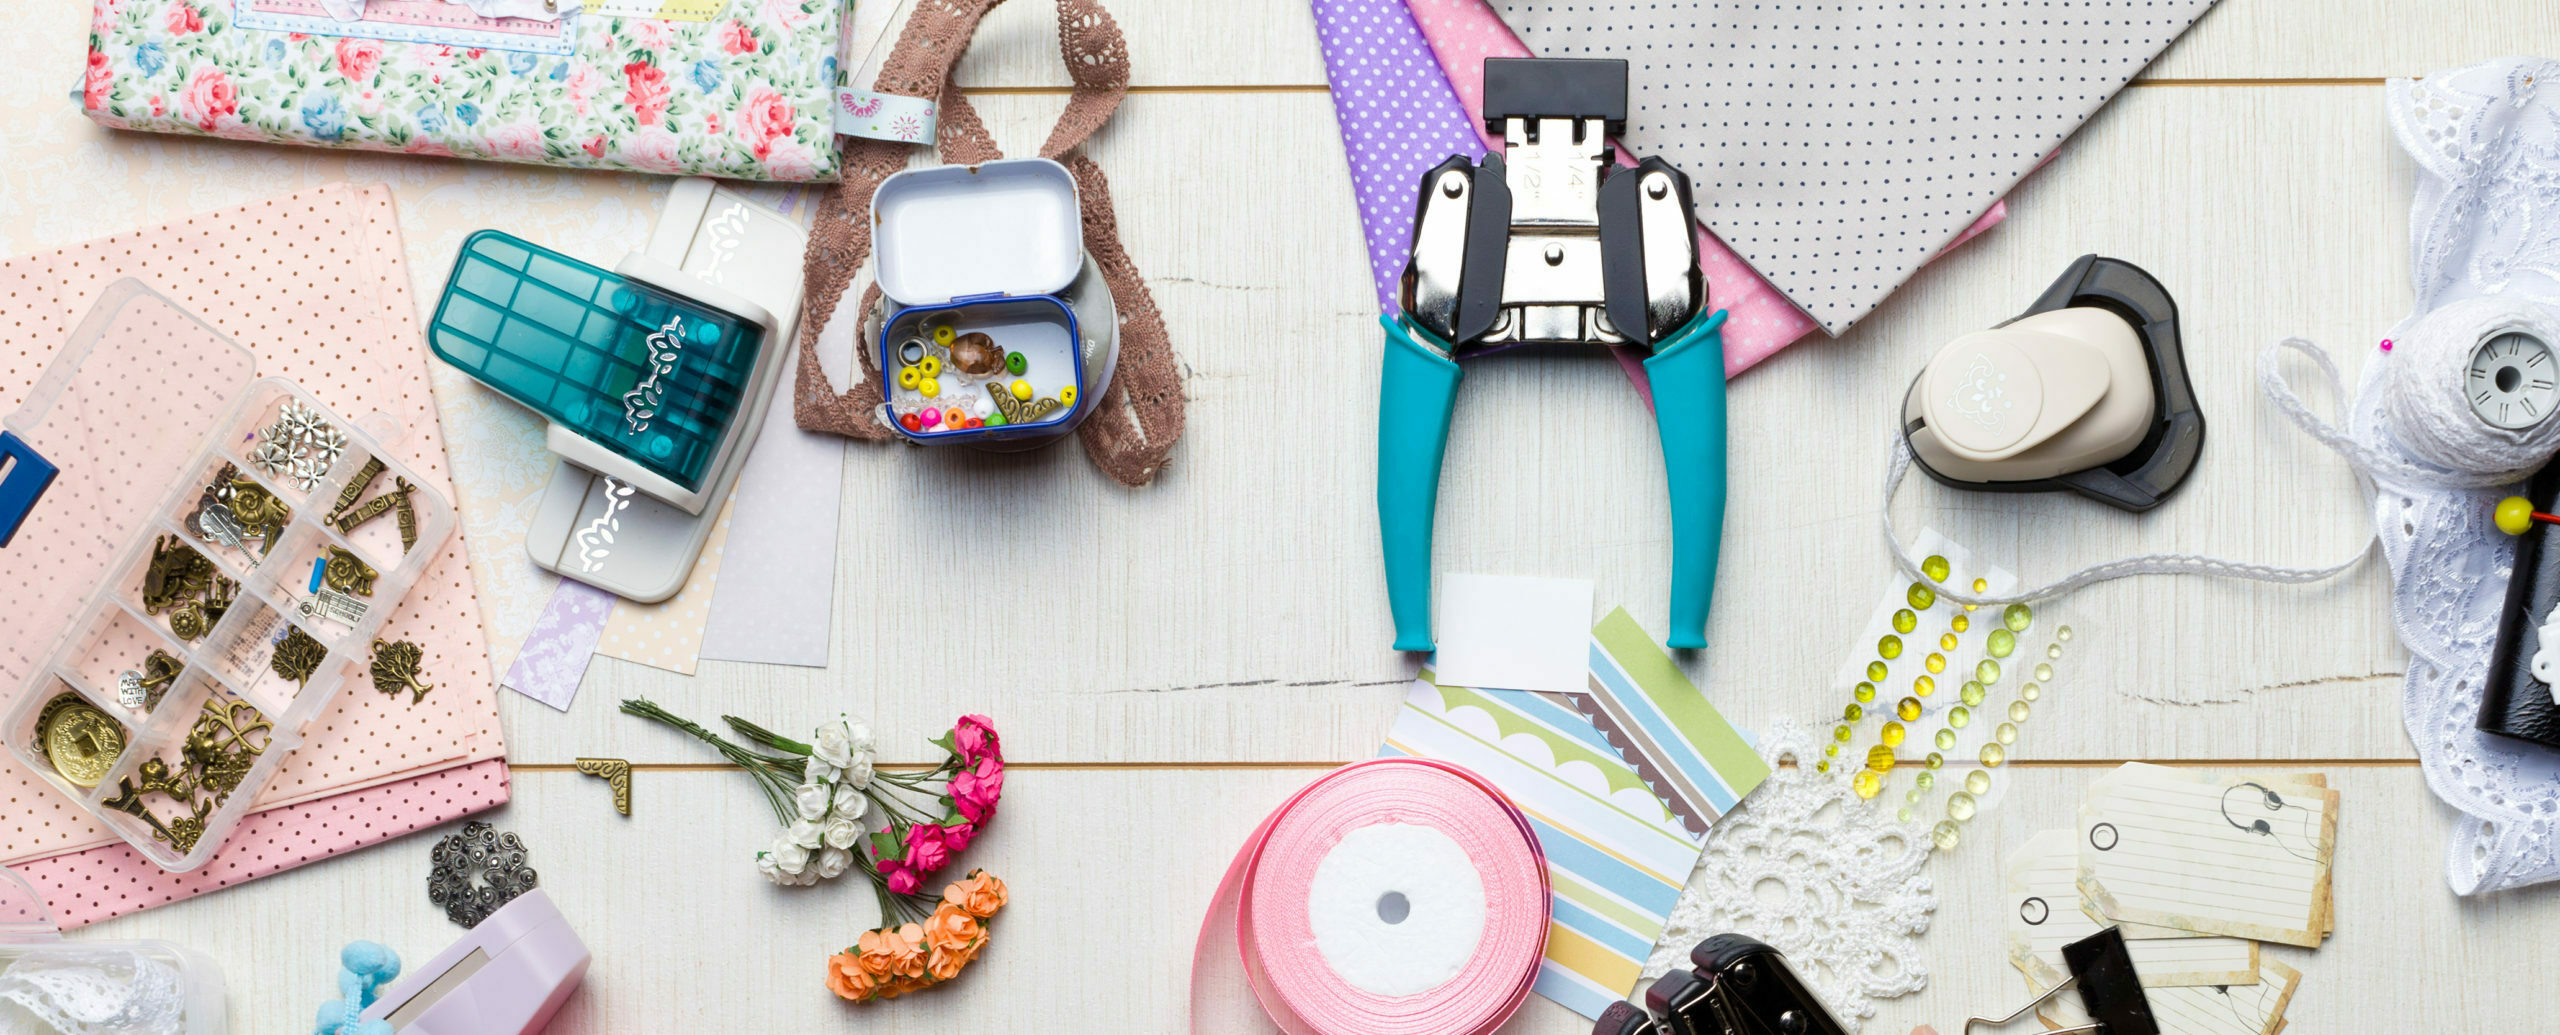
This list of supplies are what I’d consider “nice to have”. There are certainly other ways to achieve the same thing, but these items are time-savers, money-savers or just make your life easier. You may not use them all the time or on all your cards, but when you need them, they can be quite handy!
DISCLAIMER: This website contains affiliate links, which earn me a small commission at no additional cost to you if you purchase from my link. For more details, check out my Affiliate Disclosure.
Adhesives
In my Basic Supplies List, you’ll find the adhesives I use most often. However, I’ve found these other adhesives pretty darn useful. They either make things faster, easier or neater.
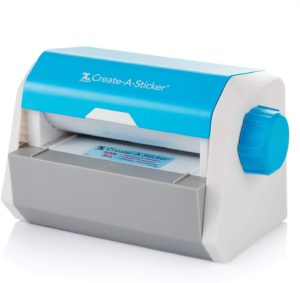
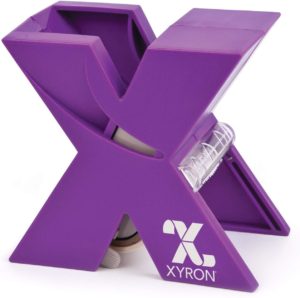
These Xyron products are really awesome! If you do any cutouts and in particular die cuts, these are very useful for adhering to your card. They apply edge-to-edge coverage of a dry adhesive to your cutout which essentially turns your cutout into a sticker. It’s a lot easier and neater than liquid glue — especially when you have thin cuts or lots of curvy edges.
Often, when I die cut images, I cut out an entire set or multiples. This way I can run multiple cutouts through the Xyron. Since there’s some waste with each start/stop, I try to load up as many as possible. Any extra cutouts I don’t use on my current card, I just store in my stash for future cards.
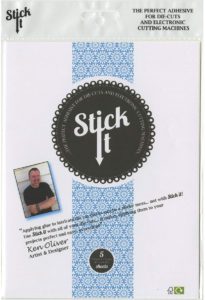
Double-sided Adhesive Sheets – these are another fantastic option for die cut images. You can attach to your cardstock before you run your paper through your die-cutting machine. Don’t peel off the paper liner though. Now you essentially have a large sticker sheet you can die cut. This is particularly useful for larger dies that have a lot of intricate detail. I’ve linked to two brands. The Stick-It brand is the one I see often used by other card makers, but I’ve used the first one without issue and it’s a bit more affordable. I like using these when I plan to do an inlay method. Not only is there zero waste of the adhesive sheet but it makes it super easy to adhere back in place (compared to liquid glue).
Adhesive-backed Foam – This is different from the foam adhesive in my Basic Supplies List — mainly because there’s just adhesive on one side. I’ve started using these as a great way to add dimension to my cards. You can also die cut them to give your die cuts dimension as well. I’m finding more and more that I like to apply an even layer of foam rather than just a few foam squares here and there. The reason is this creates a nice flat, even surface that won’t dent or bend and will hold up better through shipping.
Cutting Tools
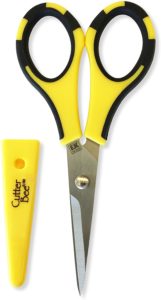
Even with a paper trimmer, you still may need scissors for cutouts. Small detail, fine-tip scissors are great for fussy cutting small stamped images. I’ve heard the Cutter Bees are fantastic. Right now I’m using the Fiscars Micro-Tip scissors, but when these go dull, I’ll be giving the Cutter Bees a shot.
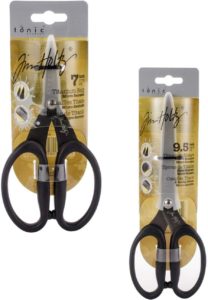
There’s also the Tim Holtz scissors set — a regular size and fine detail scissors are included. I haven’t tried these yet, but when my current scissors go dull, these will the next ones I try.
I like both scissors I have and they are from notable, reliable brands. I’ve used them a while and they don’t show signs of dulling, so it may be a while before I need to replace them. However, if you don’t already own good scissors, it may be worth using what many others in the papercrafting community are raving about.
A good steel ruler and craft knife are great for when you need to cut a straight edge or cut slits in your cards for interactive elements. Be sure to use a cutting mat so you don’t ruin your work table surface. To be honest, while I happen to have an X-acto knife, I actually use a box cutter from the hardware store. I also do leather crafting and I use it to cut my leather, so I feel pretty comfortable with one. Whatever you use, be sure to change out the blade often. If you find yourself having to apply pressure in order to cut, go ahead and change the blade. These blades are sharp and should easily cut through paper without much force. They become dangerous when you have to apply force to cut.
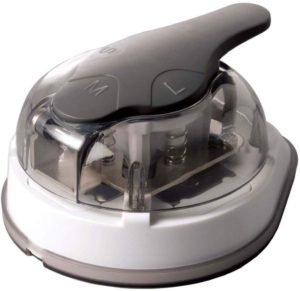
I also really like the rounded corner punch tool I have. It lets me cut 3 sizes of rounded corners. Not only do I use it for the custom-made envelopes I make but I also punch rounded corners on my card panels to soften the edges a little.
If you own a die-cutting / embossing machine like the Cuttlebug or BigShot , these the small cutting plates are great for doing partial die-cuts. You don’t need them to achieve partial die cuts, but I find it easier than lining up my paper and die “just right”. Also sometimes, the way my dies are positioned, I can’t always run my paper & die through my machine due to the angle the paper needs to be at. These smaller plates solve that problem neatly. Again, it’s not something I use often, but when I use partial die-cut techniques having these really save on frustration.
Scoring Tools
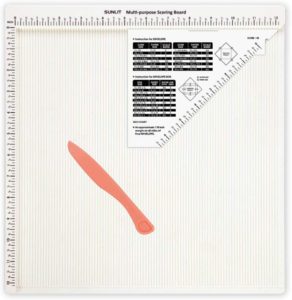
Even though I bought the scoring blade attachment for my paper trimmer, I did eventually buy this scoring board. I chose this particular one for several reasons:
- It’s more affordable than the Scor-Pal version.
- It comes with a handy jig for creating your own envelopes and gift boxes, which the Scor-Pal does not.
- It’s from a brand I was familiar with (I have the stamp positioning tool they make.)
I often use my scoreboard when I need to make multiple scores on the same piece of cardstock for a creative fold or pop-up card.
Even though my scoring board comes with a bone folder, I still bought a separate teflon bone folder. The teflon is the key to scoring without leaving a shiny finish. It also has multiple edges and points so you can create deeper or wider scores. This isn’t a must-have, but it really does help you create a crisp fold.
Erasing Tools

These aren’t your everyday pink school erasers. You can certainly get by without them, but boy when you need it, they do come in handy!
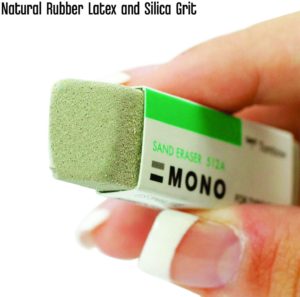
First off, the Tombow erasers. The sand eraser is useful for light ink smudges. It’s abrasive and will essentially sand off a layer of your cardstock. You can use this to erase a fully inked impression, but if you have a slight smudge here and there, it can often lift those. The white eraser offered by Tombow is great for pencil marks. You actually don’t want to use a school-grade pink eraser, as those can leave smudges and eraser residue on your paper.
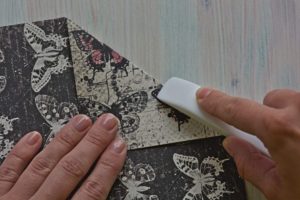
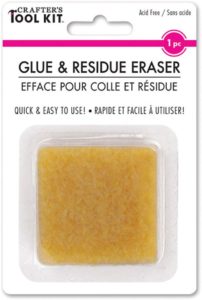
The gum eraser is fantastic for removing glue residue. If you have some extra adhesive that’s showing, you can use this eraser to rub it off. Granted, you could just use your finger to rub it off too, but the rubbery eraser makes quicker work of the job.
Speaking of quicker work, the electric sand eraser has come in handy a time or two. Similar to the Tombow sand eraser, this is battery operated so it makes very quick work of lifting slight smudges that can really save a card from being scrapped.
Storage & Organization
The photo storage box I use is amazing. it’s big enough to hold 4×6 photos and it comes with 16 individual cases, which can all be stored in one large case. The small cases are perfect for card panels that are a work in progress, scraps, cutouts or inked backgrounds. I save even small strips of cardstock (which I use for sentiment strips). Sometimes I just pull out this box and try to clear out my stash of pre-cuts, off-cuts, etc.
The desktop storage boxes are a great way to keep the tools I use often neat and tidy on my work surface. I’m toying with the idea of putting a little double-stick tape or foam adhesive on the bottom so they don’t slide around.
Stackable Storage Boxes like ones I have are great for tucking away a variety of items. I particularly like the tiered one that clips together. I use it to store “sets” of crafting items. For example, I do paper quilling, so I use the stackable ones that lock together to store tools, paper strips, etc. I can still keep the tools & materials separate but when I sit down to do some paper quilling, I can easily carry the entire stack of containers. I’ll probably get more of these but in a larger size.
The deep art bins are also fantastic! I like the adjustable compartments and it’s all in a convenient carrying case.
Finally, the large rolling cart with removable storage cases is the latest addition to my craft storage solution. I don’t want to put money into large furniture pieces, nor do I have a nicely outfitted craft room. So while these plastic carts aren’t nice to look at, they fit the bill for my needs. While I do have a room I can craft in, I also craft in my living room or kitchen, so having removable storage bins is really nice. Also, these bins are large enough to hold 12×12 papers, so they will make great storage for those!
DIY Shimmer Sprays & Ink
If you don’t want to spend a lot of money on shimmer sprays and misters that add a sparkly sheen to your card, you can make your own!
I buy mica in a multitude of colors. I always get the cosmetic grade variety that’s also safe on your skin because I am also into soap making.
You can easily create your own shimmer spray by adding mica, water and gum arabic. The gum arabic acts as a binder to keep the mica on the paper and not just rub off. (By the way, gum arabic can also be used in cooking as a thickener.)
A little goes a LONG way, so it’ll be a while before you need to replenish your supplies.
I also keep a bottle of glycerin handy. Here are just a few things you can do with glycerin:
- Revive your VersaMark ink pad.
- Make your own pigment ink by mixing gouache paint, glycerin and alcohol.
- Make water-based media glide more smoothly. Glycerin makes water “wetter” so a small bit of glycerin can make your watercolor markers, paint and even water-based inks go on the page more smoothly.
- Stamp cleaner – a little glycerin, soap and water can get dried ink off of your stamps.