
If you’re ready to take your handmade cards to the next level, the following list of supplies are centered around finishing touches. These small details help refine and polish any card. I like to recommend this as the next set of supplies to get because it’s not a lot of money, but it really does improve your cards. These can be used on the most simple to the most complex cards and literally make your cards shine.
DISCLAIMER: This website contains affiliate links, which earn me a small commission at no additional cost to you if you purchase from my link. For more details, check out my Affiliate Disclosure.
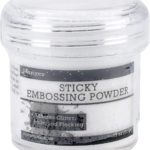
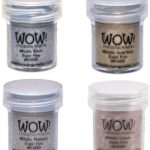
Embossing Powder

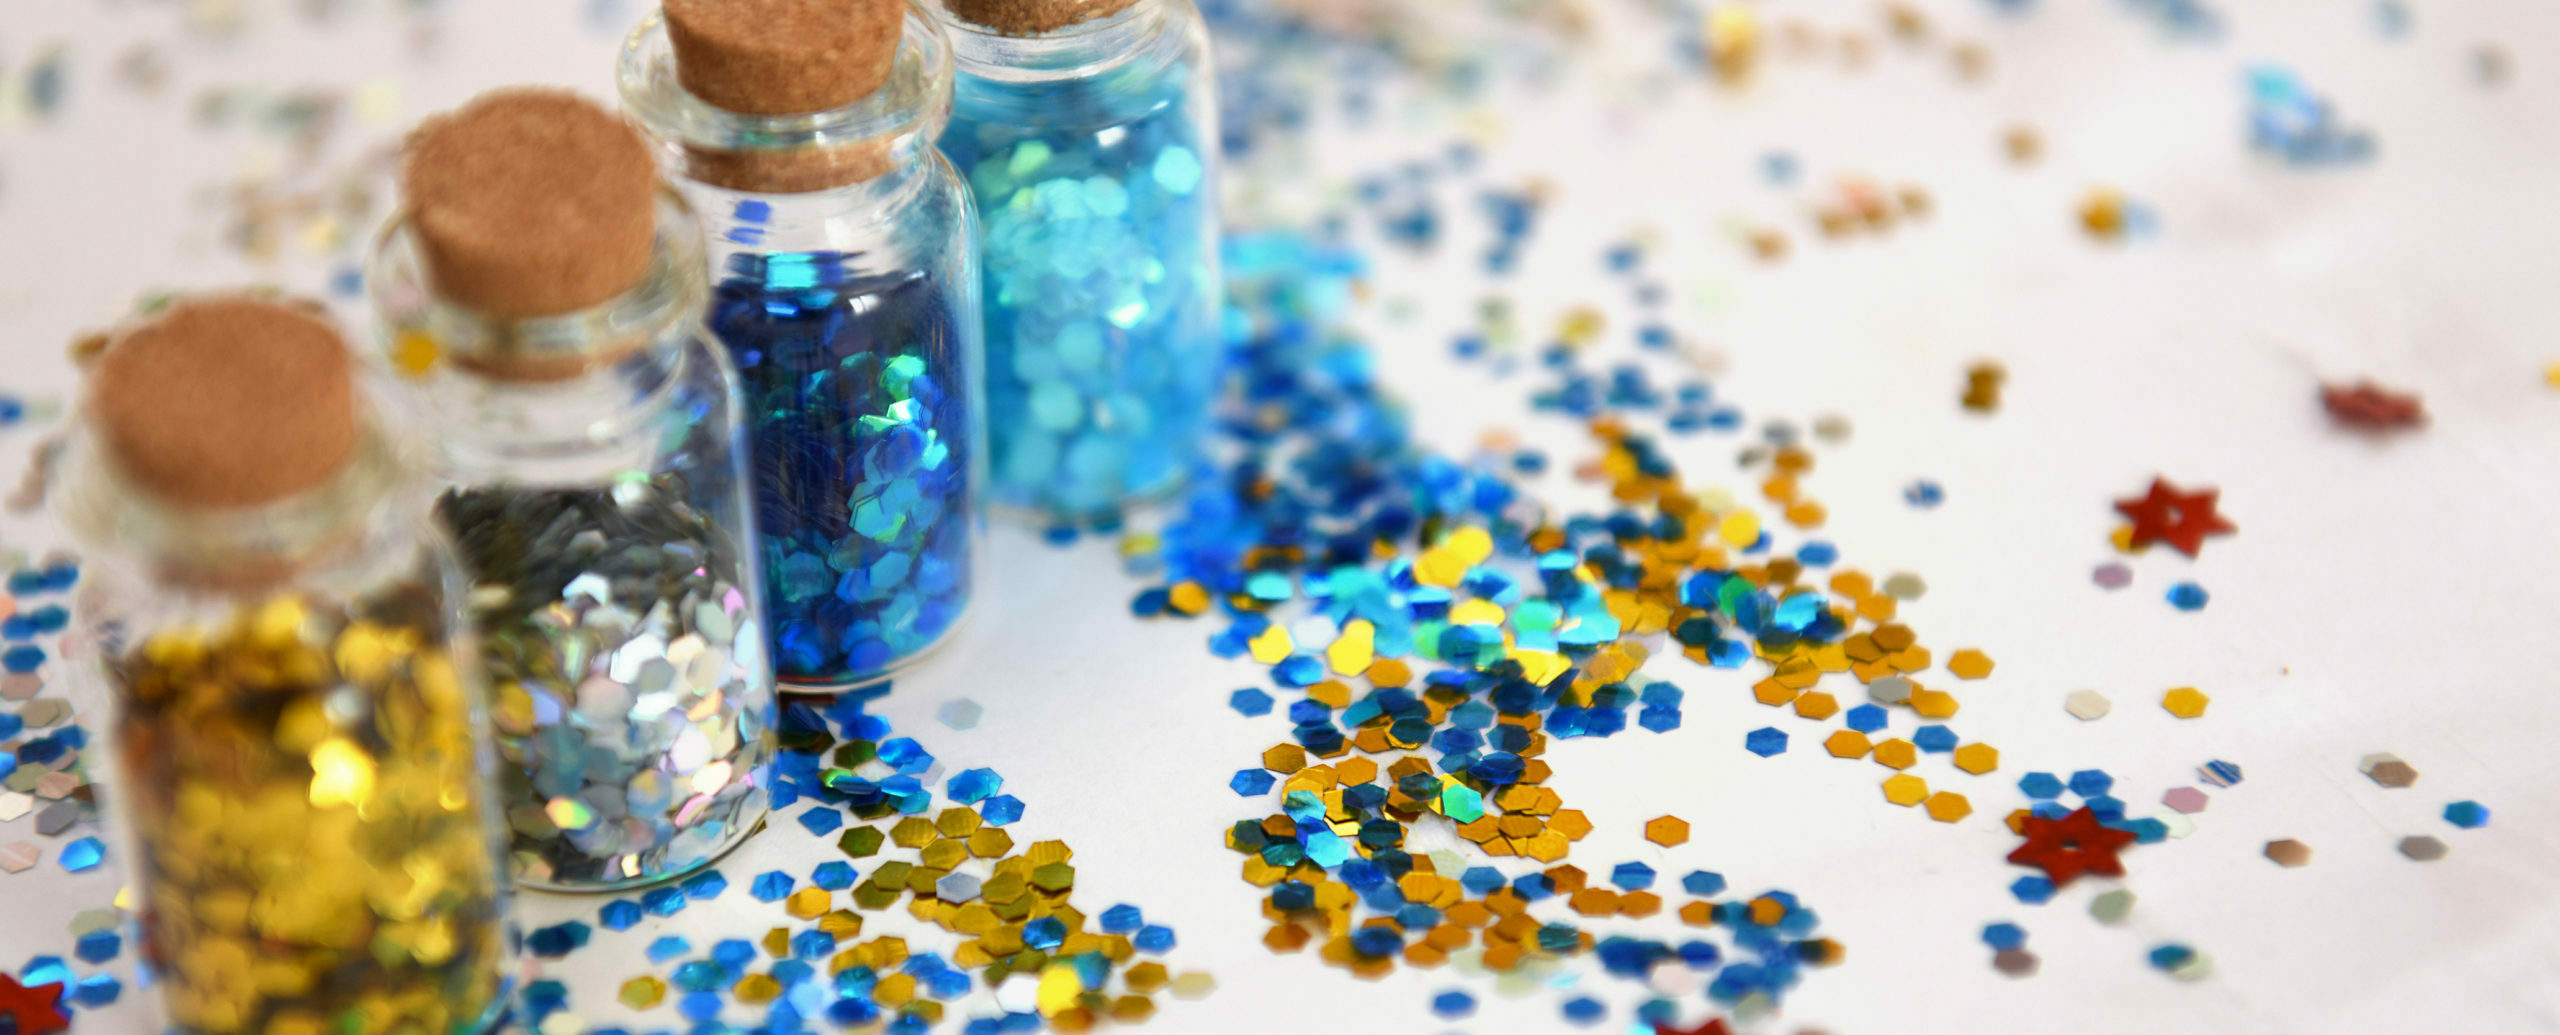
Embossing powders come in a variety of colors and textures. They add subtle dimension and shine to your card.
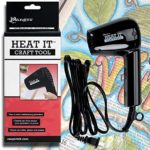
Embossing powders are essential tiny particles of plastic. You use a “wet” ink to stamp an image or sentiment and then just pour some embossing powder over it. The powder sticks to just your inked impression. When you run a heat gun over it, the powder melts to form a slightly raised impression. One little pot lasts a LONG time, so you get a lot of bang for you buck on this one.
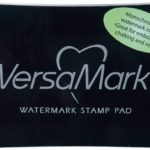
I use VersaMark ink most of the time to make the stamped impression. This is a clear sticky ink perfect for embossing. You could also use it alone to give a slightly darkened color of the cardstock behind it. You can also use pigment inks (like VersaFine) since they stay on top of the paper and remain wet longer than a dye ink (which is absorbed into the paper).
Some powders I keep on hand at all times are:
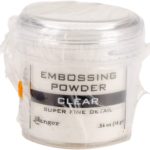
- Clear – this is great because it makes your stamped impression raised and glossy. It’s perfect for using over pigment inks and I’ll often use it over a VersaFine-stamped sentiment to make that stand out a little.
- White – this comes in handy when you want to stamp on a dark cardstock (e.g. a white sentiment on a black strip). Often, white stamps aren’t a clean, opaque white, but white embossing powder is perfectly crisp and clear.
- Gold & Silver – Metallic embossing powders come in a variety of colors but I keep gold & silver in stock since they go with a lot of styles/designs so easily. Instead of foiling, metallic embossing powders are a great way to add that extra sparkle.
- Sticky – I’ve started to use sticky embossing powder. This is a great way to add metallic foil to your stamped impression. It’s easier than using a two-way glue like Tombow’s multi-purpose liquid glue. Some people use regular embossing powder and then run it through a laminator, but with the sticky embossing powder, you just need to rub the foil over it — no laminator needed! It’s easier to stamp an impression than the liquid glue and I find glue still leaves a tacky residue that I have to brush baby powder over to remove.
There are so many more embossing powders to play with — from a variety of colors to specialty finishes like glow in the dark or textured finishes like glitter, sand and snow.
One thing to note – when you are shopping for embossing powders, you’ll see some listed as “super fine detail” versus “regular”. This is a distinction in the size of the plastic particles. The smaller the particles, the better able the powder is to capture fine line details in your stamp.
Often, an embossing powder tool can be helpful to remove moisture and static on the card before you make your stamped impression. This helps ensure the embossing powder only stick to where you stamp. I’ve linked to one but I just put some baby powder in a portion cup and use a cheap paint brush to brush on some baby powder.
Pens, Drops, etc.
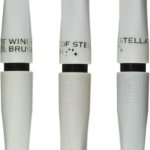
Wink of Stella – These brush pens are probably my go to for just a touch of glitter. I have the set of three – clear, gold and silver and I use all three quite often. They aren’t meant to cover large panels but rather to just give some shimmer and shine to your card. If you only get one, I recommend getting clear because it can go over anything and just gives it a nice sparkly finish. It’s probably the one I use the most.
Gel Pens – gel pens glide over your finished card easily. They come in metallics, but the one I use most often is white. I generally use them to add highlights to colored images.
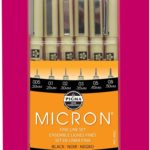
Micron Pens – a nice set of micron pens are fantastic for cleaning up edges of your coloring. In case there’s a little feathering or imperfect impression, instead of trying to re-stamp, using a nice black pen can clean that up neatly. There’s a set with different size pens and one that even includes a brush pen.
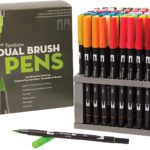
Brush Pens – Speaking of brush pens, if you do any calligraphy or want to try, Tombow brush pens are fantastic! I have a set of 3 that has a variety, but I’ve found the hard brush pen best for learning. I’m no expert, so the softer brush feels harder to control because you need a lighter hand to get the thin lines. They come in a rainbow of colors. It can be tough to find a stamp that has just the right sentiment, so doing your own brush lettering is an awesome way to finish a card.
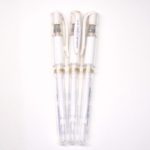
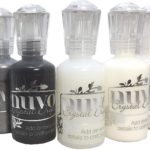
Glazes & Drops – There are glazes that give your projects a nice shine and can cover a broader area. Drops are often used to make almost pearl-like accents. They have a nice shine and when applied over an inked surface can almost look like stained glass. Personally, I use Diamond Glaze but Glossy Accents and Nuvo Drops are other great options I’ve heard a lot about (but haven’t personally used yet).
Embellishments
I can’t resist a little bling. I know it’s not for everyone, but I love adding a little sequins, rhinestones/gems or pearls to a card. The little sparkle and shine really liven up a card.
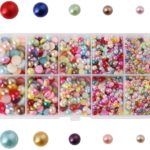
Pearls might be my favorite because they are shiny but offer a more refined, soft look. NuvoDrops seems really cool because you can make them any size you want and it’s easier to work with in some ways, but I’m used to using these pearls. They are a nice dome shape with pearlescent finish. Best of all, they come in a variety of colors and five sizes (3-8mm).
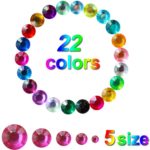
Rhinestones/Gems are so sparkly and pretty! I just picked these up on Amazon and I’m liking them so far. I mainly got it because of the variety of both color and size. There are 22 colors in 5 sizes each (2-6mm). They do have a sticker backing, but I use that more for initial placement because I like to move things around, hold it up, see how it looks, etc. You’ll still want to use liquid glue to give it a strong hold.
Sequins are another fav of mine. I actually am still working through my stash from the Dollar Tree. They sell them in 3 color ways — gold, pink & purple, and blue. Each pack contains five different shades that coordinate. I think it’s fantastic – especially for the price. It’s too bad there isn’t a larger variety of colors, but for my needs, it’s great. I did buy a set of smaller sequins but I’m not a huge fan of it because it’s so small, so I won’t link to it. I basically just use it for shaker fill.
Custom Lettering
If you want to add a personal touch to your cards, these tools let you add names or even write your own sentiment on your card. For me, I love to add names to cards. I’m no writer, but I do love quoting from TV shows and movies. Also, I love using inside jokes too. Since I don’t sell my cards, I feel like the main benefit of handmade cards is to truly customize it, and these different ways of custom lettering help me achieve that.

Word Punch – If your handwriting isn’t the neatest, this word punch is awesome. You can’t always find a sentiment stamp that matches your needs. Perhaps you speak a different language or you want to add a name to your card to really personalize it. With this tool you can easily punch out letters and words. You not only have a strip with the negative image of the letters cut out but you also have the positive cut-out of the letters, which you can assemble on a second strip! There’s a numbers & symbols set you can buy separately.
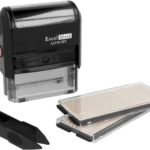
Custom Self-Inking Stamp – Technically, this is used for addresses, but I like using it to create custom sentiments. You get a lot of letters, so you can assemble full phrases. The letters are about 1/8″ tall, which isn’t very tall but I’ve found it useful for adding supplemental text (e.g. interactive card instructions) here and there to finish up a card.
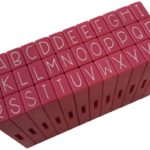
Pegz Letter Stamping Sets – This is another fantastic tool. I have both the Pink & Main set and another one that’s no longer available on Amazon. There are different brands out there with different font sets. The ones I’ve linked to are a fun, curvy font, which I might get next. The lettering is about 1/4″ tall. You get some repeated letters, but not a ton. It’s definitely enough to stamp a short sentiment. What’s great about these is the stamps can lock into each other. This way, when you form your word, you can be certain they line up. You can attach them to stamp the word either vertically or horizontally.
These options for creating custom lettering sentiments are awesome. I wish I’d purchased them when I first started so I could save myself some money buying sentiment stamps. Yes, it’s more work to do custom lettering, but it’s so worth it!
The downside to these stamps is you can’t use them in your stamp positioning tool (like the Misti or Bira Craft). So getting that perfect impression can be tough. The Pegz stamps will work on a Stamapajig or similar tool, which is what I do!
The above supplies aren’t strictly necessary. However, when I approach a new craft, I try to get the most out of what I already have. This set of supplies is a great way to extend your Basic Supply stash. These finishing supplies will always be useful on all your cards. If you’ve already invested in stamps, you can get more out of them by embossing the stamped image or adding some shine and glitter to the finished, colored image.
In my next post, I’ll cover the next big leap in card-making supplies — big ticket items! Also, check out my post on “Nice to Have” supplies. These tools and/or materials may not be used often, but they can make your life easier.