I fell in love with making mini albums using the Spellbinders card kits after the mini-album I made using the “Love the Moment” kit. I kept thinking of different page layouts I could create using the card bases provided in the kit and I just had to make another album. Since the Merry Everything kit is a mega kit with a LOT more than the standard monthly card kit, I thought it would be the perfect kit to make another album.
My goal was to use up this entire kit, and after this mini-album and 41 cards, I came pretty close!

Showcase
I didn’t shoot a tutorial video this time because I spontaneously decided to create this one day. However, I’ve written some instructions below. If you’re want to see a video tutorial, just leave a comment on this post.
Mini-Album Page Construction
All the page layouts in this mini-album are different from the ones in the first mini-album I made. Now I have even more variety to choose from for my next mini-album from a card kit, which I am certain I will make.
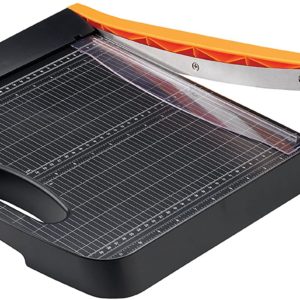
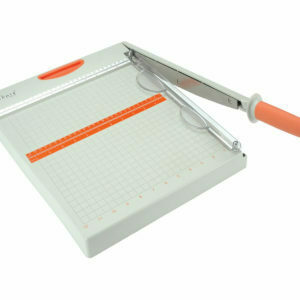
I used 4 card bases and converted them to top-loading pocket page signatures in the same way I did before. Then I took additional card bases to create the following:
- 1 card base
- 1 card base
- 2 card bases
- 1 card base
Shaker Photo Frame
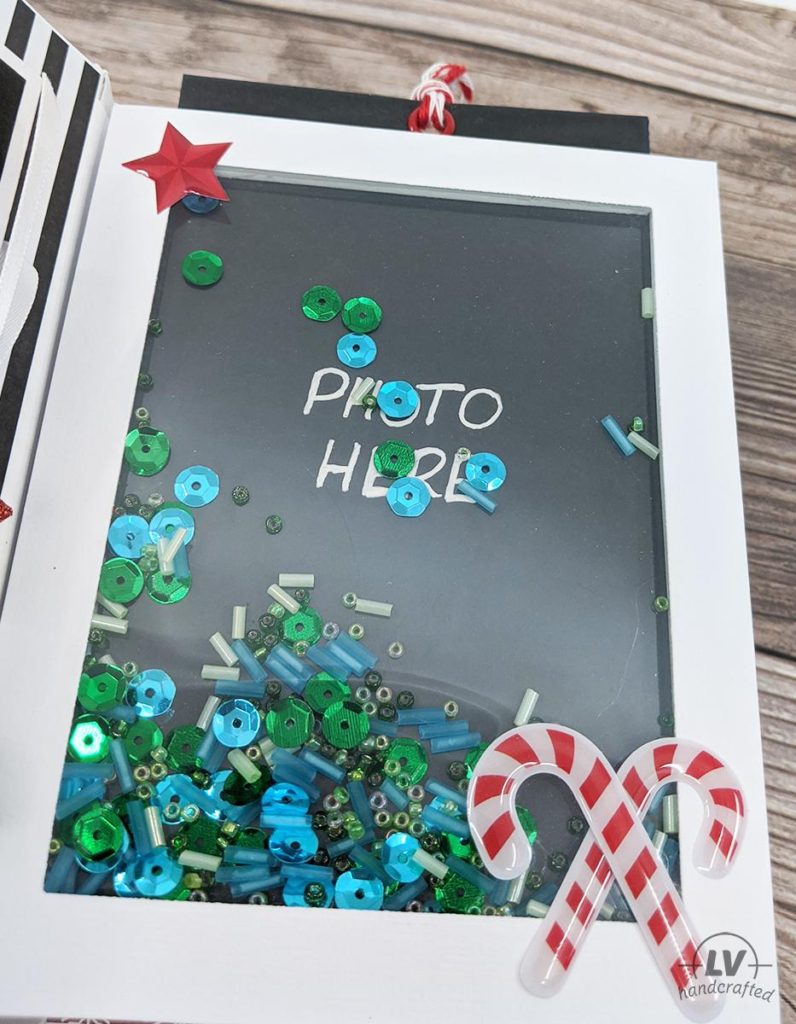
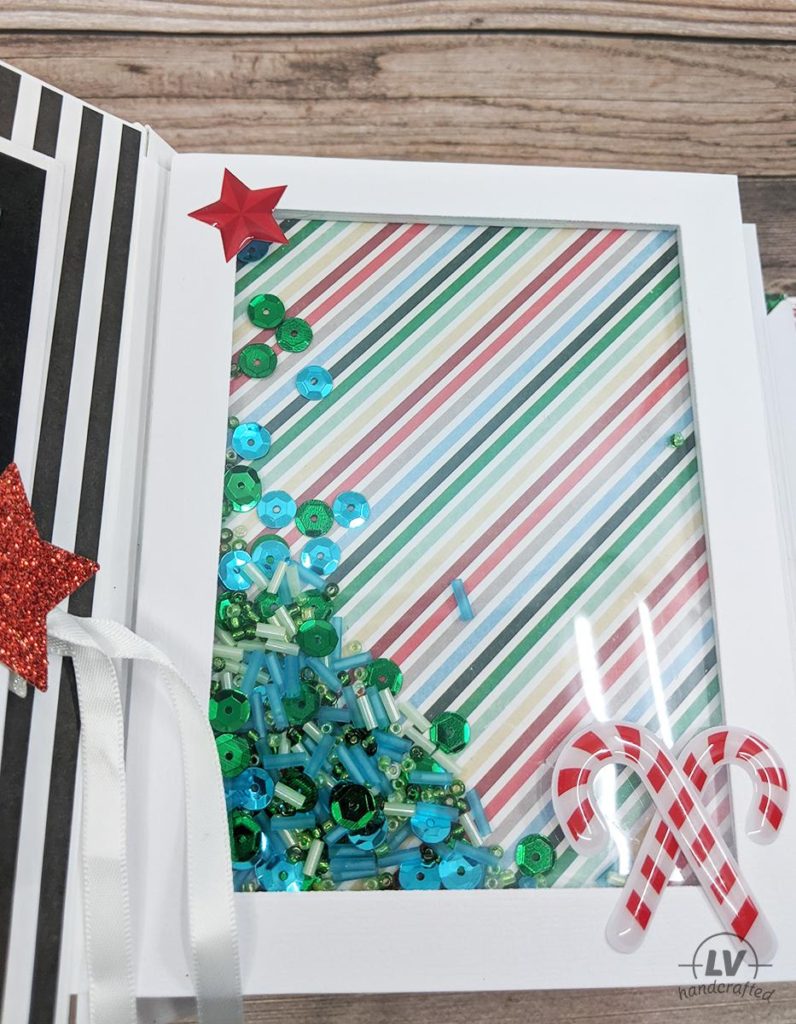
If you’ve ever made a shaker card, this will be pretty much the same thing with just a couple differences.
- Cut a cardbase in half along the score/fold line. One piece will be used to make this shaker photo frame. The other piece will be for the slanted open pockets.
- Using a die or craft knife cut a rectangle from the center of the panel leaving a border (I left a 1/2″ border all around.) Save that center portion. That cut out is used for the Flip Out mini card on the inside cover.
- Cut 2 pieces of acetate. They should be about the size of the card panel – 4.25″ x 5.5″.
- Attach one piece of acetate to the back of your border frame.
- Put foam adhesive tape around the entire border (on top of the acetate). Make sure to enclose the entire window frame to ensure the shaker bits don’t slip out. For flat shaker bits, one layer of foam is sufficient. But if you use more dimensional bits (e.g. seed beads), you may need to stack your adhesive tape for double-thickness and then adhere that to the frame.
- Fill the inside frame with shaker bits.
- Peel off the paper liner of your foam adhesive tape and attach the second piece of acetate.
- You should now have a completely enclosed shaker panel that’s see through.
- Put double-sided adhesive tape along the two sides and the bottom. Leave the top open so a photo can be slipped behind it.
- Attach to your page base.
TIPS
Because of the dimension from the foam, it can be hard to turn over the page. To account for that, you can try the following:
- Trim your window frame by 1/8″ along the edge that will be closest to the spine. Attach the frame flush to the outside edge of the page so there’s more space along the hinge edge.
- Make a shaped photo frame that sits in the center of the page instead of being the full page.
Flip Out Mini Card
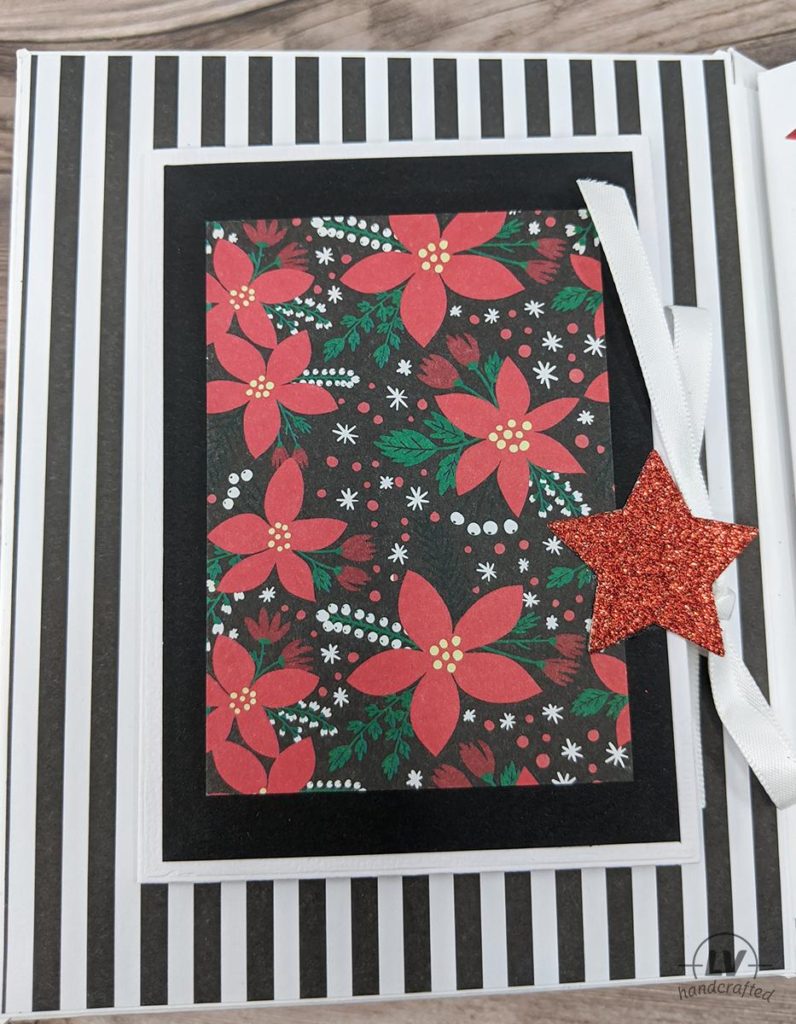
This little mini card uses the inside portion of the Shaker Photo Frame that was cut out. I scored a 1/2″ tab along the long edge.
Adhere your mini card to the page base along the 1/2″ tab. It can go anywhere you like.
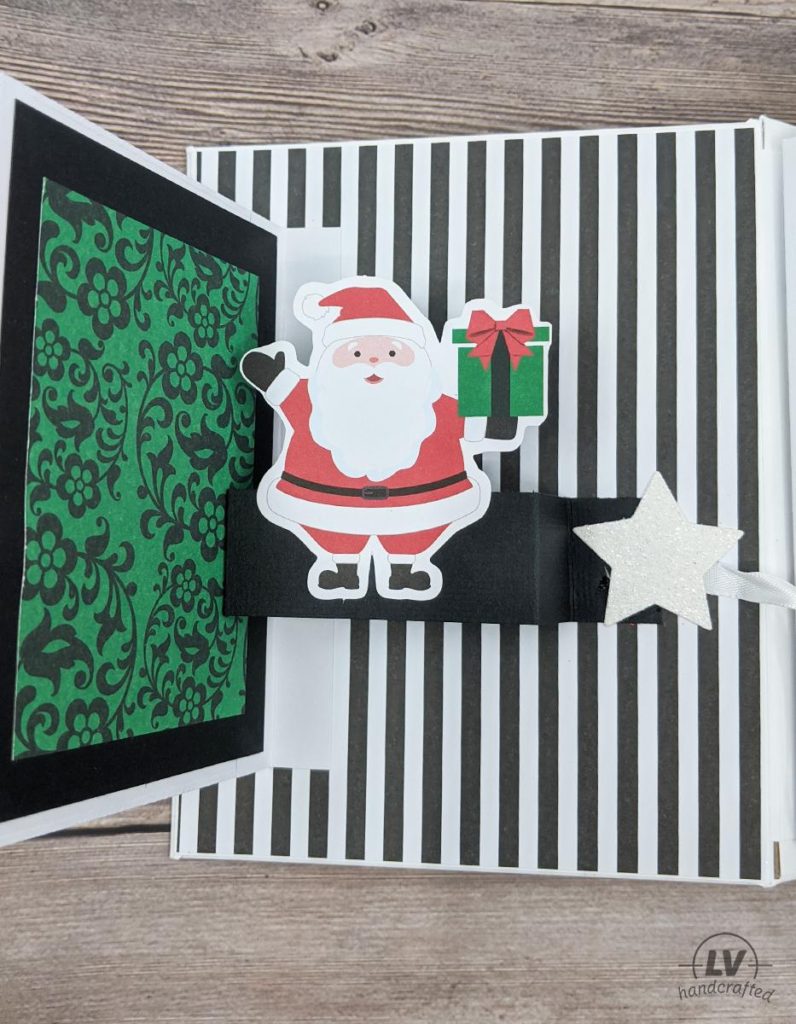
You should have a 1″ x 4.25″ strip from the Staggered Z-Fold cut. I scored at 0.5″, 2.5″, and 3″. Fold along all the score lines. For the last 1″ tab, you can either fold it in so it’s hidden under the band or fold it out like I did. Because I didn’t want my ribbon closure to be floating on the page, I folded it outwards.
Adhere the 1/2″ tab of the pop-up strip to the back side of the mini card.
Fold the pop-up strip against your mini card. Be sure your 1″ tab on the end has the side that needs to attach to the page base facing up. The strip should not extend past the mini card flap.
Put some adhesive tape just on the 1″ tab and close the mini card down against the page base to adhere it to the album.
Now that you have your pop-up band installed, you can put anything on it. Just make sure your die cut is not visible when the mini-card flap is closed.
Finally, you’ll want a closure of some type. I chose a ribbon closure instead of magnets this time. I attached the ribbon to my die cut with a strong glue (I used Beacon 3-in-1.) and adhered it to the page base. Lastly, I attached another die cut & ribbon to the front of the mini card.
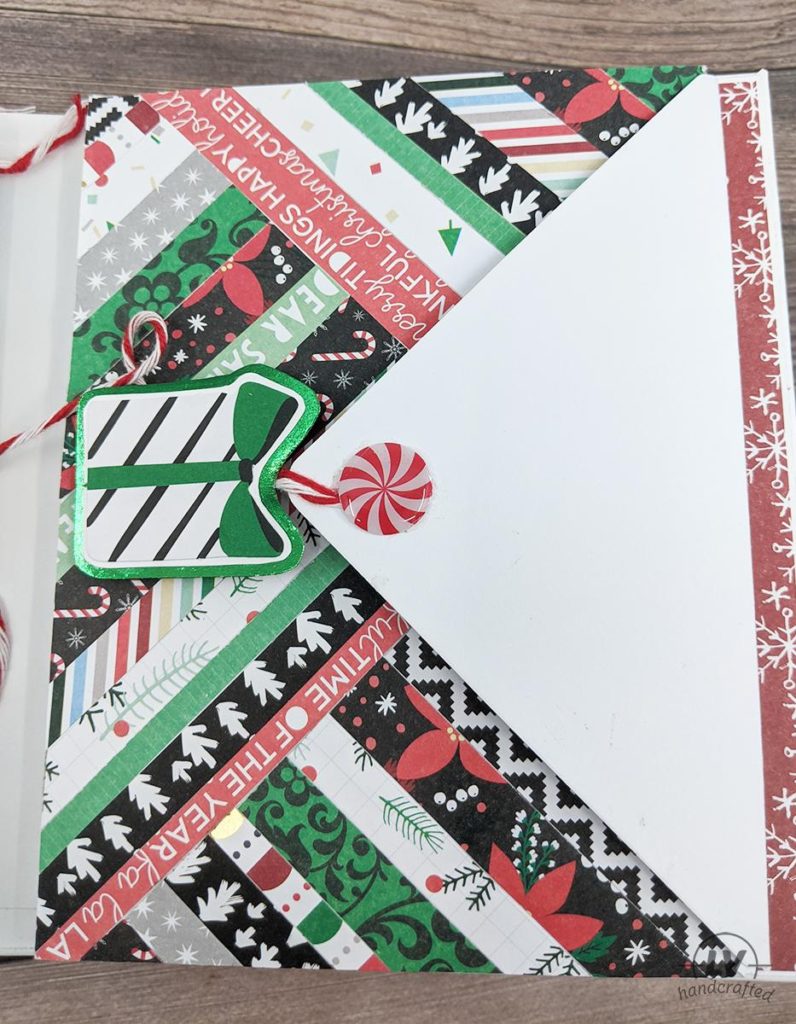
Slanted Open Pockets
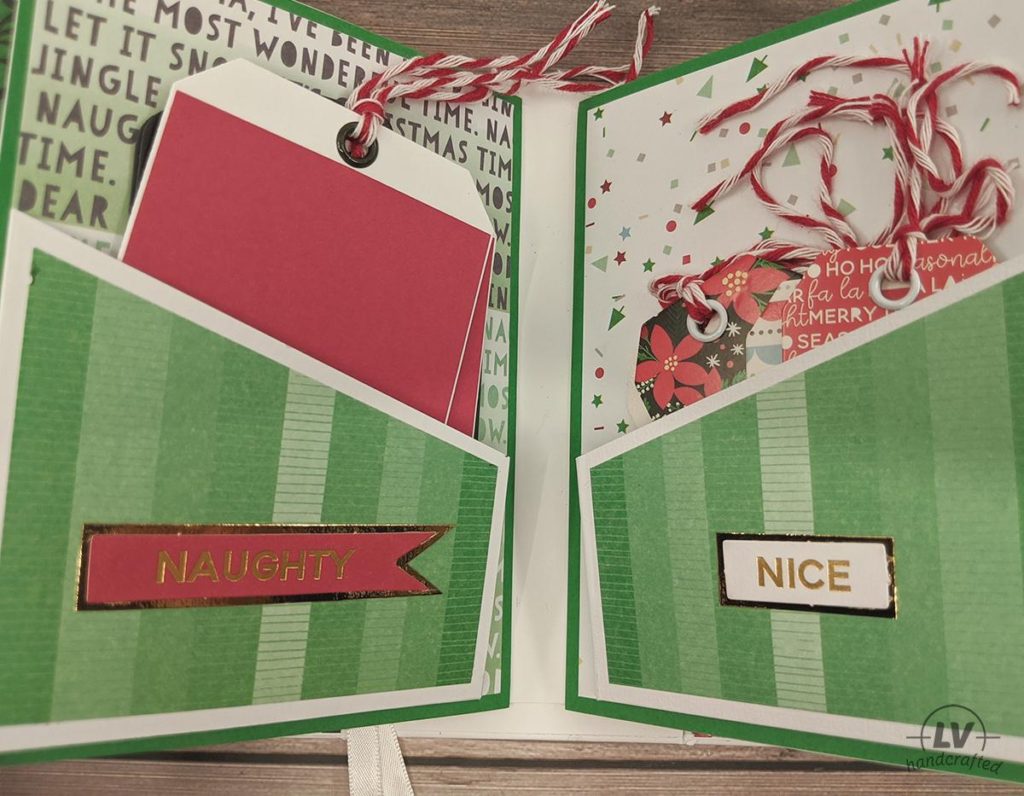
Using the other half of the card base from the Shaker Photo Frame, you can make 2 pockets!
Along one side of the 5.5″ edge, make a tick mark at 2″ from the bottom. Along the opposite side, make a tick mark at 3.5″ from the bottom.
Next, cut a diagonal line from one tick mark to the other. You can line up the tick marks in your trimmer; however, I used a steel ruler and craft knife.
Score along the long side of your pocket at 1/2″ so you have a side hinge tab. The hinge for the bottom of each pocket will come from your Flap cut. Score that strip in half lengthwise. Glue one side of the hinge to the bottom of the pocket.
Lastly, attach your pocket to your page base along the bottom and the long side of the pocket. Leave the short side of the pocket open. By leaving one side open, the pocket can hold more in it.
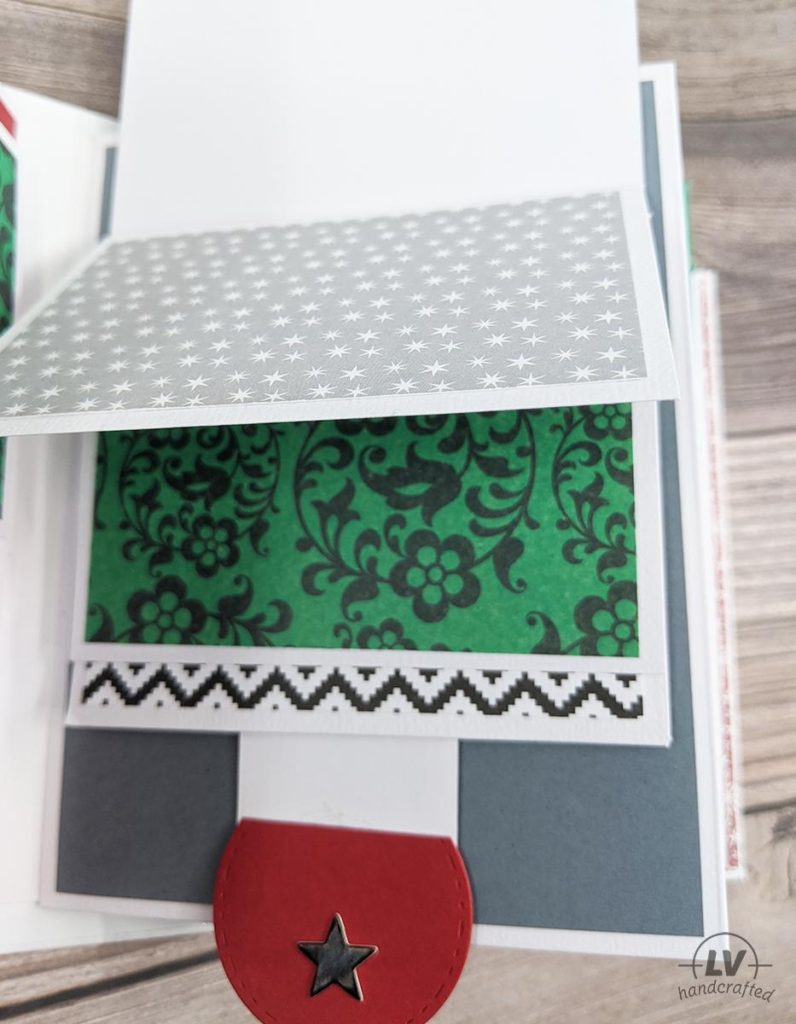
Staggered Z-Fold
With one of the card bases, you’ll cut a 1″ x 4.25″ strip from one side. Along the opposite side, you will need to score 1/2″ from the edge. This hinge gets adhered to your card. You can adhere this staggered z-fold anywhere on your page base.
Flap
These flaps are wider than the half-gate from my first mini-album. I think they’re more practical for placing photos. One card base will get you 2 flaps (plus two hinges for your Slanted Open Pocket).
First, you’ll want to cut your card base in half along the fold. Cut a strip that’s 1/2″ x 5.5″. Score 1/2″ to create a hinge tab on the remaining 3.75″ x 5.5″ panel. Your final panel should be 3.25″ x 5.5″.
Next, do the exact same thing with the other half of the card base to get your second flap.
Finally, attach to your page base wherever you’d like. In mine, I lined up the flap to the center of the page. You can also line the hinge up to the outside edge of the page base for a different look.
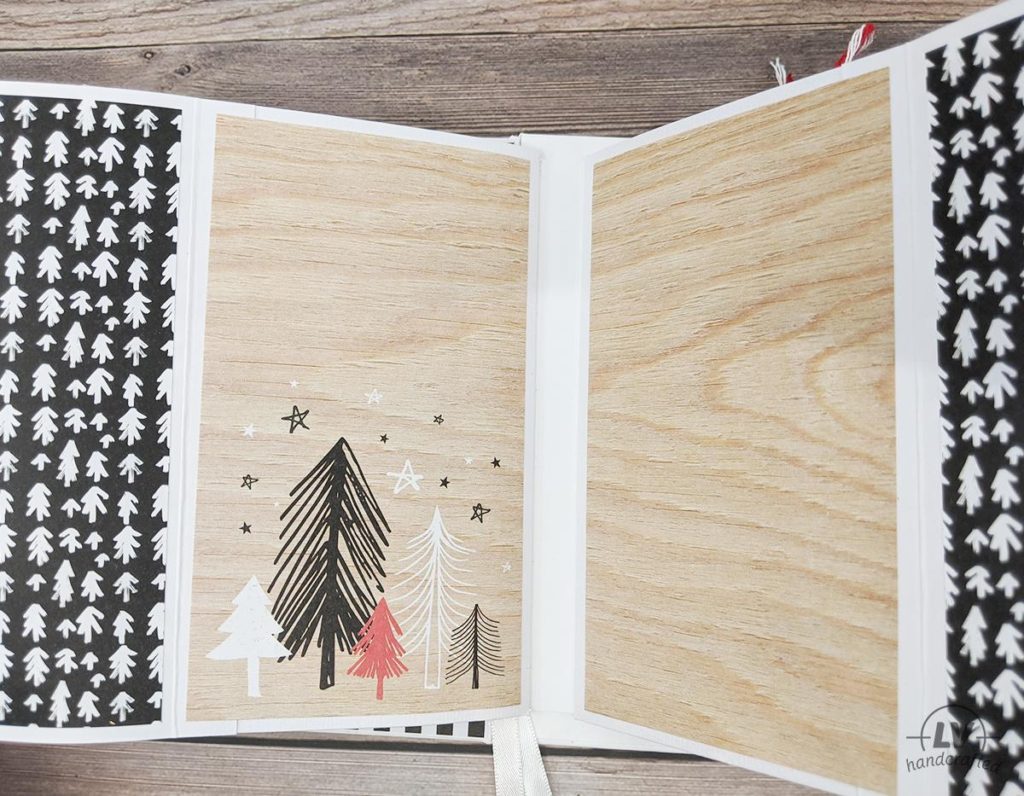
Waterfall / Flip Book
To create two waterfalls that each have 3 flaps, you’ll need two card bases.
1st Card Base
- Open up your card base and cut lengthwise in half so you have two pieces that are each 2.75″ x 8.5″.
- Cut a panel that is 3.75″ x 2.75″ from each end of your strips. This gives you two waterfall panels. After these two cuts, you will have a strip that is 1″ x 2.75″ with a fold down the center. Keep this; it will be a pull tab belly band.
- Do the same with the other strip.
- When you’re done, you should have four waterfall panels that are 3.75″ x 2.75″ and two pull tab belly bands measuring 1″ x 2.75″.
2nd Card Base
- Open up your card base and cut lengthwise in half so you have two pieces that are each 2.75″ x 8.5″.
- With one of the strips, cut the panel pieces just like above.
- With the second strip, cut it lengthwise again in half so you have two strips that are each 1 3/8″ x 8.5″. These are your waterfall pull tabs.
- On one end of the waterfall pull tab, cut off 1″. You’ll need this, so don’t toss it.
- On that same (short) side, you’re going to score 2 lines from the fold. The first score line should be 3/8″ from the fold. The next score line should be 3/8″ from the previous score line.
- Lastly, fold & burnish along your score lines.
Putting the Waterfall Together
Now that you have all the pieces cut, we just need to put it all together. If you want, you can decorate your panels first.
- On your pull tab, put 1/4″ strong adhesive strips between the 3/8″ score/fold lines. This is where your panels will get attached.
- Attach 2 of your panels to your pull tab so they are centered. The top of the panel should meet up with the score/fold line but not cross it. You should have 1 panel leftover. We’ll attach that at the end.
- With your pull tab folded along the original card base fold, you should see the front/top of your two panels.
- Wrap one of the 1″ x 2.75″ pull tab belly bands around both layers of your pull tab to make a belly band. Don’t wrap too tightly because the back of the pull tab needs to move slide up & down through that belly band.
- Glue down the belly band to the front of the pull tab (the same side that your panels are attached to).
- The band isn’t long enough to attach to itself on the backside. However, the 1″ x 1 3/8″ piece you cut off the pull tab is the perfect size to close the belly band. Just put glue on the back side of the belly band and adhere to this 1″ tab.
- Make sure you can still pull on the longer end of the pull tab through the belly band. It should move freely. As you pull, it should flip your panels.
Attaching The Waterfall to The Page
Now that your waterfall is complete, you can attach it to your page base.
- Put strong adhesive on the back of the pull tab belly band. Make sure there’s no adhesive on the pull tab itself. It needs to move freely.
- Attach this to your page base.
- Now pull the long tab so your first two panels flip up. (NOTE: If you are using liquid glue, make sure it’s dry enough to not move when you pull the tab.)
- You can now attach your last panel. I use foam to adhere the panel to the page base. This creates extra room for the pull tab to move freely. Make sure the foam (or whatever adhesive you use) is not too close to the pull tab so it doesn’t interfere with the movement. I also put a little strip of adhesive tape along the fold at the top of the front of the pull tab. This way the last panel is attached to the front of the pull tab.
Follow the same steps to create the second waterfall.
NOTE: I made two extra panels for each of my waterfalls using some cardstock from my stash. I just cut two panels measuring 3.75″ x 2.75″. Of course, if you add extra panels, you’ll need to add a score line along your pull tab.
Envelope Mini-Album
I used 5 envelopes to create the mini-album add-on. Envelop mini albums are so great because they are really quick and fun to make. I love using the card bases and envelopes provided in the card kit for page bases because there’s no cutting and everything lines up just perfectly!
We’re going to build this mini-album from the back to the front.
- Open your first envelop.
- Take a second envelop and bend the flap backwards.
- Put adhesive on the flap of the 2nd envelop and tuck it inside the first envelop. The two envelopes should line up with each other. The flap on the first (bottom-most) envelop should still be open.
- Glue these two envelops together on 3 edges. Leave open the edge that will get attached to your spine. (NOTE: You could skip this step if you plan to glue the mini album down to a page base or on the inside cover.)
- Continue adding 3 more envelopes by repeating steps 2 and 3. Each time, tuck the flap of an envelop into the previously attached envelope.
- Now you have 5 envelopes attached to one another.
- The flap from the first (bottom-most envelop) can now be folded around to the front. You can score the flap to make a gusset that is the thickness of your stacked envelopes if you wan a more crisp fold.
With your basic mini-album done, you can now decorate it! When you put on your matting layer, you’ll essentially close off the envelope. However, the first (bottom-most) envelop will be open and if you want the top-most can be open too depending on how you decorate it.
Closure Options.
You have lots of options for closures. I made a string closure because there was twine in the kit. To make the string closure, just put a round foam dot (I use thick foam) behind a die cut. This is adhered to the envelope (best to do this *after* you decorate the envelop page). Just line it up with the bottom of the flap when it’s closed. Then attach the string to another die cut or embellishment and glue that down to the top of the flap. Of course, you’ll want to use strong glue. (I use Beacon 3-in-1.)
What’s Left From The Card Kit?
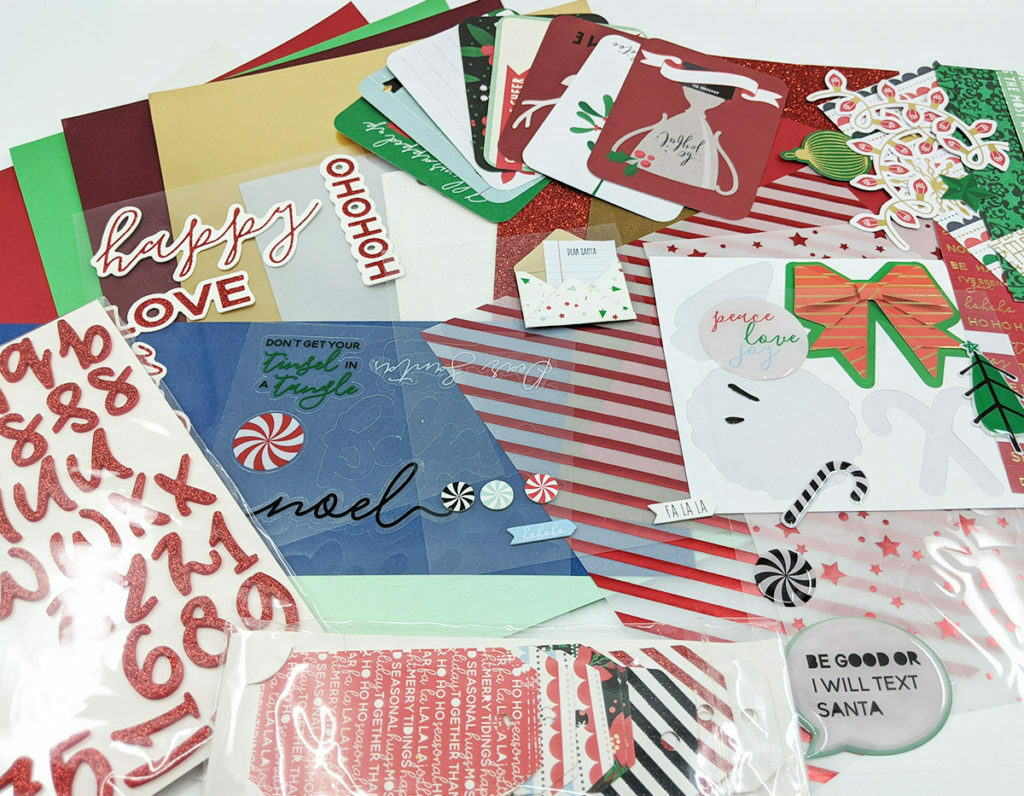
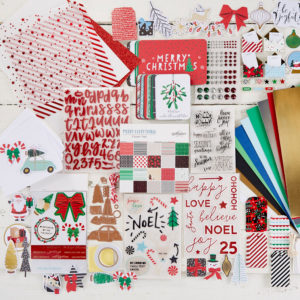
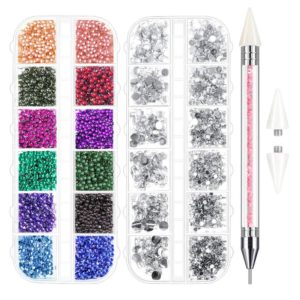
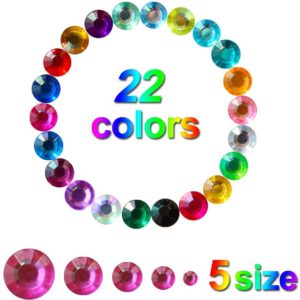
As you can see, there’s still a lot leftover. I forgot about the sheet of rhinestones when I took this photo. They weren’t used at all because I mail my cards and I was worried they’d pierce the envelope. They are very dimensional and a little more “pointy” than the ones I generally use. The stamp set and the dies aren’t in the photo either. These, of course, will last long after all of the above is used. Items like the rhinestone, cardstock, vellum, alphabet stickers etc. are generic enough to use on any project. So, those will go in my stash. However, I do want to use up the rest of the holiday-themed supplies, so I’ll just have to come up with more projects!
Here’s what I have left:
- Die cut shapes – 5 die cuts left
- 6×6 paper pad (40 sheets) — only scraps
- 2 sheets of vellum – 1 full, 1 mostly full
- 14 sheets of cardstock — 4 full sheets and a few half sheets and scraps
- 2 sheets of foil cardstock — 1 full sheet, half sheet
- 2 sheets of glitter — half of each sheet
- 40 Pack of Memory Cards — 6 left
- 3 sheets of stickers — ~3-5 on each sheet is left
- Red & White Twine — none left
- Glitter Chipboard stickers – ~3-5
- Epoxy Stickers — ~3-5
- Letters to Santa — 1 left
- Red Glitter foam alphabet — most remain (I only used JOY and 4U)
- Tag & Twine set — more than half are left
- Rhinestones — I didn’t use any
I’m pretty sure I can make a couple more cards, and I probably will so I can use up this whole kit!